Autopapyrus · Tesla Model 3 (2021)
https://autopapyrus.com/catalog/tesla/model-3/guides/front-upper-control-arm-replacement/
https://autopapyrus.com/catalog/tesla/model-3/guides/front-upper-control-arm-replacement/
Compiled automatically from service literature and owner experience. Specs are for the typical configuration — check them against your exact car before you start.
Tesla Model 3 (2021): Front Upper Control Arm Replacement
The upper control arm attaches to a bracket on the strut assembly and to the steering knuckle. To reach the four bracket bolts, you need to remove the under-hood panels, and during installation the arm is positioned using a template. The nuts that secure the arm to the knuckle and the stabilizer link are single-use. The left side is described; the right side is done the same way in mirror image. A wheel alignment is required after the job.
Key figures
- Tightening the two arm-to-bracket bolts50 N·m (37 lb-ft). Set it on the torque wrench when installing the arm with the template (step 18)
- Tightening the four bracket-to-body bolts35 N·m (26 lb-ft) (13 mm head) and 62 N·m (46 lb-ft) (15 mm head). Do not mix them up; install them at the marks (step 21)
- Tightening the arm nut and bolt at the steering knuckle56 N·m (41 lb-ft). The nut is new and single-use (step 23)
- Tightening the stabilizer link nut98 N·m (72 lb-ft). This nut is also new (step 22)
- Ride height for final tightening of the strut bolt423 mm from the bottom of the fender to the center of the axle. Only if the strut was removed (Warning)
Check these values against the manufacturer’s specification for your vehicle before you start.
Diagram: where the upper control arm sits and what it bolts to
Tap to enlarge
- 1Upper control arm: a curved aluminium arm with a ball joint at the end. This is the part being replaced. Compare the new one with the old: side, length, ball joint.
- 2Two bolts holding the arm to the bracket (deep 13 socket). Remove them to take the arm off. When installing, set the arm with the template and tighten to 50 Nm.
- 3Bracket on the strut with four bolts into the body (13 and 15 heads). Mark the bolts with a marker before removing. Torque: 35 Nm (13) and 62 Nm (15), do not mix long and short bolts.
- 4Bolt and new nut holding the arm to the steering knuckle (Torx T50 and 15 wrench). Throw the nut away. Tighten the new one to 56 Nm.
- 5Stabilizer link: attached at the top to the strut. Remove the nut (hold the pin with Torx T40, 18 wrench) and discard it. Tighten the new one to 98 Nm.
- 6Wheel speed sensor harness on the arm: two clips. Unclip and move it aside, then clip it back after the work.
- 7Steering knuckle with hub, disc and red caliper. Landmark: the arm's ball joint attaches to it from above.
Parts
4| № | Part | Alternatives |
|---|---|---|
| 01 | Front upper control armleft or right, by sideFind on Amazon → | AlternativesLemförderTRW |
| 02 | Arm-to-steering knuckle nutnewFind on Amazon → | |
| 03 | Stabilizer link nut (link at the strut)newFind on Amazon → | |
| 04 | Grease for mount locating pinsFind on Amazon → |
Amazon links search by the part name; use Amazon's fit check for your car before ordering. We may earn a commission from qualifying purchases.
Tools
12- Lift or jack with jack stands Amazon →
- 13 mm and 15 mm sockets Amazon →
- Torx T50 socket Amazon →
- Torx T40 Amazon →
- 15 mm and 18 mm open-end wrenches Amazon →
- 21 mm socket Amazon →
- torque wrench with a joint for 5-110 N·m (4-81 lb-ft) Amazon →
- ratchet or cordless impact wrench Amazon →
- pry bar Amazon →
- paint marker Amazon →
- hub stand with a suspension support (for checking ride height) Amazon →
- special alignment template for positioning the arm in the bracket Amazon →
Step by step
28 steps · 4 stagesStage 1 of 4 Preparation 8 steps
- Inspect the tires: uneven wear points to alignment problems, so make a note of it for the check after the repair. Do not lift the vehicle yet.
- Turn the vehicle off and wait until it has fully gone to sleep. This job does not involve the high-voltage system, but stay away from the orange cables.
- Remove the rear hood panel (cowl panel) under the windshield.
- Remove the cabin air intake duct (fresh air trough).
- Remove the hood latch access cover.
- Remove the under-hood storage compartment (front trunk).
- Remove the strut mount cover (strut tower cap) on the relevant side.
- Unclip the cowl grille panel clip (the grille at the base of the windshield).
Stage 2 of 4 Arm removal 7 steps
- Use a marker to draw marks around the four bolts that secure the upper control arm bracket to the body (13 mm and 15 mm sockets). Remove all four bolts.
- Raise the vehicle on a lift (lift points per the owner's manual) and remove the front wheel.
- Unclip the two clips of the wheel speed sensor harness on the arm and move the harness aside.
- Remove and discard the stabilizer link nut at the strut. Hold the link pin (Torx T40) and loosen the nut with an 18 mm wrench. Use a pry bar if needed.
- Knock out or unscrew the bolt securing the arm to the steering knuckle (Torx T50 and 15 mm wrench), and discard the nut. Push the arm's ball joint downward so the bolt comes out more easily.
- Move the strut assembly outward so the arm bracket clears the fender liner. Guide the right-hand part of the arm through first; the fender liner can be pushed aside with your thumbs.
- Remove the two bolts securing the arm to the bracket (13 mm deep socket) and remove the arm.
Stage 3 of 4 Arm installation 9 steps
- Compare the new arm with the old one: side, length, ball joint.
- Insert the arm into the bracket and hand-tighten the two bolts.
- Install the template on the bracket in the rear outer hole so that the arm sits between the bracket and the template. Press the arm against the template plate and tighten the two arm-to-bracket bolts to 50 N·m (37 lb-ft). After tightening, check the clearance against the template and repeat if necessary.
- Remove the template.
- Return the strut assembly with the bracket to its position and align the bracket holes with the body.
- Install the four bracket-to-body bolts at the marker marks: tighten the bolts with the 13 mm head to 35 N·m (26 lb-ft) and those with the 15 mm head to 62 N·m (46 lb-ft). Do not mix up the long and short bolts.
- Connect the stabilizer link to the strut, thread on the new nut and tighten it to 98 N·m (72 lb-ft), holding the pin.
- Align the arm with the knuckle, install the bolt and the new nut, and tighten to 56 N·m (41 lb-ft). Check the bolt condition: replace it if the threads are worn or show signs of galling.
- Secure the two wheel speed sensor harness clips.
Stage 4 of 4 Reassembly and check 4 steps
- Install the wheel, tighten the lug nuts in a crisscross pattern to the torque specified for your vehicle's wheels, and lower the vehicle.
- Reinstall the cowl grille clip, the strut mount cover, the under-hood storage compartment, the hood latch cover, the cabin air duct, and the hood cowl panel.
- Check for knocking and play on a short test drive. Re-torque the lug nuts after 50-100 km (30-60 miles).
- Have a wheel alignment (toe and camber) done and check the power steering function. This is mandatory after replacing the arm.
Common mistakes and warnings
- The suspension is a safety-critical system: an incorrectly tightened nut or an arm that is not positioned correctly leads to loss of vehicle control. If you lack experience or a torque wrench, it is better to leave the job to a repair shop. If replacing the arm together with the bracket on the strut involves removing the strut, the final tightening of the strut bolt and nut to the lower control arm (106 N·m (78 lb-ft)) must be done at ride height, as with the vehicle standing on its wheels: the distance from the lower edge of the fender to the center of the axle is about 423 mm. If you are working on the arm after a collision, check whether the steering rack also needs to be replaced.
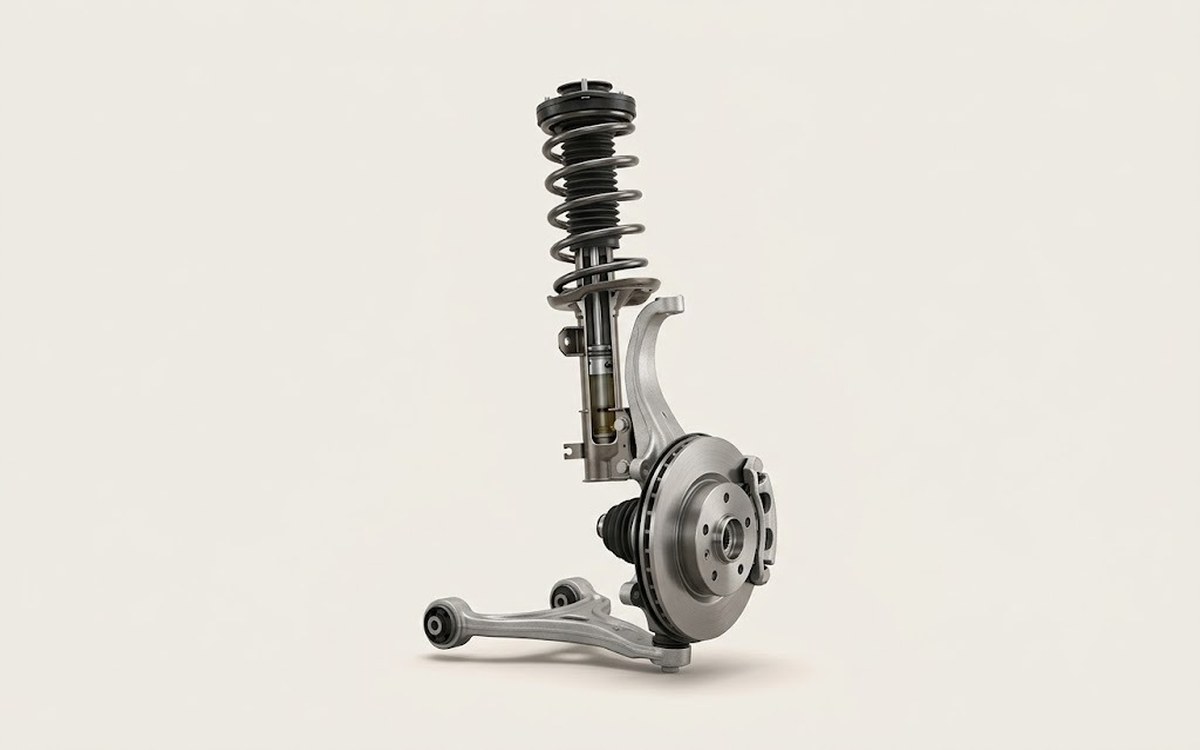 How it works · 3D
How Car Suspension Works
How the part you're working on actually works — in plain English, on a 3D model.
Open in 3D →
Spotted a mistake? Tell us →
Our articles
 Test drives
Tesla Model 3 Review
Electric cars from the American company Tesla are gaining popularity around the world and sell by the thousands. Not…
Read →
 Brand stories
The History of the Tesla Brand
Tesla Motors, a North American company founded in 2003, is rightly considered the pioneer of a new era in the…
Read →
 Garage
Fuel Quality Indicators: What Octane and Cetane Numbers Mean
What is an octane number? What about a cetane number? Which fuel should you choose for a high-compression engine?…
Read →