Autopapyrus · Renault Kaptur (2016)
https://autopapyrus.com/catalog/renault/kaptur/guides/replacing-bulbs-and-repairing-front-headlights-and-parking-lights/
https://autopapyrus.com/catalog/renault/kaptur/guides/replacing-bulbs-and-repairing-front-headlights-and-parking-lights/
Compiled automatically from service literature and owner experience. Specs are for the typical configuration — check them against your exact car before you start.
Renault Kaptur (2016): Replacing Bulbs and Repairing Front Headlights and Parking Lights
On the first-generation Renault Captur, the headlight bulbs are replaced from the engine bay through rubber covers. You do not need to remove the headlight. This guide covers the headlights and front parking lights. The rear lights and the turn signals in the mirrors are designed differently. Daytime running lights and repair of the headlight housing itself are covered in steps 13-17.
Diagram: where the front turn signal socket is and how to remove it
Tap to enlarge
- 1PY21W bulb in its socket: it has offset pins, so seat it in the slot correctly.
- 2Turn signal socket: turn a quarter turn and pull it out of the headlight housing.
- 3Latch on the headlight housing: a landmark, do not touch it.
- 4Grey engine bay panel: a landmark, the socket is next to it.
Parts
4| № | Part | Alternatives |
|---|---|---|
| 01 | H1 55 W halogen bulb, UV-protected (low and high beam)2 per beam type, replace in pairsFind on Amazon → | AlternativesOsramPhilipsBosch |
| 02 | W5W bulb (parking light)Find on Amazon → | AlternativesOsramPhilipsBosch |
| 03 | PY21W bulb (front turn signal)Find on Amazon → | AlternativesOsramPhilipsBosch |
| 04 | H16LL bulb (fog lights)H11LL if the car has cornering lightsFind on Amazon → | AlternativesOsramPhilipsBosch |
Amazon links search by the part name; use Amazon's fit check for your car before ordering. We may earn a commission from qualifying purchases.
Step by step
20 steps · 6 stagesStage 1 of 6 Preparation and diagnosis 4 steps
- Shut off the engine with the button, turn the ignition off, and switch off all lights. Wait for the engine and the bulbs to cool down. The cooling fan in the engine bay may start unexpectedly.
- Determine which bulb is out: low beam, high beam, parking light, or turn signal. If both bulbs of the same function are out at once, check the fuse and the connector first.
- Open the hood. Behind each headlight, find the round rubber covers: the low beam cover, and the high beam and parking light cover.
- Wipe the covers and the area around them clean of dirt so that it does not get into the headlight housing.
Stage 2 of 6 Replacing the low beam bulb 5 steps
- Remove the low beam cover (cover A, per the manual).
- Disconnect the connector with the black wire from the bulb.
- Release the spring retainer and pull out the H1 bulb. Before buying a replacement, compare the marking on the old bulb with this guide. If it says H7, the bulb is held by three spring latches together with the connector, rather than by a single retainer.
- Handle the new bulb only by its base and do not touch the glass with your hands. If you do touch the glass, wipe it with a rag and alcohol.
- Insert the bulb, secure it with the spring, plug in the connector, and press the cover on firmly.
Stage 3 of 6 High beam and parking light 3 steps
- High beam: remove cover B, disconnect the connector (black wire), release the spring, and pull out the H1 bulb. Install the new one in reverse order.
- Parking light: with cover B removed, pull the W5W socket out of the reflector, pull the bulb out of the socket, and insert a new W5W. If the parking light is dim or flickers, clean the socket contacts.
- Front turn signal: turn the socket a quarter turn and pull it out. The PY21W bulb has offset pins, so seat it in the slot correctly. Check that it is held securely.
Stage 4 of 6 Fog lights and daytime running lights 2 steps
- Fog light: the socket is accessed from underneath the car. Release the cover flap, turn the socket a quarter turn, and replace the H16LL bulb (H11LL if the car has cornering lights).
- According to the manual, daytime running lights are replaced by the dealer. Do not replace them yourself.
Stage 5 of 6 Headlight repair 3 steps
- If the inside of the headlight is fogged up or a bulb keeps burning out, check the cover seals: they must fit tightly and the rubber gasket must be intact. Replace any cracked cover.
- If the light still does not work after replacing the bulb, check the connector for melting and oxidation, and also check the fuse and relay. A melted connector must be replaced along with the bulb.
- Do not install LED bulbs in place of halogen ones. The factory headlight is not designed for them, and per the manual any work on the electrical wiring should be done by the dealer, because incorrect connection can damage the wiring and the alternator.
Stage 6 of 6 Check 3 steps
- Turn the ignition on and check all functions: parking lights, low beam, high beam, turn signals, fog lights.
- Make sure the covers are back in place and closed tightly.
- Check the beam aim against a wall or garage door. If the beam has shifted after the replacement, have the headlights adjusted at a repair shop.
Common mistakes and warnings
- Bulbs are under pressure and can burst during replacement, so work carefully
- Do not touch the glass with your fingers: fingerprints on a hot bulb darken and shorten its life
- No tightening torques are specified for the fasteners in this job
Spotted a mistake? Tell us →
Our articles
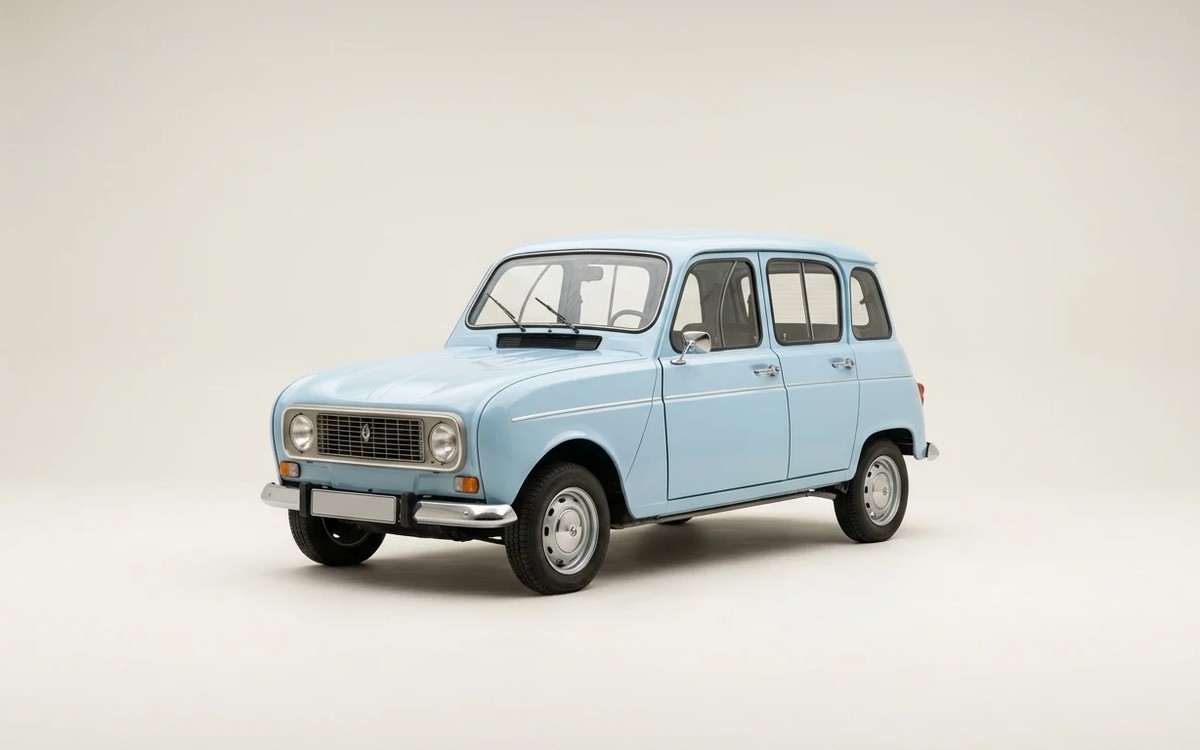 Brand stories
The History of Renault
Louis Renault (1877–1944) was interested in electricity and mechanics from an early age, and he was destined to become…
Read →
 Garage
Fuel Quality Indicators: What Octane and Cetane Numbers Mean
What is an octane number? What about a cetane number? Which fuel should you choose for a high-compression engine?…
Read →
 Before you buy
How to Pick Up Your Car from the Dealership the Right Way
If you've decided to buy a car from a dealership, it isn't enough to simply choose a model you like, pay for it, and…
Read →