Autopapyrus · Renault Kaptur 2.0 F4R 143 hp (2020)
https://autopapyrus.com/catalog/renault/kaptur/guides/timing-belt-and-water-pump-replacement/
https://autopapyrus.com/catalog/renault/kaptur/guides/timing-belt-and-water-pump-replacement/
Compiled automatically from service literature and owner experience. Specs are for the typical configuration — check them against your exact car before you start.
Renault Kaptur 2.0 F4R 143 hp (2020): Timing Belt Replacement
The F4R 2.0 is an engine with a timing belt, and on this engine a broken or skipped belt causes the pistons to hit the valves. The replacement interval follows the Renault schedule (as a guideline, about 60,000-100,000 km or 4-5 years, whichever comes first), and the water pump and pulleys are replaced together with the belt. This guide covers replacement with the crankshaft and camshafts locked using factory or homemade locking tools. The torque values below are approximate, so check the exact values against the manufacturer's specifications.
Diagram: where the timing belt and camshaft gear are under the cover
Tap to enlarge
- 1Timing belt: a toothed band on the gears. Before removal mark the rotation direction and pulley positions with a marker; replace it together with the rollers and water pump.
- 2Camshaft gear: the belt sits on it. The crankshaft and camshafts are locked with the pin and plate while the belt is off.
- 3Timing belt cover: plastic cover held by clips and bolts. Remove the upper one first, then the lower one, to see the belt.
- 4Oil filler cap: a landmark on top of the engine that helps find the upper timing area.
- 5Thick hose: a landmark on the right of the area; it is not part of the belt.
Parts
6| № | Part | Alternatives |
|---|---|---|
| 01 | F4R timing kit (timing belt, tensioner pulley, idler pulley)Find on Amazon → | AlternativesGatesSKFContitech |
| 02 | Coolant pump (water pump) with gasket or O-ringFind on Amazon → | AlternativesGatesSKFContitech |
| 03 | New pulley bolt set and crankshaft pulley boltFind on Amazon → | |
| 04 | Camshaft sealsif wornFind on Amazon → | |
| 05 | Coolantsame amount as drainedFind on Amazon → | |
| 06 | Accessory drive beltFind on Amazon → |
Amazon links search by the part name; use Amazon's fit check for your car before ordering. We may earn a commission from qualifying purchases.
Tools
10- Socket set and ratchet Amazon →
- torque wrench Amazon →
- Torx set Amazon →
- 6 mm hex key Amazon →
- crankshaft locking pin (TDC pin) Amazon →
- camshaft locking tool (plate for the camshaft slots) Amazon →
- jack and jack stands Amazon →
- engine support or engine hoist Amazon →
- coolant drain pan Amazon →
- chalk or marker Amazon →
Step by step
34 steps · 8 stagesStage 1 of 8 Preparation 4 steps
- Park the car on level ground; the engine must be cold. Disconnect the negative battery terminal.
- Prepare the locking tools: a pin for locking the crankshaft at TDC and a plate for the camshaft slots. Do not install the belt without them: on the F4R the crankshaft sprocket has no key, and with the pulley removed the shaft turns easily.
- Remove the decorative engine cover and, if necessary, the air duct to free up access to the upper timing cover.
- Raise the front right side of the car, support it on jack stands, and remove the right front wheel, the plastic engine undertray and the fender liner.
Stage 2 of 8 Accessing the timing belt 5 steps
- Release the tensioner and remove the accessory drive belt; remember the routing around the pulleys.
- Install an engine support (under the oil pan, using a wooden spacer) or suspend the engine.
- Unbolt and remove the right engine mount together with its bracket to gain access to the upper timing cover.
- Remove the upper and then the lower plastic timing belt covers (clips and bolts).
- If you are replacing the water pump, drain part of the coolant: place a pan underneath and open the lower radiator hose.
Stage 3 of 8 Setting tdc 5 steps
- Turn the crankshaft in the normal direction of rotation using the pulley bolt until the marks line up. Install the camshaft locking plate into the slots at the ends of the camshafts: the plate should go in without force.
- Insert the pin into the hole in the block to lock the crankshaft at TDC (through the crankshaft position sensor hole). Make sure the shaft is locked.
- Use a marker to draw direction-of-rotation arrows on the old belt and alignment marks on the pulleys for reference.
- Hold the crankshaft pulley against turning (through the flywheel or with a holder) and remove the center pulley bolt. The bolt is single-use, so you need a new one for installation. Remove the pulley.
- Remove the lower part of the timing belt cover if it blocks access to the sprocket.
Stage 4 of 8 Removal 4 steps
- Loosen the tensioner pulley bolt and remove the tensioner and idler pulleys.
- Take the timing belt off the camshaft and crankshaft sprockets. Do not turn the camshafts or crankshaft unnecessarily; the plate and pin must stay in place.
- If you are replacing the water pump, remove the pump mounting bolts, take the pump off, and clean the mounting surface of the old gasket or O-ring.
- Inspect the camshaft and crankshaft seals for oil leaks. Replace them if they leak.
Stage 5 of 8 Installing the new parts 4 steps
- Install the new water pump with a new gasket or O-ring and tighten the bolts evenly in a crisscross pattern (guideline 8-12 N·m (6-9 lb-ft), per the specifications).
- Install the new tensioner and idler pulleys with new bolts, tightening them only lightly for now (final tightening after the belt is tensioned).
- Fit the new belt in this order: crankshaft sprocket, idler pulley, exhaust camshaft sprocket, intake sprocket, water pump, tensioner pulley. The run between the crankshaft and camshafts must be taut; follow the marks and direction arrows on the belt.
- Install the crankshaft pulley with the new bolt and tighten it to the manufacturer's specification (the bolt is tightened in two stages, with an additional angle turn), holding the shaft against turning.
Stage 6 of 8 Tensioning and timing check 4 steps
- Using the 6 mm hex key, turn the tensioner pulley eccentric until the tensioner indicator marks align (the mark on the moving part must line up with the fixed one). Holding that position, tighten the pulley nut or bolt (guideline 25-35 N·m (18-26 lb-ft), per the specifications).
- Remove the crankshaft pin and the camshaft plate.
- Turn the crankshaft 2 full revolutions in the normal direction of rotation using the pulley bolt (never backward), then insert the TDC pin again. It should go in freely, and the plate should seat in the camshaft slots without force.
- If the pin or plate will not seat, repeat the belt installation starting from step 10. Check the position of the tensioner indicator: the marks should still line up after turning the engine.
Stage 7 of 8 Reassembly 5 steps
- Install the timing belt covers (tighten the bolts moderately, since plastic cracks easily: 5-10 N·m (4-7 lb-ft)).
- Install the right engine mount and tighten the bolts to specification (the mount carries the engine's weight, so the torque is substantial, guideline 40-110 N·m (30-81 lb-ft) depending on the bolt).
- Install the accessory drive belt following the routing, check its condition, and replace it if there are cracks.
- Reinstall the fender liner and undertray, mount the wheel, tighten the wheel bolts to approximately 90-110 N·m (66-81 lb-ft) in a crisscross pattern, and lower the car.
- Top up the coolant to the proper level and reconnect the battery.
Stage 8 of 8 Checks 3 steps
- Start the engine and let it idle, warming it up until the cooling fan switches on, to bleed air from the cooling system.
- Check that there are no leaks from around the water pump, that the engine runs smoothly, and that there are no warning lights on the instrument panel. Top up the coolant as air works its way out.
- After 500-1,000 km, check the coolant level and the condition of the accessory drive belt. Write down the mileage of the replacement for the next maintenance.
Common mistakes and warnings
- This job requires precise valve timing: an error of even one tooth causes the pistons to hit the valves and leads to expensive repairs
- If you do not have crankshaft and camshaft locking tools, or have no experience with timing drive work, leave the job to a repair shop
- Never turn the crankshaft against its direction of rotation
- Always replace the crankshaft pulley bolt with a new one
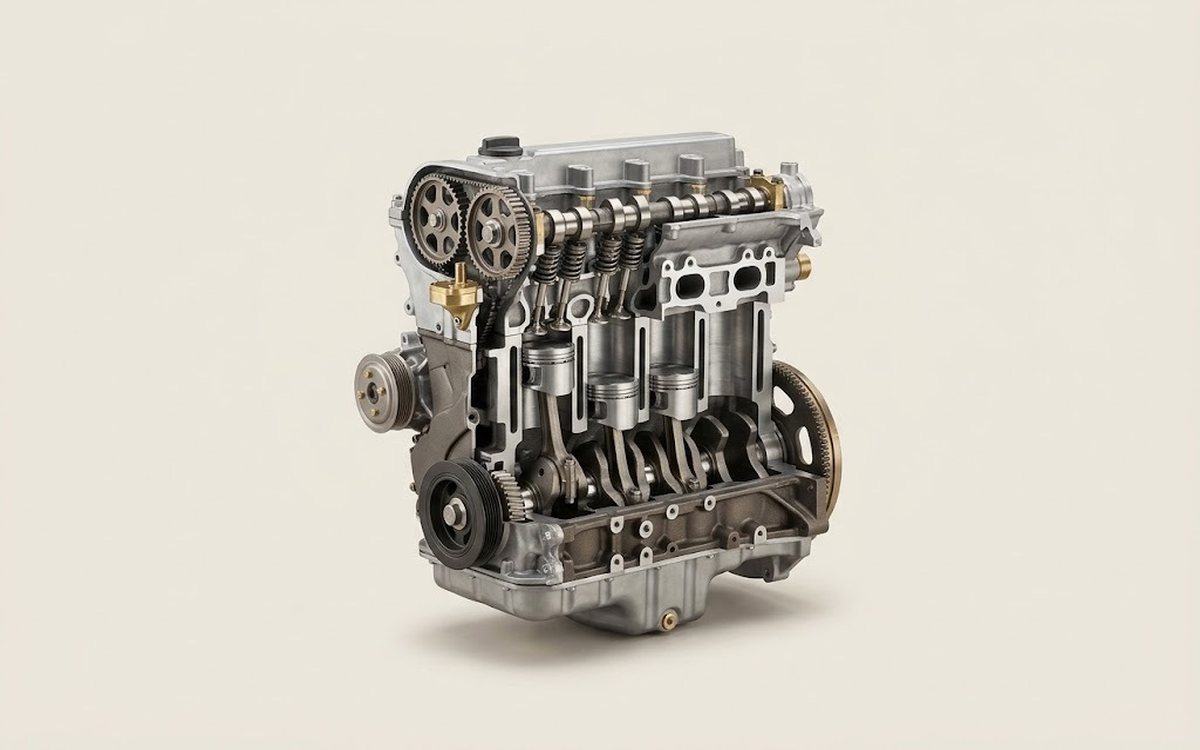 How it works · 3D
How a Car Engine Works
How the part you're working on actually works — in plain English, on a 3D model.
Open in 3D →
Spotted a mistake? Tell us →
Our articles
 Brand stories
The History of Renault
Louis Renault (1877–1944) was interested in electricity and mechanics from an early age, and he was destined to become…
Read →
 Garage
Fuel Quality Indicators: What Octane and Cetane Numbers Mean
What is an octane number? What about a cetane number? Which fuel should you choose for a high-compression engine?…
Read →
 Before you buy
How to Pick Up Your Car from the Dealership the Right Way
If you've decided to buy a car from a dealership, it isn't enough to simply choose a model you like, pay for it, and…
Read →