Autopapyrus · Renault Talisman 1.6 dCi R9M (2019)
https://autopapyrus.com/catalog/renault/talisman/guides/coolant-pump-water-pump-replacement/
https://autopapyrus.com/catalog/renault/talisman/guides/coolant-pump-water-pump-replacement/
Compiled automatically from service literature and owner experience. Specs are for the typical configuration — check them against your exact car before you start.
Renault Talisman 1.6 dCi R9M (2019): Water Pump (Coolant Pump) Replacement
The R9M uses a timing chain, so there is no timing belt and no timing marks to deal with. The job comes down to draining the coolant, removing the accessory drive belt, replacing the pump, then refilling and bleeding the system. Verify the drive layout and the fasteners visually on your own car. The torque values below are given as ranges, so check the exact figures against the Renault service manual for the R9M engine.
Parts
5| № | Part | Alternatives |
|---|---|---|
| 01 | Coolant pump, R9M engine (1.6 dCi)Find on Amazon → | AlternativesHepuGrafSKFValeoMagneti Marelli |
| 02 | Pump O-ring (gasket)usually included with the pumpFind on Amazon → | |
| 03 | Accessory drive beltrecommended to replace at the same timeFind on Amazon → | |
| 04 | Renault Type D coolant, organic, Renault /-Sabout 6-8 L (6.3-8.5 qt), including a reserve for dilutionFind on Amazon → | |
| 05 | Distilled waterif using concentrateFind on Amazon → |
Amazon links search by the part name; use Amazon's fit check for your car before ordering. We may earn a commission from qualifying purchases.
Tools
10- 8-19 mm socket and wrench set Amazon →
- torque wrench Amazon →
- screwdrivers Amazon →
- hose clamp pliers Amazon →
- 8-10 L (8.5-10.6 qt) drain pan Amazon →
- funnel Amazon →
- belt tensioner wrench (flat "blade" type) Amazon →
- lift or jack with jack stands Amazon →
- Torx socket for the skid plate Amazon →
- no multimeter needed Amazon →
 There's a full repair manual for this car
Every system, wiring diagrams and torque specs — not just this job. Haynes AutoFix (online).
See manuals →
Step by step
25 steps · 6 stagesStage 1 of 6 Preparation 4 steps
- Let the engine cool down completely. Open the hood and remove the engine cover.
- Disconnect the negative battery terminal. Make sure the Start&Stop function is not active, and shut the engine off with the key out of the ignition.
- Raise the front of the car on a lift or support it on jack stands. Remove the skid plate (if fitted) and the right front wheel with the wheel arch liner to access the accessory drive belt.
- Place a drain pan under the radiator and another under the engine. Take a photo of the belt routing and the hoses before disassembly.
Stage 2 of 6 Draining the coolant 3 steps
- Open the expansion tank cap (only when the engine is cold).
- Disconnect the lower radiator hose or open the radiator drain plug (if equipped) and drain the coolant into the pan. Dispose of the used coolant according to local regulations.
- If needed for access to the pump, disconnect the air duct, the intercooler hose, and any wiring harness retainers that are in the way.
Stage 3 of 6 Removal 5 steps
- Release the accessory drive belt tensioner with a wrench and slip the belt off the pulleys. Check the condition of the idler pulley and tensioner, and replace them if there is play or noise.
- If necessary, remove the pump pulley (if it is removable) and any brackets covering the pump.
- Disconnect the coolant hoses leading to the pump. Keep rags handy, since the remaining coolant will spill out.
- Remove the pump mounting bolts (check the number and size visually; typically 10-13 mm heads). Carefully remove the pump without damaging the mating surface.
- Clean the mounting surface of any gasket and sealant residue with a plastic scraper. Do not let dirt fall into the engine block passages.
Stage 4 of 6 Installation 5 steps
- Compare the new pump with the old one: same pulley/drive, same impeller diameter, same hose connections.
- Fit the new O-ring or gasket (lubricate the O-ring with clean coolant). Do not apply sealant unless the design calls for it.
- Place the pump onto the locating dowels and tighten the bolts in a crisscross pattern. Pump bolt torque is approximately 10-15 N·m (7-11 lb-ft); check the exact value in the Renault service manual.
- Install the pump pulley (if removed) and tighten it to specification, usually 10-25 N·m (7-18 lb-ft).
- Reconnect the hoses, and be sure to replace any worn-out clamps with new ones.
Stage 5 of 6 Reassembly and refilling 3 steps
- Install the accessory drive belt following your photo: release the tensioner and slip the belt on, making sure the ribs seat in the grooves of every pulley.
- Refit the air ducts, skid plate, and wheel. Tighten the wheel nuts to 100-120 N·m (74-89 lb-ft) (confirm with the service manual; on the Talisman the standard for 17-19" wheels falls in this range).
- Close the radiator drain opening or reconnect the hose. Pour coolant slowly into the expansion tank up to the MAX mark.
Stage 6 of 6 Bleeding and checking 5 steps
- Reconnect the battery. Open the bleed screws (if the system has them) and leave the tank cap off.
- Start the engine and warm it up at moderate rpm (about 2,000 rpm, 5-10 minutes) until the thermostat opens, keeping the tank level topped up. Set the cabin heater to maximum.
- Watch for the cooling fan to switch on and for the air to clear out through the heater. Top up the coolant and close the tank cap.
- Check for leaks around the pump and hoses, and listen for noise from the belt and pulleys.
- After the engine cools down, check the level in the tank and top up if needed. Check the level again after 100-200 km (60-125 miles).
Common mistakes and warnings
- Work only on a cold engine, because hot pressurized coolant causes burns
- Coolant is toxic, so do not leave it in open containers and do not pour it onto the ground
- If there is no heat in the cabin after the replacement, or the temperature gauge goes into the red zone, stop the engine: there is air in the system
- If the pump turns out to be behind the timing chain drive or requires removing the chain cover, do not continue without experience and take the car to a repair shop
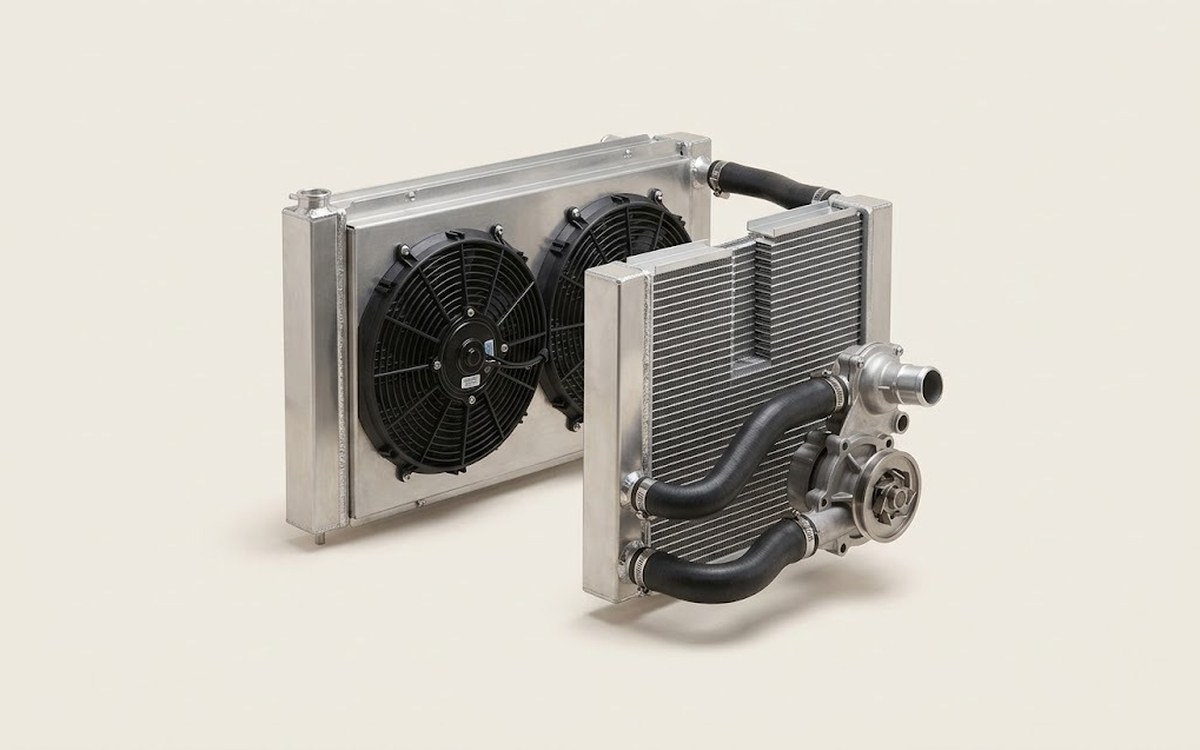 How it works · 3D
How the Engine Cooling System Works
How the part you're working on actually works — in plain English, on a 3D model.
Open in 3D →
Spotted a mistake? Tell us →
Our articles
 Brand stories
The History of Renault
Louis Renault (1877–1944) was interested in electricity and mechanics from an early age, and he was destined to become…
Read →
 Garage
Fuel Quality Indicators: What Octane and Cetane Numbers Mean
What is an octane number? What about a cetane number? Which fuel should you choose for a high-compression engine?…
Read →
 Before you buy
How to Pick Up Your Car from the Dealership the Right Way
If you've decided to buy a car from a dealership, it isn't enough to simply choose a model you like, pay for it, and…
Read →