Autopapyrus · Skoda Fabia 1.2 TSI CBZB (2010)
https://autopapyrus.com/catalog/skoda/fabia/guides/auxiliary-water-pump-replacement/
https://autopapyrus.com/catalog/skoda/fabia/guides/auxiliary-water-pump-replacement/
Compiled automatically from service literature and owner experience. Specs are for the typical configuration — check them against your exact car before you start.
Skoda Fabia 1.2 TSI CBZB (2010): Auxiliary Water Pump Replacement
The 1.2 TSI has a small electric pump that the engine control unit switches on separately from the main water pump. If it fails, you may see overheating, a fault code for the pump circuit, or no coolant circulation after the engine is shut off. The replacement is not difficult, but it requires careful coolant draining and proper bleeding of the system. Torque values and exact fastener locations in this guide are approximate, so check them against the manufacturer's specifications.
Parts
4| № | Part | Alternatives |
|---|---|---|
| 01 | Auxiliary electric coolant pump for 1.2 TSIFind on Amazon → | AlternativesHellaFebiPierburg |
| 02 | Coolant (antifreeze) G12/G12 plus, VW approvedFind on Amazon → | |
| 03 | Hose clampsif neededFind on Amazon → | |
| 04 | Hose O-ringsif neededFind on Amazon → |
Amazon links search by the part name; use Amazon's fit check for your car before ordering. We may earn a commission from qualifying purchases.
Tools
7 There's a full repair manual for this car
Every system, wiring diagrams and torque specs — not just this job. Haynes and 9 more.
See manuals →
Step by step
15 steps- Make sure the engine is completely cold. Park the car on a level surface, open the hood, and remove the plastic engine cover.
- Disconnect the negative battery terminal.
- Locate the pump. It is a small cylindrical electric pump in the coolant circuit with two hose connections and an electrical connector, located near the turbocharger and its lines. You may need to remove an air duct or a shield that blocks access.
- Test the pump before replacing it: with the ignition on, and using diagnostic fault codes, determine whether power reaches the connector. If there is no power, the cause is in the wiring, a relay, or the control unit, not the pump.
- Place a drain pan under the car. Drain some of the coolant through the lower radiator hose, or loosen the hose at the pump, so the coolant level in the system drops below the pump. Coolant is toxic, so keep it off your skin and out of the soil.
- Disconnect the pump's electrical connector by pressing the locking tab.
- Slide the spring clamps back with pliers and remove both hoses. Wipe up any remaining coolant with rags. Note the position and direction of the hoses.
- Remove the pump from its bracket or rubber mounts (loosen the fasteners or remove the holder).
- Compare the new pump with the old one: hose fitting sizes, connector, and flow direction (arrow on the housing).
- Install the new pump in the holder and reconnect the hoses with the same clamps. Replace worn clamps and seals. Tighten the fasteners moderately, without much force, because the plastic housing is easy to damage (for the exact torque, follow the manufacturer's specifications).
- Plug in the pump connector and reconnect the battery terminal.
- Top up the coolant to the MAX mark in the expansion tank and close the cap tightly.
- Warm the engine up to operating temperature with the heater set to maximum. Watch the level and add coolant as needed. Remove air pockets by briefly revving the engine at idle from time to time.
- Check for leaks at the pump and hoses. After the engine cools down, check the coolant level again.
- Read and clear fault codes with a diagnostic scanner. If the pump circuit fault returns, check the wiring and connector.
Common mistakes and warnings
- Do not open the expansion tank cap on a hot engine: pressurized coolant can cause burns
- Air in the cooling system leads to overheating, so bleed the system thoroughly
- If you have no experience working on cooling systems, or if the engine temperature is unstable after the replacement, take the car to a repair shop
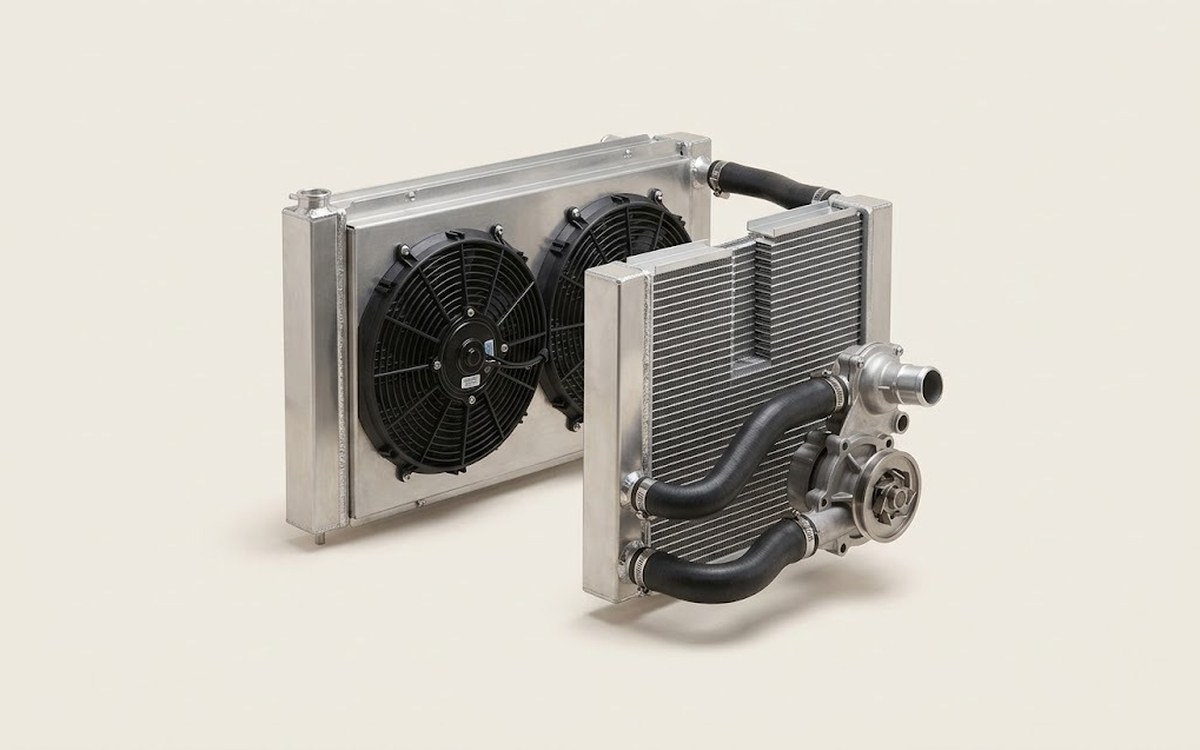 How it works · 3D
How the Engine Cooling System Works
How the part you're working on actually works — in plain English, on a 3D model.
Open in 3D →
Spotted a mistake? Tell us →
Our articles
 Brand stories
The History of Skoda
A detailed look at how the Škoda automotive brand came to be.
Read →
 Garage
Fuel Quality Indicators: What Octane and Cetane Numbers Mean
What is an octane number? What about a cetane number? Which fuel should you choose for a high-compression engine?…
Read →
 Before you buy
How to Pick Up Your Car from the Dealership the Right Way
If you've decided to buy a car from a dealership, it isn't enough to simply choose a model you like, pay for it, and…
Read →