https://autopapyrus.com/catalog/toyota/corolla/guides/automatic-transmission-valve-body-repair-removal-cleaning-solenoid-replacement/
Toyota Corolla 1.8 (2006): Automatic Transmission Valve Body Repair (Removal, Cleaning, Solenoid Replacement)
The E120 Corolla with the 1.8 L engine has a four-speed hydraulically controlled automatic transmission from the U340/A246 family (check the transmission data plate for the exact type). The valve body (valve plate, "hydraulic brain") is removed from underneath after draining the fluid and removing the pan. The work requires care: under the valve body there are balls, springs and accumulator pistons that are easy to lose. The torque values below are for the U341E; for the A246E, the overall valve body bolt torque is about 10 N·m (7.4 lb-ft).
Key figures
- Valve body and detent spring cover bolt torquesocket with a low-range torque wrench, steps 15-16; overtightening will damage the aluminum case11 N·m (8 lb-ft) (about 10 N·m (7.4 lb-ft) for the A246E)
- Pan boltstighten carefully in a crisscross pattern, step 18; otherwise the pan will leak7.8 N·m (69 lb-in)
- Drain plugtighten with a new gasket, step 249 N·m (36 lb-ft)
- Number of boltscount them during removal so nothing is missed, steps 3, 913 on the valve body, 19 on the pan
- Solenoidsstep 1311 N·m (8 lb-ft) per bolt
Check these values against the manufacturer’s specification for your vehicle before you start.
Diagram: where the valve body, solenoids and pistons are after the pan is off
- 1Valve body: cast plate with 5 solenoids and 13 bolts of different lengths. Removed from below, support it by hand.
- 2Wiring harness with 5 solenoid connectors: unplug all 5 before removing the block.
- 3Accumulator pistons (two copper discs) and the empty bore between them: they fall out when the block is removed, do not lose them.
- 4Selector rod: thin rod along the block down to the lever, remove it if it is in the way.
- 5Pan edge with bolts around the perimeter (19 bolts): unscrew and remove with the gasket.
- 6Drum with clutch packs and gear inside the transmission: a landmark, do not touch.
Parts
8| № | Part | Genuine part no. |
|---|---|---|
| 01 | Automatic transmission gasket set (pan gasket, oil filter gasket)Find on Amazon → | 04351-12360 |
| 02 | Automatic transmission oil filter (strainer)Find on Amazon → | 35330-12040 |
| 03 | Toyota ATF WS fluidfor U341EFind on Amazon → | |
| 04 | ATF Type IV fluidfor A246EFind on Amazon → | |
| 05 | Automatic transmission solenoids (S1, S2, SLU, ST, SLT)if faultyFind on Amazon → | 35250-12010 |
| 06 | ATF temperature sensorif faultyFind on Amazon → | |
| 07 | Complete valve body assemblyif faultyFind on Amazon → | 35410-12820 |
| 35410-12691 | ||
| 35410-12840 | ||
| 08 | Transmission pan magnetsif lostFind on Amazon → |
Amazon links search by the part name and genuine number; use Amazon's fit check for your car before ordering. We may earn a commission from qualifying purchases.
Part numbers are from the manufacturer's original catalogue. Check them against your VIN before ordering.
Tools
10- Lift or inspection pit Amazon →
- socket set and ratchet (small sizes 8, 10, 12 mm) Amazon →
- low-range torque wrench (5-60 N·m) Amazon →
- ATF drain pan for 8-10 L (8.5-10.5 qt) Amazon →
- measuring container Amazon →
- containers and a magnetic tray for small parts Amazon →
- brake cleaner or carb cleaner Amazon →
- lint-free cloth Amazon →
- sealant for the connector (if needed) Amazon →
- syringe or funnel for filling ATF Amazon →
 There's a full repair manual for this car
Every system, wiring diagrams and torque specs — not just this job. Haynes and 18 more.
See manuals →
Step by step
20 steps- Park the car on a level surface and raise it on a lift or position it over a pit. The engine and transmission must be cold so you don't get burned by hot fluid. Remove the left lower engine undercover.
- Drain the ATF: remove the pan drain plug, let it drain, and MEASURE the amount of fluid drained so you can refill the same amount. Install the plug with a new gasket, torque 49 N·m (36 lb-ft).
- Remove all 19 pan bolts around the perimeter. Some fluid will remain in the pan, so remove it carefully, keeping it level. Remove the gasket.
- Take the 2 magnets out of the bottom of the pan. Inspect the sediment: steel (magnetic) particles indicate wear of bearings, gears and clutch plates; brass (non-magnetic) particles indicate bushing wear. A lot of debris means the problem can't be solved by the valve body alone.
- Remove the 3 bolts and take off the oil filter (strainer). Fluid will run out of it. Remove the filter gasket.
- Disconnect the 5 solenoid connectors on the valve body. Remove the bolt, take off the retaining plate and the ATF temperature sensor.
- Remove the 2 bolts and take off the detent spring cover and spring (the spring with the roller) for the shift selector. Remove the linkage connected to the selector lever if it is in the way.
- Before unbolting the valve body, photograph the bolt locations: they come in different lengths (among the 13 bolts you will find lengths of roughly 22, 32, 45 and 55 mm). Lay the bolts out in the order of removal on a piece of cardboard with marks.
- Do not remove all 13 valve body bolts at once: leave 3 bolts in, support the valve body with your hand, then remove them and lower the body carefully. Do not drop the check ball body with its spring and the accumulator piston, as they will fall out when you remove the valve body. Take them out and remove the 2 second brake gaskets from the transmission case.
- Pull the manual valve out of the valve body.
- Disassemble the valve body on a clean bench with the bolts facing up. Keep the parts in the order of disassembly and photograph each layer. Do not mix up the plates and gaskets; the main valve may be installed rotated 180 degrees, so note its position.
- Clean the parts with cleaner and blow out the passages. The valves must move freely in their bores under their own weight. Scoring on the valves and grooves in the body indicate wear, in which case it is better to replace the complete valve body assembly. The solenoids come off the valve body: each is held by one bolt or by a plate with 1-2 bolts. Check their resistance and the click when 12 V is applied, and replace any that don't work.
- When reassembling, lubricate all parts with clean ATF. Install the solenoids (S1, S2, SLU, ST, SLT) and their plates with a torque of 11 N·m (8 lb-ft) per bolt.
- Installing onto the transmission: lubricate the manual valve with ATF and insert it into the valve body, then install 2 new second brake gaskets on the case, lubricating them with ATF. Put the spring and the check ball body in place.
- Align the groove of the manual valve with the pin on the lever, bolt the valve body on with 13 bolts and the 2 detent spring cover bolts, putting each bolt length in its proper location. Check that the lever touches the middle of the roller at the end of the spring. Then tighten all 15 of these bolts to 11 N·m (8 lb-ft) (for the A246E, about 10 N·m (7.4 lb-ft)).
- Install the ATF temperature sensor with its plate and bolt, torque 11 N·m (8 lb-ft). Connect the 5 connectors. If fluid seeps from a connector, the joint can be treated with sealant, as some owners do.
- Apply ATF to the new filter gasket and install the filter with 3 bolts, torque 11 N·m (8 lb-ft).
- Insert the 2 magnets into the clean pan and install it with a new gasket on the 19 bolts, torque 7.8 N·m (69 lb-in) (tighten in a crisscross pattern in 2-3 passes).
- Fill with new ATF of the specification given above, in the amount that was drained. Check the level according to the procedure: engine running, fluid warmed up, selector moved through all positions with a pause in each, then to P. Bring the level up to the mark.
- Install the undercover. Take a test drive of 10-15 km (6-9 miles) on a level road: the transmission should shift smoothly, without jerks or slipping. Then check the ATF level again and inspect the transmission for leaks.
Common mistakes and warnings
- This job requires cleanliness: any dirt that gets into the valve body passages can ruin the transmission
- Do not use rags that leave lint
- Do not mix up the valve body bolt lengths, because a long bolt in a short hole can crack the case
- If the transmission is already slipping and there is a lot of debris in the pan, the cause is usually the clutch packs rather than the valve body, and the transmission will need to be inspected at a specialized shop
- If you lack experience, it is better to leave the job to a transmission specialist
- Verify the other values (ATF capacity) against the manufacturer's specifications for your transmission
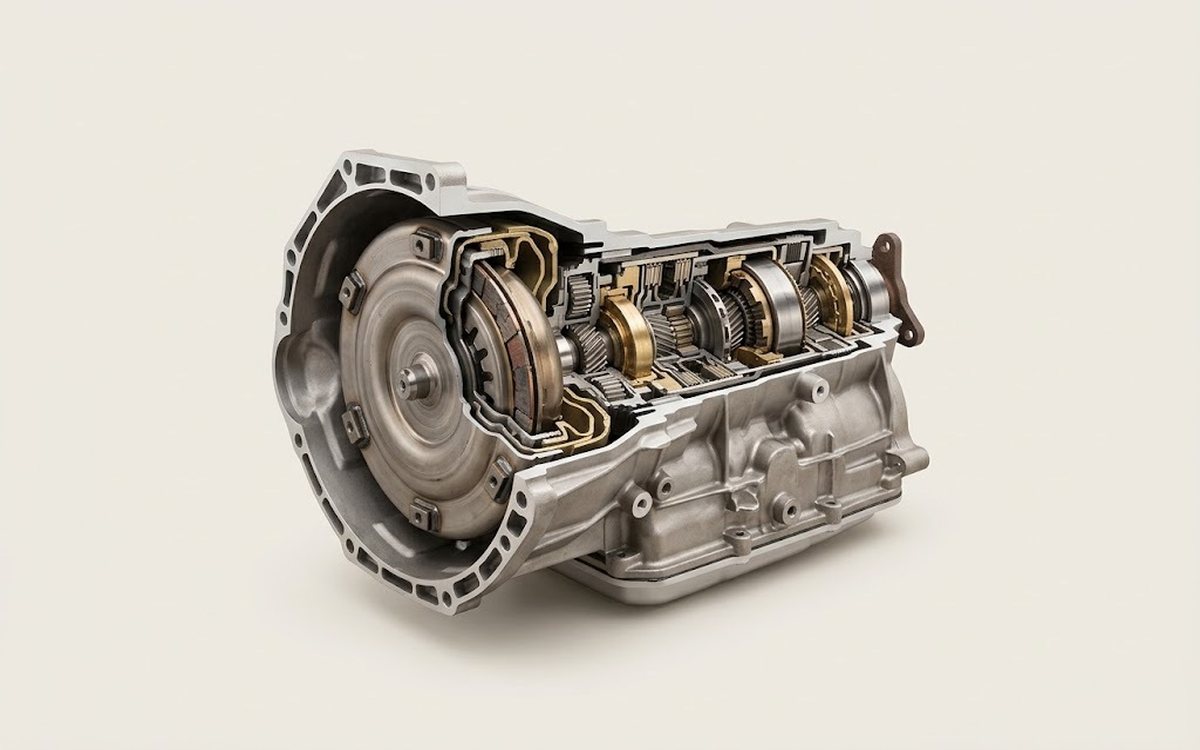 How it works · 3D
How an Automatic Transmission Works
How the part you're working on actually works — in plain English, on a 3D model.
Open in 3D →
Spotted a mistake? Tell us →
Our articles
 Before you buy
What Car to Buy for 1.5 Million Roubles: New, Used and Five Questions Before You Pay
A new Haval Jolion costs from 2,099,000 roubles, not 1.45 million. We compared new car prices with the budget, looked…
Read →
 Brand stories
The History of Toyota
From weaving looms to reliable mass-produced cars.
Read →
 Garage
Fuel Quality Indicators: What Octane and Cetane Numbers Mean
What is an octane number? What about a cetane number? Which fuel should you choose for a high-compression engine?…
Read →