Autopapyrus · Toyota Mark II 2.0 1G-FE (1996)
https://autopapyrus.com/catalog/toyota/mark-ii/guides/timing-belt-replacement/
https://autopapyrus.com/catalog/toyota/mark-ii/guides/timing-belt-replacement/
Compiled automatically from service literature and owner experience. Specs are for the typical configuration — check them against your exact car before you start.
Toyota Mark II 2.0 1G-FE (1996): Timing Belt Replacement
On the 1G-FE, the timing belt drives both camshafts and the oil pump. Based on owner experience, the replacement interval is 70,000-100,000 km, but check the maintenance schedule for the exact value. The belt is replaced together with the pulleys, and while you have access, it is worth replacing the accessory drive belts too. The torque values below are taken from the factory procedure for the 1G-FE; verify any other values against the maintenance schedule.
Key figures
- Crankshaft pulley bolt tightening torqueset it on a torque wrench during assembly, step 21; do not go lower, or the pulley will work loose220 N·m (162 lb-ft)
- Belt tensioner mounting bolt tightening torquestep 19, after installing the belt and the lock43 N·m (32 lb-ft) (setting bolt 8 N·m (71 lb-in))
- Force for turning the tensioner pulley before removing the beltstep 14, 10 mm socket on the pulley's hexat least 40 N·m (30 lb-ft)
- Crankshaft turns for the mark checkstep 20, after which the marks must line up exactly2 full turns
- Force for checking accessory belt deflectionstep 24, press on the belt and check the deflection98 N (about 10 kg)
Check these values against the manufacturer’s specification for your vehicle before you start.
Parts
8| № | Part | Alternatives |
|---|---|---|
| 01 | Timing belt for 1G-FEFind on Amazon → | AlternativesToyotaGatesContiTech |
| 02 | Timing belt idler pulley with hydraulic tensionerFind on Amazon → | |
| 03 | Timing belt bypass pulleyFind on Amazon → | |
| 04 | Water pump with gasketrecommended to replace at the same timeFind on Amazon → | |
| 05 | Crankshaft sealrecommended to replace at the same timeFind on Amazon → | |
| 06 | Oil pump sealrecommended to replace at the same timeFind on Amazon → | |
| 07 | Accessory drive beltsrecommended to replace at the same timeFind on Amazon → | |
| 08 | Coolantwhen replacing the water pumpFind on Amazon → |
Amazon links search by the part name; use Amazon's fit check for your car before ordering. We may earn a commission from qualifying purchases.
Tools
8- Socket set and ratchet Amazon →
- torque wrench up to 250 N·m (184 lb-ft) Amazon →
- 14 mm socket for locking the flywheel Amazon →
- 5 mm hex key Amazon →
- 10 mm and 8 mm sockets for the tensioner Amazon →
- pulley puller (in case the pulley is seized) Amazon →
- chalk or paint for marks Amazon →
- container for coolant Amazon →
Step by step
28 steps · 6 stagesStage 1 of 6 Preparation and access 7 steps
- Wait for the engine to cool down and disconnect the negative battery terminal. Park the car on a level surface or over a pit and secure the wheels.
- Remove the air duct and the air filter housing, along with the plastic covers on top.
- Remove the engine undercover. Drain the coolant if you are removing the radiator. Some owners work without draining: they move the upper hose aside, and about 50-100 ml spills out.
- Remove the fan shroud and the fan with the viscous coupling. Do this before removing the belts, because afterward it is awkward to hold.
- Loosen the alternator mounting and remove the accessory drive belts. There are four: alternator, power steering, A/C, and water pump drive.
- Remove the water pump pulley (the power steering belt runs on it). If the A/C compressor is in the way, unbolt it together with its bracket and set it aside, without disconnecting the hoses.
- Remove the upper timing belt cover and the wiring protective cover (2 10 mm bolts).
Stage 2 of 6 Setting the marks and removing the pulley 5 steps
- Turn the engine only by the crankshaft bolt, clockwise, not by the camshaft gear. Align the mark on the camshaft gear (60° BTDC) with the mark on the cover of the first camshaft bearing. The mark on the crankshaft pulley will then sit at 0 on the belt cover.
- Lock in the position: take photos of the marks and apply paint to the crankshaft gear and the oil pump housing.
- Lock the flywheel. From below, remove the plug in the clutch housing window and insert a 14 mm socket into the flywheel teeth (or use a screwdriver as a stop).
- Remove the crankshaft pulley bolt (it is extremely tight, so you need a long lever and a helper). Remove the pulley. If it is seized, use a puller. Do not lose the key on the shaft, and check it for shearing.
- Remove the lower timing belt cover.
Stage 3 of 6 Removing the old belt 4 steps
- Mark the direction of rotation on the belt with chalk if it will be reused, and confirm once more that the marks line up.
- Insert a 10 mm socket into the hex opening of the tensioner pulley and turn it with a force of at least 40 N·m (30 lb-ft). Let the hydraulic tensioner rod retract and insert a 5 mm hex key into the hole as a lock.
- Carefully loosen the tensioner mounting bolt (8 mm socket), remove the tensioner, and take the belt off all the gears. Do not turn the crankshaft with the belt removed.
- Check that the pulleys spin freely with no play or noise. Inspect the crankshaft and oil pump seals for leaks and replace them if necessary.
Stage 4 of 6 Installing the new belt 4 steps
- Install the new bypass (idler) and tensioner pulleys. Check that the marks on the camshaft gear, the crankshaft gear and the oil pump housing still line up.
- Fit the belt in the direction of rotation: first onto the crankshaft gear and the oil pump gear, then onto the pulleys and the camshaft gear. The side between the crankshaft and the camshaft must be taut with no slack.
- Install the tensioner: tighten the setting bolt to 8 N·m (71 lb-in) and the mounting bolt to 43 N·m (32 lb-ft) (owners quote about 40 N·m (30 lb-ft)). Remove the 5 mm lock afterward.
- Temporarily install the crankshaft pulley bolt with its washers and turn the crankshaft two full turns clockwise. The marks must line up again: camshaft at 60° BTDC, crankshaft at 0. If the belt has jumped a tooth, repeat the installation.
Stage 5 of 6 Reassembly 5 steps
- Remove the temporary bolt. Install the lower timing belt cover, the key and the crankshaft pulley, and tighten the pulley bolt to 220 N·m (162 lb-ft) while locking the flywheel.
- Install the upper timing belt cover and the wiring cover.
- If you removed the A/C compressor: the bracket is tightened to 47 N·m (35 lb-ft) and the four compressor bolts to 25 N·m (18 lb-ft).
- Install the water pump pulley and the accessory drive belts. Alternator bolts: 13 N·m (115 lb-in) and 70 N·m (52 lb-ft). Check belt deflection with a force of 98 N (about 10 kg), and see the maintenance schedule for the allowable deflection.
- Install the fan, shroud, radiator, air duct, air filter housing and undercover. Top up the coolant and reconnect the battery.
Stage 6 of 6 Checking 3 steps
- Start the engine, warm it up until the thermostat opens, and bleed the air from the cooling system. Listen for noise from the pulleys and belts.
- Shut the engine off after 5 minutes of running and recheck the accessory belt tension, the coolant level, and that there are no leaks.
- After 50-100 km, recheck the tightness of the pulley bolts and the belt tension once more.
Common mistakes and warnings
- Turn the engine only by the crankshaft bolt
- If you mix up the marks, the belt will jump and the engine will run roughly
- On the 1G-FE the valves should not bend if the belt breaks, but do not count on that
- Do not replace only the belt and leave the old pulleys: a noisy pulley or one with play will quickly destroy the new belt
- The crankshaft pulley bolt is very tight: do not try to use an impact tool to break it loose against the flywheel lock, and hold the shaft securely
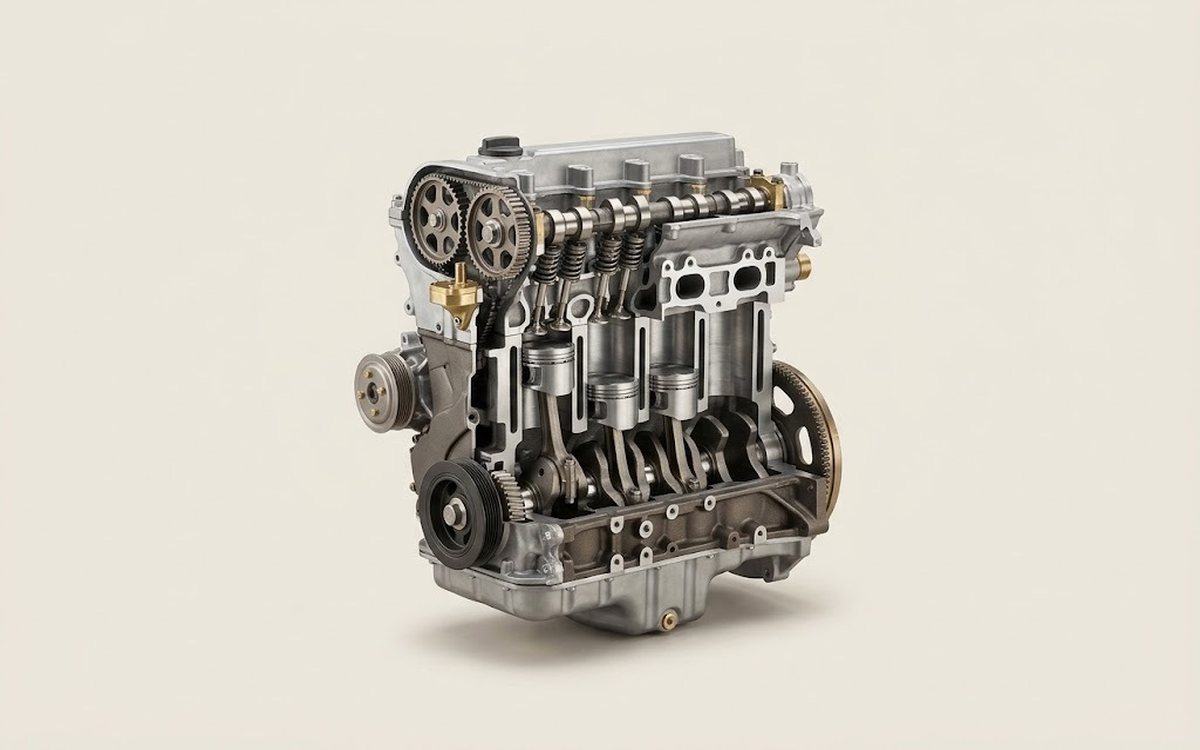 How it works · 3D
How a Car Engine Works
How the part you're working on actually works — in plain English, on a 3D model.
Open in 3D →
Spotted a mistake? Tell us →
Our articles
 Brand stories
The History of Toyota
From weaving looms to reliable mass-produced cars.
Read →
 Garage
Fuel Quality Indicators: What Octane and Cetane Numbers Mean
What is an octane number? What about a cetane number? Which fuel should you choose for a high-compression engine?…
Read →
 Before you buy
How to Pick Up Your Car from the Dealership the Right Way
If you've decided to buy a car from a dealership, it isn't enough to simply choose a model you like, pay for it, and…
Read →