Autopapyrus · Toyota Yaris III (XP130)
https://autopapyrus.com/catalog/toyota/yaris/guides/front-shock-absorber-replacement/
https://autopapyrus.com/catalog/toyota/yaris/guides/front-shock-absorber-replacement/
Compiled automatically from service literature and owner experience. Specs are for the typical configuration — check them against your exact car before you start.
Toyota Yaris III (XP130): Front Shock Absorber Replacement
The Yaris XP130 (including the 1NZ-FXE hybrid) has MacPherson struts at the front. The strut is attached to the steering knuckle with two bolts and to the body with three nuts under the hood. Replace shock absorbers in pairs on an axle; it is more convenient to replace the mounts, bearings, bump stops and dust boots at the same time. The hybrid powertrain does not affect this job, and there is no need to touch any high-voltage components.
Key figures
- Lower bolts securing the strut to the knuckletighten with a torque wrench in step 13; a loose connection is dangerousapproximately 240 N·m (177 lb-ft)
- Stabilizer link nutstep 14, hold the joint with a hex key so the stud does not spinapproximately 43 N·m (32 lb-ft)
- Wheel nutsstep 15, tighten in a criss-cross pattern with the vehicle already loweredapproximately 135 N·m (100 lb-ft)
Check these values against the manufacturer’s specification for your vehicle before you start.
Part
| № | Part |
|---|---|
| 01 | complete front strut assemblies (or cartridges/inserts if the springs and mounts are in good condition), strut bearings and upper strut mounts, bump stops and dust boots (strut protection kit), new self-locking strut rod nuts. Aftermarket options: KYB, Sachs, Monroe, BilsteinFind on Amazon → |
Amazon links search by the part name; use Amazon's fit check for your car before ordering. We may earn a commission from qualifying purchases.
Tools
9- jack and jack stands Amazon →
- lug wrench Amazon →
- sockets and open-end wrenches (including 17 mm and 22 mm) Amazon →
- torque wrench Amazon →
- hammer Amazon →
- hex key or second wrench to hold the strut rod Amazon →
- spring compressors Amazon →
- strut rod anti-rotation tool Amazon →
- penetrating oil (WD-40 type) Amazon →
 There's a full repair manual for this car
Every system, wiring diagrams and torque specs — not just this job. Haynes and 8 more.
See manuals →
Step by step
16 steps- Park the vehicle on level ground, apply the parking brake and chock the rear wheels. Loosen the front wheel nuts, then raise the front of the vehicle and support it on jack stands. Remove the wheel.
- Turn the ignition off and put the hybrid in OFF mode (READY indicator off). This job does not involve the high-voltage system; do not disconnect any orange cables.
- Spray penetrating oil on the threads of the lower strut bolts, the stabilizer link nut and the upper nuts.
- Unbolt the stabilizer link from the shock absorber. Hold the joint with a hex key or a second wrench so the stud does not spin.
- Free the brake hose and ABS sensor wire from the strut (brackets on the strut). Do not stretch the brake hose or leave it hanging from the caliper. There is no need to remove the caliper.
- Knock out or unscrew the two lower bolts that clamp the strut to the steering knuckle. Before removing them, mark the position of the bolts (if there is an eccentric/camber bolt, it must go back in the same position). If the bolts are stuck, tap them lightly with a hammer, with a nut threaded on a couple of turns to protect the threads.
- Open the hood. Remove the plastic covers around the strut towers (at the base of the windshield) to access the upper nuts. Supporting the strut from below, remove the three upper nuts that secure the mount to the body and take the strut out downward and to the side.
- Clamp the strut in a vise by its body using soft jaw protectors, or use a strut holding stand. Install the spring compressors on the spring and compress it until the load is off the upper mount. Use only serviceable compressors: a compressed spring is dangerous.
- While holding the strut rod from turning (with a hex key), remove the center strut rod nut. Remove the mount, bearing, spring seat, spring, bump stop and dust boot.
- Compare the old and new shock absorbers: length, seats, brackets. Install the dust boot and bump stop on the new shock absorber, then the spring (the ends of the coils must sit in the seat stops), the upper seat, the bearing and the mount. All parts must sit in the same position as before disassembly.
- Tighten the center strut rod nut while holding the rod from turning. Use the torque specified by the manufacturer (for self-locking nuts of this type, typically around 40-60 N·m (30-44 lb-ft)), and use a new nut. Slowly release the compressors and make sure the spring is seated correctly.
- Install the assembled strut into the wheel arch, guide the mount studs into the holes in the body and start the three upper nuts. Tighten them to approximately 40-50 N·m (30-37 lb-ft) (exact value per the service manual).
- Insert the lower bolts through the strut brackets and the knuckle, keeping the original position (bolt direction and eccentric, if present). Tighten them with a torque wrench to approximately 240 N·m (177 lb-ft). It is best to tighten them under load, with the suspension raised to its normal working position.
- Secure the brake hose and ABS wire brackets. Connect the stabilizer link and tighten the nut to approximately 43 N·m (32 lb-ft).
- Install the wheel, hand-tighten the nuts in a criss-cross pattern, lower the vehicle and tighten the wheel nuts with a torque wrench to approximately 103-135 N·m (76-100 lb-ft) (exact value per the service manual for your wheels). Repeat the job on the other side.
- Reinstall the covers in the engine compartment, bounce the body up and down and check for knocking noises. After the replacement, have the wheel alignment done; without it, the tires may wear quickly and the car may pull to one side.
Common mistakes and warnings
- The suspension is a safety-critical system
- Working with spring compressors is dangerous: if you lack experience, have a repair shop assemble the struts
- The torque values above are approximate; check the exact values in the manufacturer's service manual
- Replace shock absorbers in pairs, and always install new self-locking strut rod nuts
- A wheel alignment is required after the replacement
- Do not stretch the brake hose or the ABS wire
- Do not touch the orange high-voltage cables of the hybrid system
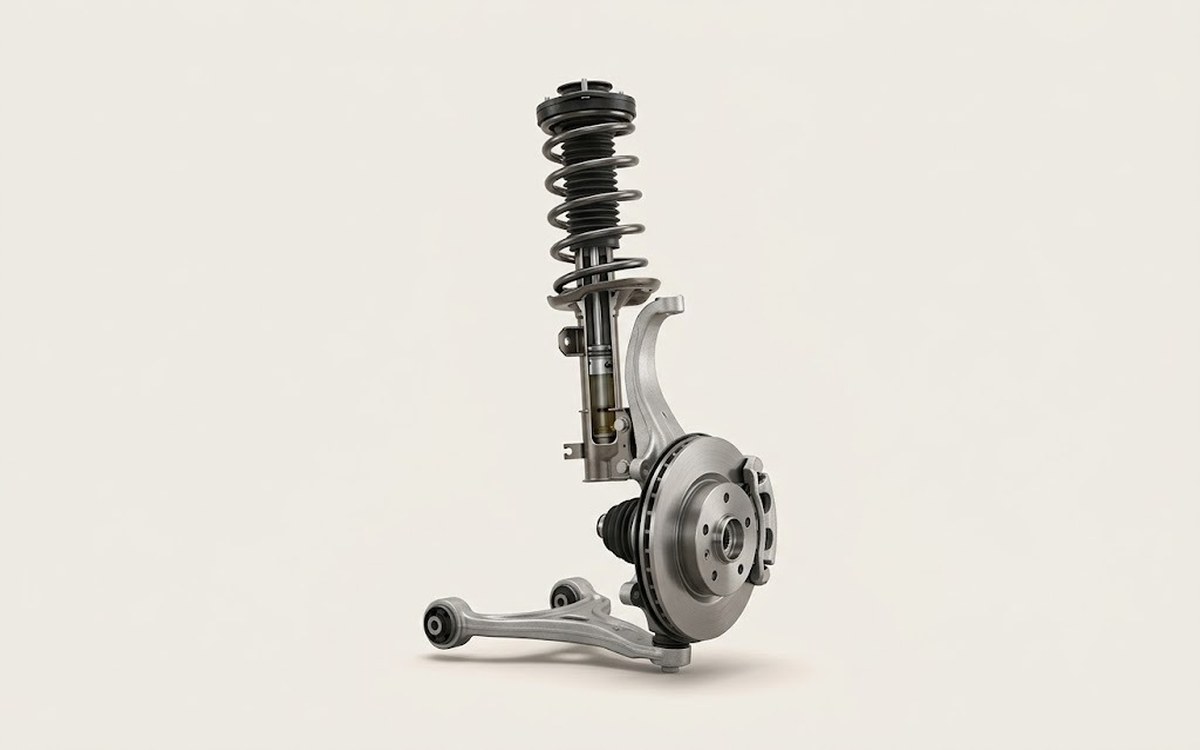 How it works · 3D
How Car Suspension Works
How the part you're working on actually works — in plain English, on a 3D model.
Open in 3D →
Spotted a mistake? Tell us →
Our articles
 Brand stories
The History of Toyota
From weaving looms to reliable mass-produced cars.
Read →
 Garage
Fuel Quality Indicators: What Octane and Cetane Numbers Mean
What is an octane number? What about a cetane number? Which fuel should you choose for a high-compression engine?…
Read →
 Before you buy
How to Pick Up Your Car from the Dealership the Right Way
If you've decided to buy a car from a dealership, it isn't enough to simply choose a model you like, pay for it, and…
Read →