Autopapyrus · Volkswagen Polo 1.6 MPI CWVA (2017)
https://autopapyrus.com/catalog/volkswagen/polo/guides/timing-belt-idler-pulleys-tensioner-and-water-pump-replacement/
https://autopapyrus.com/catalog/volkswagen/polo/guides/timing-belt-idler-pulleys-tensioner-and-water-pump-replacement/
Compiled automatically from service literature and owner experience. Specs are for the typical configuration — check them against your exact car before you start.
Volkswagen Polo 1.6 MPI CWVA (2017): Timing Belt, Idler Pulleys, Tensioner and Water Pump Replacement
The CWVA (EA211 family) uses a toothed timing belt, and the water pump sits in the drive area and is driven by the belt from the exhaust camshaft. For this reason, the belt, pulleys, tensioner and pump are replaced together as one kit, because getting back to them later is very labor-intensive. The service interval is roughly 60,000-100,000 km (about 37,000-62,000 miles). If the car is past that mileage or age, replace the belt without delay. If the belt breaks, the valves may bend.
Diagram: what the timing belt kit consists of
Tap to enlarge
- 1New toothed belt: a closed loop with teeth inside. Fit it instead of the old one without shifting the marks.
- 2New tensioner roller with a pointer plate and a hex bolt in the center. Turn it to the mark to tension the belt.
- 3New idler roller: the bearing and center bolt are visible from the end. It replaces the old one.
- 4New crankshaft pulley bolt: single use, tighten with a torque wrench to spec.
- 5Roller bolts: flanged hex bolts holding the rollers at the center. Pre-tighten the tensioner bolt first.
Parts
5| № | Part | Alternatives |
|---|---|---|
| 01 | Timing kit for 1.6 MPI CWVA (timing belt, tensioner pulley, idler pulley)Find on Amazon → | AlternativesGatesContitechINASKF |
| 02 | Coolant pump with thermostat housing for CWVAFind on Amazon → | |
| 03 | Coolant G12/G12+Find on Amazon → | |
| 04 | Crankshaft pulley boltnewFind on Amazon → | |
| 05 | Pump gaskets and O-ringsif neededFind on Amazon → |
Amazon links search by the part name; use Amazon's fit check for your car before ordering. We may earn a commission from qualifying purchases.
Tools
10- Socket set and ratchet Amazon →
- torque wrench Amazon →
- Torx and hex bit set Amazon →
- camshaft locking tool (OEM or homemade from a plate and pins) Amazon →
- engine support or jack with a wooden block under the engine Amazon →
- crankshaft pulley holding tool Amazon →
- coolant drain pan Amazon →
- work light Amazon →
- inspection mirror Amazon →
- marker or paint Amazon →
 There's a full repair manual for this car
Every system, wiring diagrams and torque specs — not just this job. Haynes and 16 more.
See manuals →
Step by step
29 steps · 6 stagesStage 1 of 6 Preparation 5 steps
- Park the car on a level surface or lift. The engine must be cold. Disconnect the negative battery terminal.
- Remove the engine cover and the air duct to the throttle body if it blocks access to the upper mount.
- Raise the car, remove the right front wheel, the engine undercover and the wheel arch liner.
- Drain the coolant from the radiator or the lower hose into a clean container. If it is old or cloudy, replace it with new coolant.
- Remove the accessory drive belt, first taking a photo of its routing. Release the belt tensioner and take the belt off.
Stage 2 of 6 Accessing the timing drive 7 steps
- Position an engine support or a jack with a wooden block under the engine and lift it slightly.
- Unbolt and remove the right engine mount together with its bracket (tightening torques per the manufacturer's specification). Disconnect the ground wire if it is attached to the bracket.
- Remove the upper plastic timing belt cover.
- Turn the crankshaft by the pulley bolt in the direction of rotation to top dead center (TDC) of cylinder 1. The mark on the pulley or tooth must line up with the mark on the block, and the marks on the camshaft gears must line up with the marks on the housing or with the locking tool.
- Lock the camshafts with the OEM locking tool. If the tool does not go in, turn the crankshaft one more full revolution and try again.
- Lock the crankshaft pulley against turning and remove its bolt. Remove the pulley. The pulley bolt is single-use and must be replaced with a new one.
- Remove the lower timing belt covers. Make sure the crankshaft mark on the toothed sprocket still lines up with the mark on the block.
Stage 3 of 6 Removal 5 steps
- Use paint to mark the belt and the camshaft gears so you do not lose the belt position.
- Loosen the tensioner pulley bolt, turn the tensioner to relieve the tension on the belt, and remove the belt.
- Remove the tensioner and idler pulleys. Check whether the camshafts and crankshaft have moved relative to their marks.
- Remove the water pump fasteners and take off the pump (it is integrated with the thermostat housing). Wipe up any remaining coolant.
- Clean the mating surfaces and check the camshaft and crankshaft gears for tooth wear.
Stage 4 of 6 Installation 4 steps
- Install the new water pump with new seals and tighten the fasteners evenly (torque per the manufacturer's specification; for pumps in this family it is low, roughly 10-20 N·m (7-15 lb-ft)).
- Install the new idler and tensioner pulleys. Tighten the tensioner bolt snug for now, to roughly 20 N·m (15 lb-ft) (final torque per the specification).
- Fit the new belt in the order given by the kit manufacturer: first the crankshaft gear, then the idler pulley, the camshaft gears, the water pump, and last the tensioner pulley. Keep the belt run between the crankshaft and the camshafts taut and make sure the marks have not moved.
- Tension the belt by turning the tensioner until the pointer lines up with the mark on the housing (check with the mirror), then tighten the tensioner bolt.
Stage 5 of 6 Mark check and reassembly 5 steps
- Remove the camshaft locking tools and turn the crankshaft two full revolutions in the direction of rotation. Never turn the engine backward.
- Bring the engine back to TDC and insert the camshaft locking tool again. If it goes in freely and the tensioner pointer is in place, the tension is correct. If not, repeat the adjustment from step 21.
- Install the lower and upper timing belt covers and the crankshaft pulley with the new bolt (torque and angle per the manufacturer's specification, always using a torque wrench).
- Install the engine mount bracket and the mount and tighten them per the specification. Reconnect the ground wire and remove the engine support.
- Install the accessory drive belt according to the photo you took, then the wheel (wheel bolt torque 120 N·m (89 lb-ft)), the wheel arch liner and the undercover.
Stage 6 of 6 Refill and check 3 steps
- Fill with coolant meeting the VW specification up to the proper level and reconnect the battery.
- Start the engine and warm it up until the thermostat opens, keeping the reservoir cap off. Bleed the air and top up the coolant to the mark.
- Check for leaks at the pump and hoses and listen for belt noise. Take a test drive, then let the engine cool and check the coolant level once more.
Common mistakes and warnings
- Installing the belt one tooth off can cause the valves to hit the pistons
- Always check the marks after turning the crankshaft two revolutions
- The torque values in the text are approximate; verify the exact values against the manufacturer's specification
- If you lack experience, it is better to leave this job to a repair shop
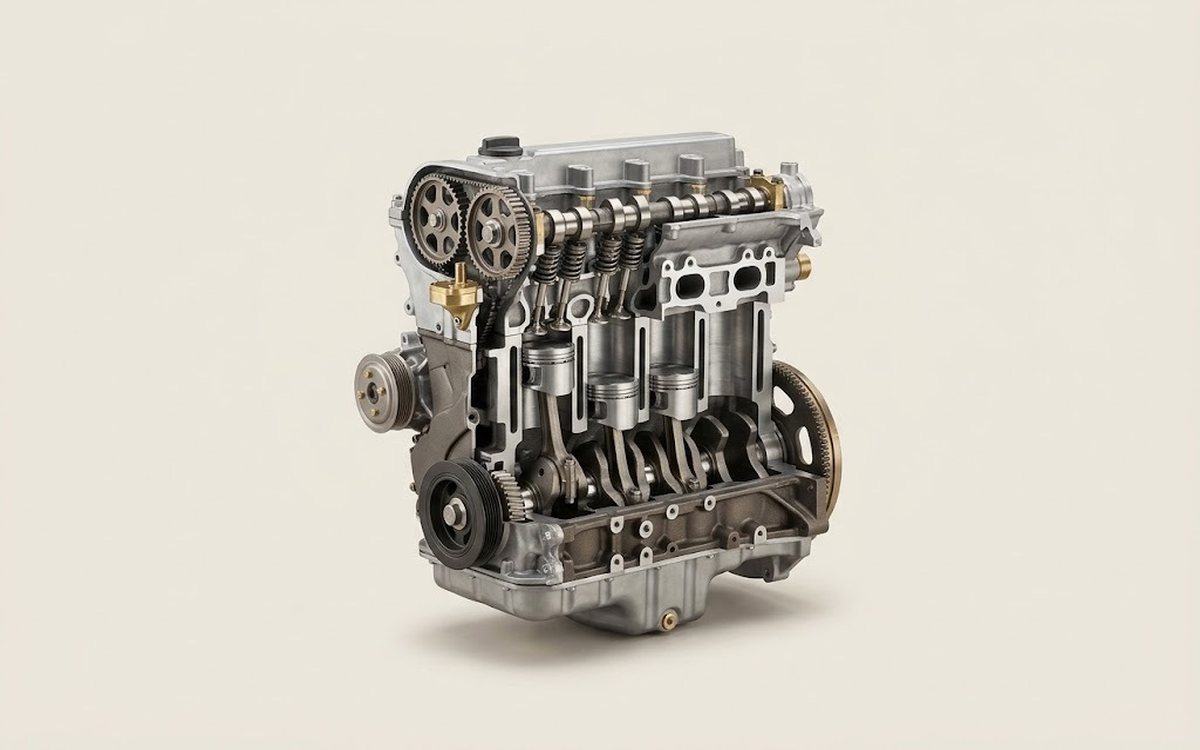 How it works · 3D
How a Car Engine Works
How the part you're working on actually works — in plain English, on a 3D model.
Open in 3D →
Spotted a mistake? Tell us →
Our articles
 Brand stories
The History of Volkswagen
Volkswagen proved to the world that a car can be "the people's car": good-looking, affordable and fun.
Read →
 Garage
Fuel Quality Indicators: What Octane and Cetane Numbers Mean
What is an octane number? What about a cetane number? Which fuel should you choose for a high-compression engine?…
Read →
 Before you buy
How to Pick Up Your Car from the Dealership the Right Way
If you've decided to buy a car from a dealership, it isn't enough to simply choose a model you like, pay for it, and…
Read →