Autopapyrus · Wuling Jiachen 1.5 turbo 147 hp (2024)
https://autopapyrus.com/catalog/wuling/jiachen/guides/coolant-replacement/
https://autopapyrus.com/catalog/wuling/jiachen/guides/coolant-replacement/
Compiled automatically from service literature and owner experience. Specs are for the typical configuration — check them against your exact car before you start.
Wuling Jiachen 1.5 turbo 147 hp (2024): Coolant Replacement
Replace the coolant in the 1.5 turbo according to the manufacturer's schedule (usually every few years or by mileage), or sooner if it turns dark, takes on a rusty tint or has sediment. The car has two reservoirs: the main expansion tank and a separate turbocharger circuit tank, so it is important to fill both and bleed out the air. Below: drain, flush, then refill.
Diagram: where the radiator cap and expansion tank are
Tap to enlarge
- 1Radiator cap: never open on a hot engine, it causes burns.
- 2Expansion tank: check the coolant color and sediment, bring the level to the MAX mark.
- 3Tank cap: unscrew only on a cold engine, this releases the vacuum.
- 4Hose from the radiator neck to the tank: a landmark to find both parts.
Parts
2| № | Part | Alternatives |
|---|---|---|
| 01 | Ethylene glycol coolant (antifreeze), carboxylate or hybrid, premixed -40 °Chave 6-8 L (6.3-8.5 qt) on hand; concentrate can be mixed 50/50 with distilled water; do not mix different typesFind on Amazon → | AlternativesSintecLukoilFelixTotal |
| 02 | Distilled water for flushing the cooling system8-12 L (8.5-12.7 qt)Find on Amazon → |
Amazon links search by the part name; use Amazon's fit check for your car before ordering. We may earn a commission from qualifying purchases.
Tools
8Step by step
29 steps · 5 stagesStage 1 of 5 Preparation 4 steps
- Park the car on level ground and let the engine cool completely (at least 2-3 hours). A hot, pressurized system can spray boiling coolant.
- Open the hood. Locate the expansion tank and the second, smaller tank for the turbocharger circuit. Check the coolant color and look for sediment or an oil film.
- Remove the decorative engine cover and, if it gets in the way, the air intake pipe or air filter housing to reach the upper hoses.
- Prepare an 8-10 L (8.5-10.5 qt) drain pan and, if draining from below, support the car on jack stands under the wheels. Never get under a car supported only by a jack.
Stage 2 of 5 Draining the old coolant 7 steps
- Unscrew the expansion tank cap (cold engine only) to release any vacuum.
- Find the drain petcock on the lower radiator hose or radiator tank (a plastic plug-style petcock). Access it from above or through a service opening in the lower undertray or bumper trim.
- Place the pan underneath and slip a piece of hose onto the fitting so the coolant doesn't splash.
- Carefully loosen the petcock 2-3 turns with a 12 mm wrench or a screwdriver. The plastic is brittle, so use moderate force.
- Let the coolant drain completely. About 4-5 L (4.2-5.3 qt) will come out of the radiator; the rest stays in the engine block, heater core and tanks.
- Use a syringe or baster to remove the coolant from the expansion tank and the turbocharger tank.
- If the coolant doesn't drain fully, disconnect the lower radiator hose by removing the spring clamp and drain the remainder. Then reinstall the hose and clamp.
Stage 3 of 5 Flushing 6 steps
- Close the drain petcock. Tighten the wrench smoothly, to "snug plus a little extra" by feel (it's plastic, no torque spec is given, and it must not be over-tightened).
- Pour distilled water into the radiator and tank up to the MAX mark.
- Start the engine, set the cabin heater to maximum heat and let it run until the radiator fan switches on (about 10-15 minutes).
- Shut off the engine, let it cool to warm, then drain the water the same way as in steps 6-11.
- Repeat the flush until clean water runs from the petcock. Usually 1-2 cycles are enough; more if it is very dirty.
- Drain the water as completely as possible, close the petcock and check that all hoses and clamps are in place.
Stage 4 of 5 Filling with new coolant 4 steps
- If you are using concentrate, mix it 50/50 with distilled water in a clean container. Premixed -40 °C coolant should not be diluted.
- Pour the coolant in through the expansion tank in small portions, about 4 L (4.2 qt) into the radiator and system, so air can escape gradually.
- Bring the level in the main tank up to the MAX mark. Fill the turbocharger tank to its mark using a syringe or funnel.
- Leave the expansion tank cap off or resting loosely on top, not tightened.
Stage 5 of 5 Bleeding air and checking 8 steps
- Start the engine, set the heater to maximum and let it idle. You can lightly raise the revs to 2000-2500 rpm.
- Watch the level in the tanks and top up as it drops. Until the thermostat opens (the fan comes on at around 95 °C), the level will fluctuate.
- When hot air blows steadily from the vents and the fan has run 1-2 cycles, check that the radiator hoses are hot and there are no bubbles in the tank.
- Shut off the engine and close the tank cap until it clicks (on a warm engine, use a rag over the cap).
- Drive 10-15 km (6-9 miles) gently, then let the engine cool and check the level when cold. Top up to MAX.
- Inspect the drain petcock, lower hose and mounts for leaks. Wipe up any spilled coolant from the engine and undertray.
- Recheck the level after 2-3 days of driving, as air pockets may take another 0.2-0.5 L (0.2-0.5 qt).
- Take the used coolant to a recycling facility. Do not pour it down a drain or onto the ground.
Common mistakes and warnings
- Antifreeze is toxic and dangerous to animals, so store it in a closed container
- Do not open the tank cap on a hot engine, as it can cause burns
- Do not mix different coolant types
- Check the manufacturer's schedule for the full system capacity and replacement interval for your engine version, since the values in this guide are approximate
- If you find an oil film or white deposits during draining, it may indicate a leaking head gasket and the car needs diagnosis at a repair shop
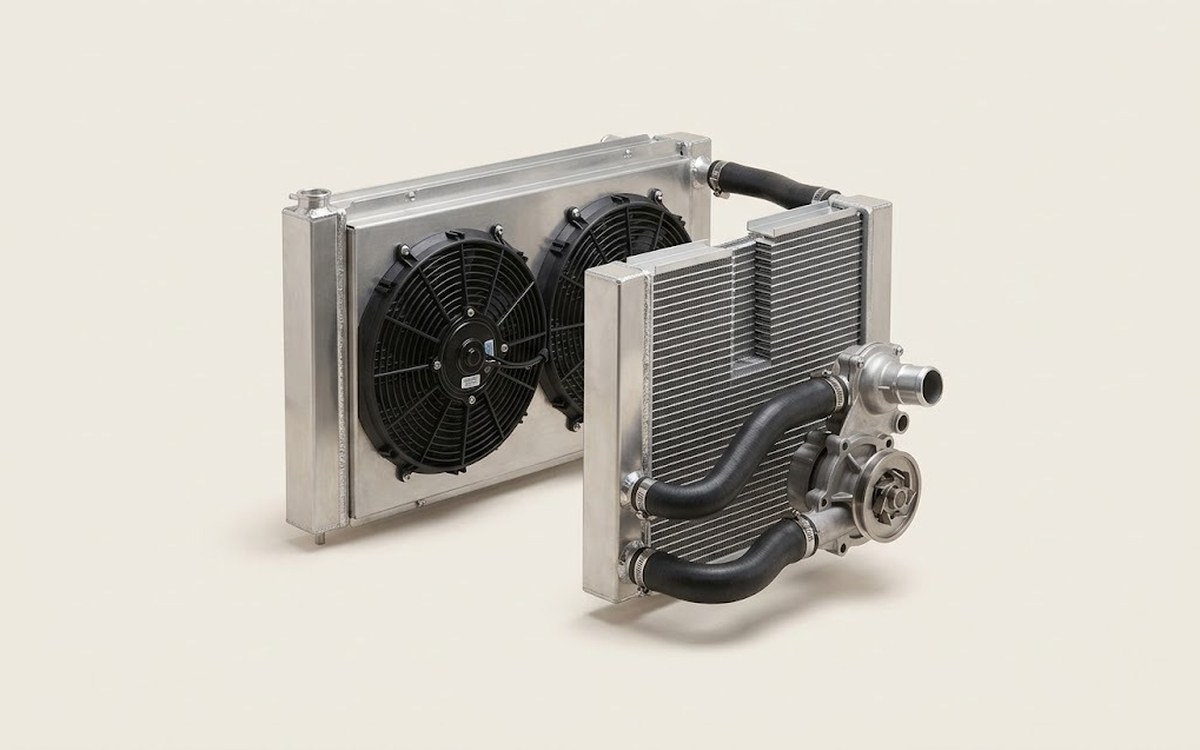 How it works · 3D
How the Engine Cooling System Works
How the part you're working on actually works — in plain English, on a 3D model.
Open in 3D →