Autopapyrus · Audi A4 B7 (2007)
https://autopapyrus.com/guides/audi/a4/front-brake-pad-replacement/
https://autopapyrus.com/guides/audi/a4/front-brake-pad-replacement/
Compiled automatically from service literature and owner experience. Specs are for the typical configuration — check them against your exact car before you start.
Audi A4 B7 (2007): Front Brake Pad Replacement
On the B7, the front pads are replaced without disconnecting the brake hose: the caliper swings off on two guide pins and is hung to the side. Always replace pads as a set on both sides of the axle. If the rotors have a heavy wear lip or runout, replace the rotors too (as a pair).
Key figures
- Caliper guide pin torque30 N·m (22 lb-ft). Set this on the torque wrench in step 13, otherwise the caliper may work loose or the pins may be damaged.
- Caliper bracket bolt torqueabout 190 N·m (140 lb-ft). You only need this if you remove the bracket to replace a rotor (see the warning). The bracket is not touched when replacing pads.
Check these values against the manufacturer’s specification for your vehicle before you start.
Parts
2| № | Part | Genuine part no. | Alternatives |
|---|---|---|---|
| 01 | Front brake pad set for Audi A4 B7 with wear sensor1 set | 8E0698151G | AlternativesBremboATETRWTextar |
| 02 | Caliper retaining spring and boot hardware kitif included in the box | 8K0698470A | |
| 431698471B |
Part numbers are from the manufacturer's original catalogue. Check them against your VIN before ordering.
Tools
10- jack and jack stands
- lug wrench
- sockets and hex bits for the caliper guide pins (check the size on your car)
- torque wrench
- screwdriver
- piston return tool (C-clamp or a special piston wind-back tool)
- syringe or turkey baster for removing brake fluid
- wire brush
- brake cleaner
- copper or ceramic brake grease for the guide pins
 There's a full repair manual for this car
Every system, wiring diagrams and torque specs — not just this job. Haynes and 17 more.
See manuals →
Step by step
17 steps- Loosen the wheel bolts, raise the car, support it on jack stands and remove the front wheel. Never leave the car supported by a jack alone.
- Open the hood. Use a syringe or baster to remove some brake fluid from the reservoir so it doesn't overflow when you push the piston back. Brake fluid is toxic: never siphon it by mouth, and don't spill it on paint.
- Remove the protective caps from the caliper guide pins.
- If a pad wear sensor is fitted, disconnect its connector. Lift the locking tab, turn the lower part of the connector 90° and pull it out of the bracket.
- Use a screwdriver to pry the pad retaining spring out of the caliper body and remove it.
- Remove both guide pins and lift the caliper body off the bracket. Hang it from a wire or rest it on the suspension arm. Never pull on the brake hose or leave the caliper hanging from it.
- Remove the old pads from the caliper and from the bracket. If you plan to reuse the old pads, mark their positions. Install new pads only as a set on both wheels of the axle.
- Inspect the rotor: deep grooves, a heavy lip, cracks and uneven wear mean the rotors must be replaced as a pair. Check this before installing the new pads.
- Clean the bracket guide surfaces and the caliper body with a wire brush. Wash only with brake cleaner or alcohol, never gasoline or oil. Check the guide pin boots and replace any that are torn.
- Push the caliper piston all the way in with the piston return tool. Watch the fluid level in the reservoir and the condition of the piston boot.
- Apply a thin layer of brake grease to the pad seating surfaces and the retaining spring. No grease may get on the pad friction surface or the rotor.
- Insert the inner pad (piston side, the one with the spring) into the caliper. If the pad has an arrow, it must point in the direction of forward wheel rotation, otherwise noise may result. If the back of the outer pad has a protective film, peel it off before installing. Install the outer pad in the bracket.
- Place the caliper over the bracket and tighten both guide pins to 30 N·m (22 lb-ft). Install the protective caps.
- Install the retaining spring: it must engage both holes in the caliper body and sit under the bracket. If it is installed incorrectly, the outer pad wear is taken up unevenly and pedal travel increases. Reconnect the wear sensor connector.
- Install the wheel and tighten the bolts in a crisscross pattern to the torque specified by the manufacturer for your wheel type. Lower the car and do the final tightening with a torque wrench.
- With the car parked and the engine off, press the brake pedal firmly several times so the pads seat against the rotor and the pedal feels firm. Check the brake fluid level in the reservoir and top up to the MAX mark if needed.
- Repeat everything on the other wheel. For the first 200-300 km (125-185 miles), avoid hard braking while the pads bed in to the rotors.
Common mistakes and warnings
- Brakes are a safety system
- If you are not confident in your skills, have a shop do the work
- After the job, always check the pedal with the car stationary and brake gently at low speed
- If the pedal sinks to the floor or the brakes don't hold, do not drive the car
- If you are replacing the rotors, the caliper bracket is attached to the steering knuckle with ribbed bolts tightened to a high torque (about 190 N·m (140 lb-ft) per factory data)
- Tighten these bolts only with a torque wrench, and use new bolts
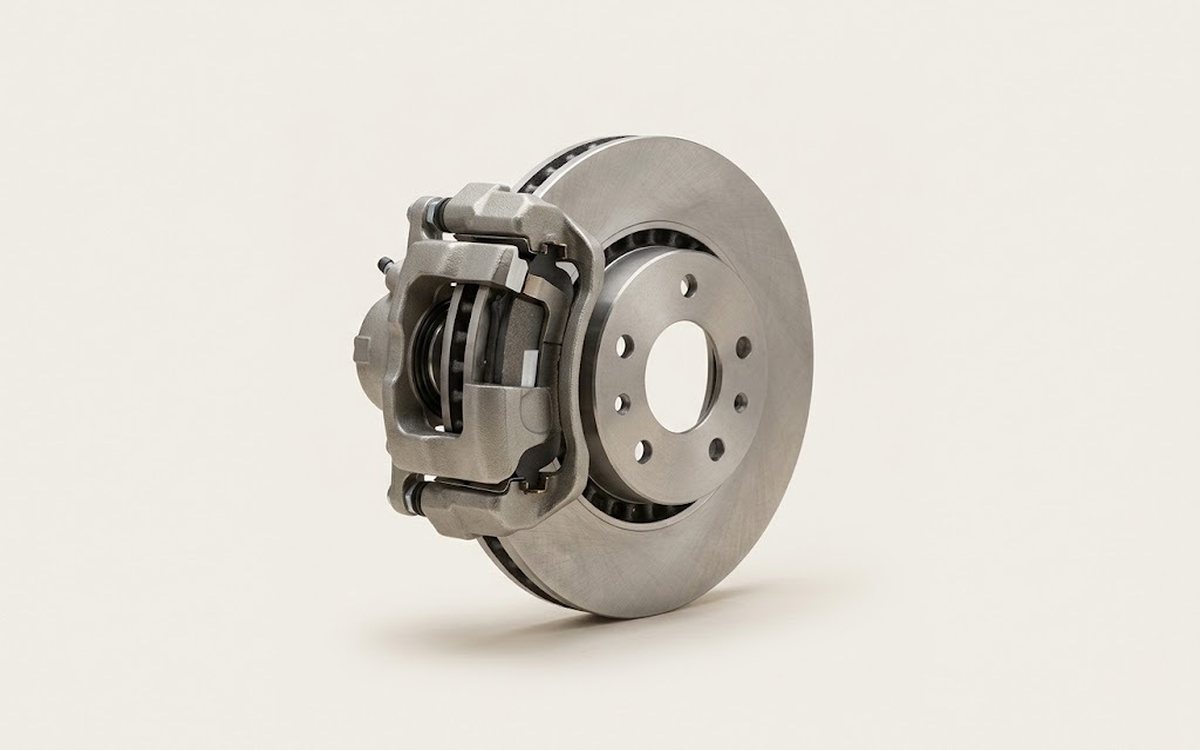 How it works · 3D
How Car Brakes Work
How the part you're working on actually works — in plain English, on a 3D model.
Open in 3D →