Autopapyrus · Audi Q7 3.0 TDI CVMA (2016)
https://autopapyrus.com/guides/audi/q7/timing-chain-replacement/
https://autopapyrus.com/guides/audi/q7/timing-chain-replacement/
Compiled automatically from service literature and owner experience. Specs are for the typical configuration — check them against your exact car before you start.
Audi Q7 3.0 TDI CVMA (2016): Timing Chain Replacement
On the 3.0 TDI V6, the timing drive is chain-type and located on the transmission side of the engine, so you must remove either the transmission or the entire powertrain to reach it. This is one of the most labor-intensive jobs on this engine. Typical reasons for replacement: chain noise on a cold start and under load, worn plastic guides, and camshaft/crankshaft correlation errors. The exact sequence and torque specifications for your engine code are not confirmed in open sources, so the general procedure is given below; tighten all fasteners strictly to the manufacturer's specifications.
Parts
7| № | Part | Genuine part no. | Alternatives |
|---|---|---|---|
| 01 | Timing chain kit for 3.0 TDI V6 (chains, sprockets, guides and tensioner rails, tensioners, single-use bolts) | 059109252E | Febi, Ina, Swag |
| 059109229AG | |||
| 059109106C | |||
| 059109507AE | |||
| 02 | Gasket and seal set for crankshaft and camshafts | 059100036N | Febi, Ina, Swag |
| 059100036Q | |||
| 03 | Transmission input shaft seal | Febi, Ina, Swag | |
| 04 | Engine oil 5W-30, VW 507.00 | ||
| 05 | Oil filter | 059115389T | |
| 059198405B | |||
| 06 | Coolant G12 evo/G13 | ||
| 07 | Automatic transmission fluid (ATF)if it was drained |
Part numbers are from the manufacturer's original catalogue. Check them against your VIN before ordering.
Tools
9- lift
- transmission jack or engine hoist
- timing tool set for the 3.0 TDI (camshaft and crankshaft locking tools, tensioning tools)
- torque wrench
- Torx and E-Torx socket set
- puller
- seal installation drifts
- drain pans for oil and coolant
- straps for securing components
 There's a full repair manual for this car
Every system, wiring diagrams and torque specs — not just this job. Haynes AutoFix (online) and 1 more.
See manuals →
Step by step
12 steps- Disconnect the negative battery terminal and remove the lower engine undercover. Drain the engine oil and the coolant.
- Remove the decorative engine covers, air ducts, intercooler with its pipes, and the fan and radiator, or move the front panel into the service position (per the factory manual).
- Remove the drive belt, the tensioner, and any accessories that block access. Disconnect the A/C without opening the refrigerant circuit (move the compressor aside on its hoses).
- Remove the driveshafts, the exhaust system, the transfer case, and the transmission (on air suspension, first set it to lift/service mode). Support the transmission with a transmission jack. Remove the flywheel and the timing drive cover on the transmission side.
- Set the crankshaft to TDC on cylinder 1 and lock the crankshaft and camshafts with the proper locking tools. Do not remove the chain without the locking tools: the timing will be lost.
- Before removal, mark the chain position on the sprockets with paint. Loosen and remove the tensioners, then the chains, sprockets, and guides.
- Inspect the oil pump, its chain, and the oil pickup screen: fragments of worn guides can clog the screen. If it is contaminated, clean the oil pan and the screen.
- Install the new chains, sprockets, guides, and tensioners with single-use bolts, matching the marks. Tighten the fasteners to the specified torques (the values and angle-tightening steps differ for each bolt).
- Check the timing: turn the crankshaft by hand 2 full revolutions in the direction of rotation and make sure the locking tools slide in freely. Replace the crankshaft and camshaft seals and apply sealant to the cover as specified.
- Reassemble in reverse order: flywheel, transmission, transfer case, driveshafts, exhaust system. Take the tightening torques for the transmission and flywheel fasteners from the factory manual.
- Refill with oil and coolant and bleed the cooling system. Connect a diagnostic tool and check that there are no fault codes for timing or camshaft correlation; perform adaptations if necessary.
- Start the engine, let it warm up, check for leaks and fluid levels, and take a test drive.
Common mistakes and warnings
- A mistake in setting the timing can cause the valves to hit the pistons and lead to expensive repairs
- Because of the amount of disassembly involved (transmission, transfer case, air suspension), this job is best left to a specialized shop if you lack experience and a lift
- Do not reuse single-use bolts or tensioners
- Before starting, be sure to check oil consumption and the condition of the oil pump screen
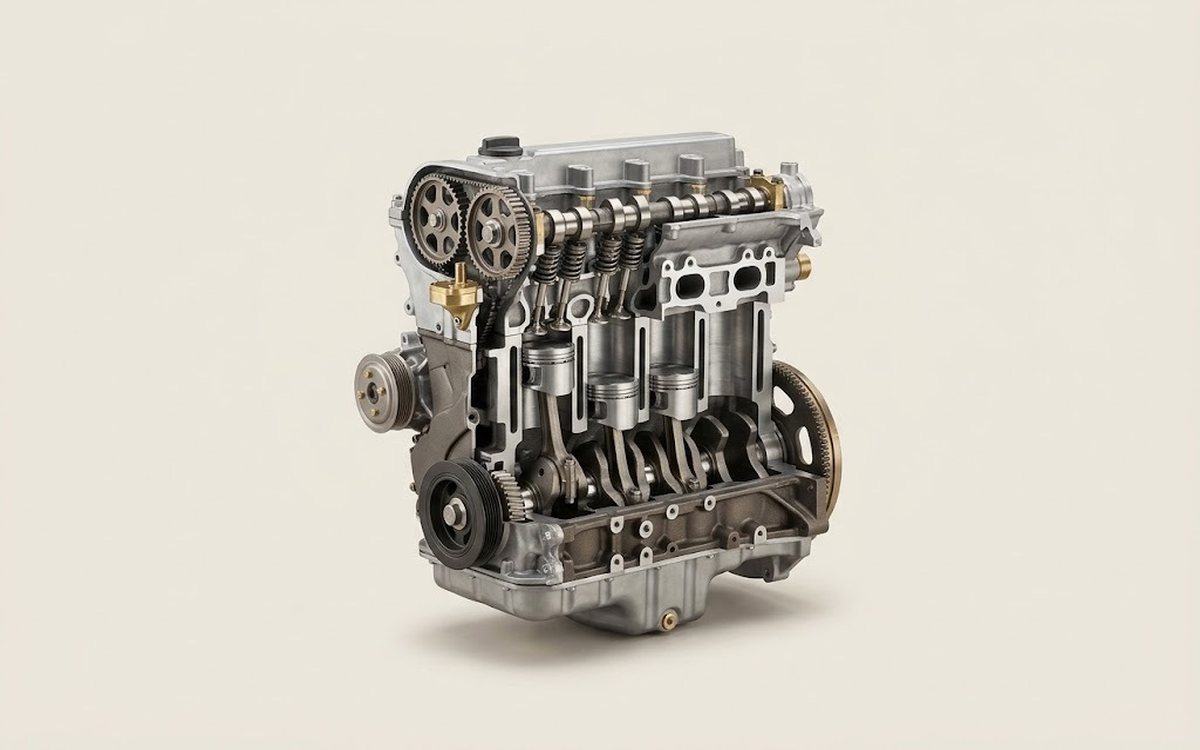 How it works · 3D
How a Car Engine Works
How the part you're working on actually works — in plain English, on a 3D model.
Open in 3D →