Autopapyrus · Geely Coolray (1st generation, SX11)
https://autopapyrus.com/guides/geely/coolray/rear-brake-pad-replacement/
https://autopapyrus.com/guides/geely/coolray/rear-brake-pad-replacement/
Compiled automatically from service literature and owner experience. Specs are for the typical configuration — check them against your exact car before you start.
Geely Coolray (1st generation, SX11): Rear Brake Pad Replacement
The Coolray has rear disc brakes and an electric parking brake (EPB). Because of this, you must put the caliper piston into service position before replacing the pads. Forcing the piston back by hand can damage the caliper actuator. The exact procedure for this model is not documented in publicly available service materials. Below is the general principle for rear calipers with an electric drive. Check the details against the manufacturer's service manual.
Parts
3| № | Part | Alternatives |
|---|---|---|
| 01 | Geely Coolray rear disc brake pad set (with wear sensor, if equipped) | Ferodo, TRW, Textar, Brembo |
| 02 | Caliper guide pin repair kitif needed | |
| 03 | Pad retaining clipsif needed |
Step by step
17 steps- Park the vehicle on level ground, shut off the engine, and chock the front wheels. With the wheels still on the ground, loosen the rear wheel lug nuts half a turn.
- Put the EPB into service (maintenance) mode. This is done with a scan tool or with a combination of the parking brake switch and the ignition. Verify that the mode is active (an indicator lights up on the instrument cluster). This allows the caliper's electric actuator to retract the piston so it does not get in the way of the job. Do not try to push the piston back before this mode is active.
- Raise the rear of the vehicle, place jack stands under the body, and remove the wheel. A jack is not a substitute for jack stands.
- Inspect the caliper, hose, and dust boots. If you see fluid leaks or torn boots, the caliper needs to be repaired or replaced.
- Remove the two caliper guide pin bolts (with a 14-17 mm wrench; check the size on the vehicle). Hold the guide pin still if it turns.
- Take the caliper off the bracket and hang it from the body with wire or a zip tie. The brake hose must not hang under load or be kinked.
- Pull the old pads out of the bracket and note which one was in which position. Remove the anti-squeal shims and retaining clips, if fitted.
- Measure the thickness of the friction material. If it is thinner than the minimum specified by the manufacturer, the pads must be replaced. The recommended minimum is usually 2-3 mm. At the same time, check the rotor: deep grooves, wear, a lip at the edge, or blue discoloration mean the rotor must be replaced or resurfaced.
- Clean the pad seats on the bracket with a wire brush and brake cleaner. Install the new clips and shims, if they come with the kit.
- Lubricate the caliper guide pins and check that the dust boots are intact and the pins slide freely. Do not apply grease to the friction surface of the pads or the rotor.
- Install the new pads in the bracket. The friction material must face the rotor, and the wear sensor (if fitted) goes on the correct side. Clean the rotor with brake cleaner.
- Check that the piston is retracted far enough to fit the caliper over the new, thicker pads. If the piston sticks out, it can only be returned by a method suitable for your caliper. On rear calipers with EPB, the piston is usually not pushed in. Instead, it is wound back clockwise with a special tool while the actuator is disabled. If you do not have this tool, stop and take the car to a repair shop.
- Install the caliper on the bracket and tighten the guide pin bolts. Check the tightening torque in the manufacturer's manual. For rear calipers in this class it usually falls in the range of 25-35 N·m (18-26 lb-ft). Do not apply more force without manufacturer data.
- Install the wheel and tighten the lug nuts by hand in a crisscross pattern. Lower the vehicle to the ground and tighten the lug nuts with a torque wrench to the manufacturer's specification. For wheels in this class it is usually 100-130 N·m (74-96 lb-ft).
- Take the EPB out of service mode using the same method you used to enable it, and let the actuator complete its calibration while the vehicle is on the ground.
- Press the brake pedal several times until it feels firm. Check the brake fluid level in the reservoir.
- Test the parking brake: apply and release it several times. Then take a test drive and bed in the pads gently: 10-15 brake applications from moderate speed without hard stops. For the first 200-300 km, avoid emergency braking.
Common mistakes and warnings
- The brake system is a safety system
- If you have no experience with electric parking brakes, it is better to leave the replacement to a repair shop
- Always replace pads as a set on both sides of the axle
- Never disconnect the hose or open the hydraulic circuit unless necessary
- If the pedal feels soft after replacement or the parking brake does not engage, the vehicle must not be driven until the cause is fixed
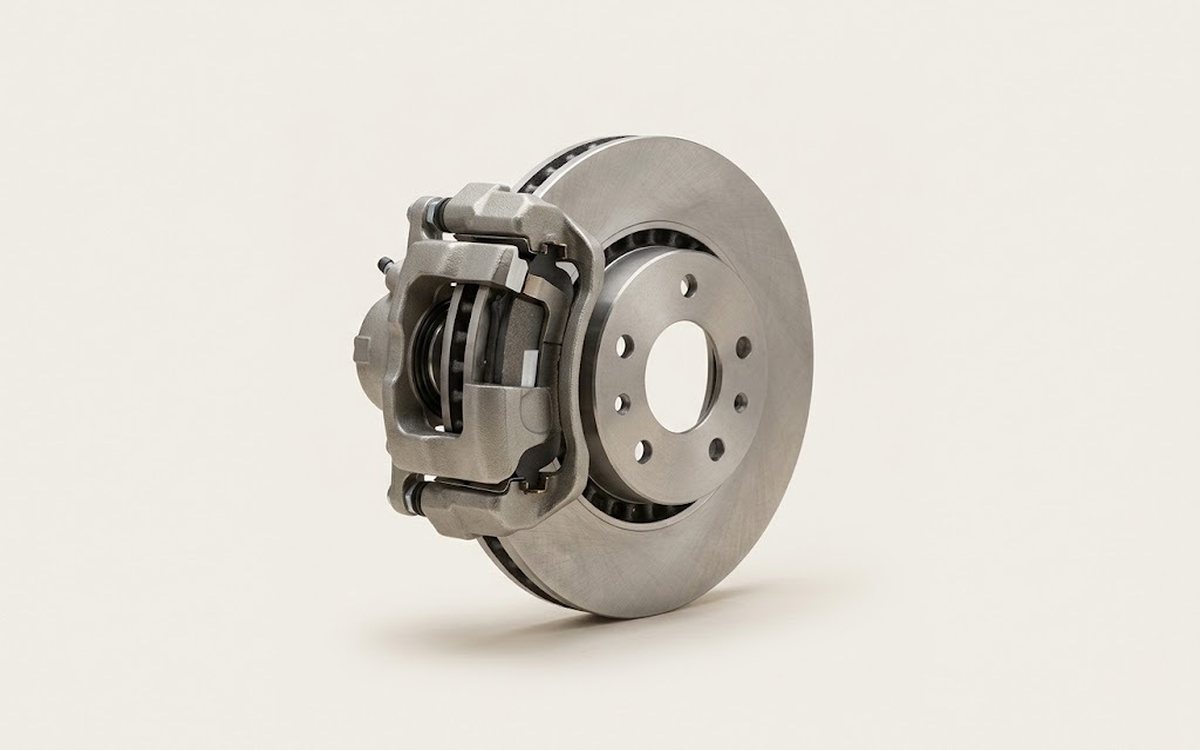 How it works · 3D
How Car Brakes Work
How the part you're working on actually works — in plain English, on a 3D model.
Open in 3D →