Autopapyrus · Geely Emgrand EC7 (Second Generation)
https://autopapyrus.com/guides/geely/emgrand-ec7/rear-disc-brake-pad-replacement/
https://autopapyrus.com/guides/geely/emgrand-ec7/rear-disc-brake-pad-replacement/
Compiled automatically from service literature and owner experience. Specs are for the typical configuration — check them against your exact car before you start.
Geely Emgrand EC7 (Second Generation): Rear Disc Brake Pad Replacement
Rear pads wear more slowly than front pads. They are usually replaced when the friction material is about 2-3 mm thick, when the wear indicator squeals, or when a warning appears on the instrument panel. Always replace pads as a full axle set (both sides). The exact procedure for this model is not documented in publicly available service materials, so the steps below describe the general principle for a floating caliper. The order of operations is standard.
Parts
2| № | Part | Alternatives |
|---|---|---|
| 01 | Rear disc brake pad set (4 pads per axle) with mounting springs or clipsone axle, 4 pads | Ferodo, TRW, Brembo, Textar |
| 02 | Rear brake rotorsif the rotor is heavily worn or has a pronounced lip at the edge, replace together with the pads |
Tools
10- Jack and jack stands
- lug wrench
- 12-17 mm sockets and wrenches for the caliper guide bolts
- hex bit or Torx bit (depends on caliper version)
- flat-blade screwdriver
- copper or graphite grease for the guide pins
- brake cleaner
- wire brush
- C-clamp or special piston reset tool
- wire for hanging the caliper
Step by step
15 steps- Park the vehicle on level ground, put it in first gear (or P), and place wheel chocks under the front wheels. Do not apply the parking brake: it acts on the rear wheels.
- Loosen the lug nuts by about half a turn. Raise the rear of the vehicle, set it on jack stands, and remove the wheel.
- Inspect the caliper, the brake hose, and the rotor for fluid leaks, cracks, and deep scoring.
- Remove the two caliper guide bolts. If the caliper is held to the bracket by two bracket bolts, remove only the guide bolts, not the bracket.
- Lift the caliper off the bracket and hang it from the wire. Never leave the caliper hanging from the brake hose.
- Remove the old pads and note the position of the springs and clips. Remove the pad seats on the bracket and clean them with a wire brush. Replace the mounting springs, or clean them carefully.
- Check the rotor: thickness, runout, and the depth of the wear groove. The minimum allowable thickness is marked on the rotor edge. If the rotor is worn, replace it, not just the pads.
- Inspect the guide pin boots. Remove the guide pins, clean them, and lubricate them with high-temperature guide pin grease. They must slide freely. Seized pins are a common cause of uneven wear.
- Retract the caliper piston. Before doing so, open the reservoir cap and check the fluid level: it rises as the piston is pushed in. On rear calipers with an integrated parking brake mechanism, the piston usually has to be wound in by turning it with a special tool rather than simply pushed in. If the piston does not move under direct pressure, do not force it. Turn it clockwise instead. If the vehicle has an electric parking brake, first put it into service mode (through the menu or with a diagnostic scan tool).
- Install the new pads in the bracket with the friction surface facing the rotor. If the pads have a wear indicator, position it as directed in the instructions supplied with the kit. Apply brake grease only to the contact points on the back of the pad and to the guides, and keep it off the friction surface.
- Fit the caliper over the pads and tighten the guide bolts. The tightening torque for the rear caliper guide bolts on vehicles in this class is typically about 25-35 N·m (18-26 lb-ft); check the exact value in the manufacturer's specifications. Do not tighten the bolts by feel without a torque wrench.
- Install the wheel and hand-tighten the lug nuts in a crisscross pattern. Lower the vehicle, then tighten the lug nuts to 100-120 N·m (74-89 lb-ft) in a crisscross pattern.
- Before driving, pump the brake pedal several times until it feels firm: the pistons must press the new pads against the rotor. Check the brake fluid level in the reservoir and, if necessary, top it up to the MAX mark with the same type of fluid that is already in the system (usually DOT 4).
- Check the parking brake: it should engage after 4-6 clicks of the lever, or without noticeable delay. If the lever travels too high or too low, adjust the linkage according to the specifications.
- Bed in the pads: for the first 200-300 km, avoid hard braking from high speed. Make several gentle decelerations from 60-80 km/h down to 20-30 km/h without coming to a complete stop.
Common mistakes and warnings
- The brake system is a matter of safety
- If you have no experience working on brakes, have a repair shop do the replacement
- Replaced pads and rotors must be the same on both sides of the axle
- Do not touch the friction surfaces of the pads and rotor with greasy hands
- Do not breathe brake dust or blow it off with compressed air: use brake cleaner
- After the work, always check that the pedal is firm before you drive on the road
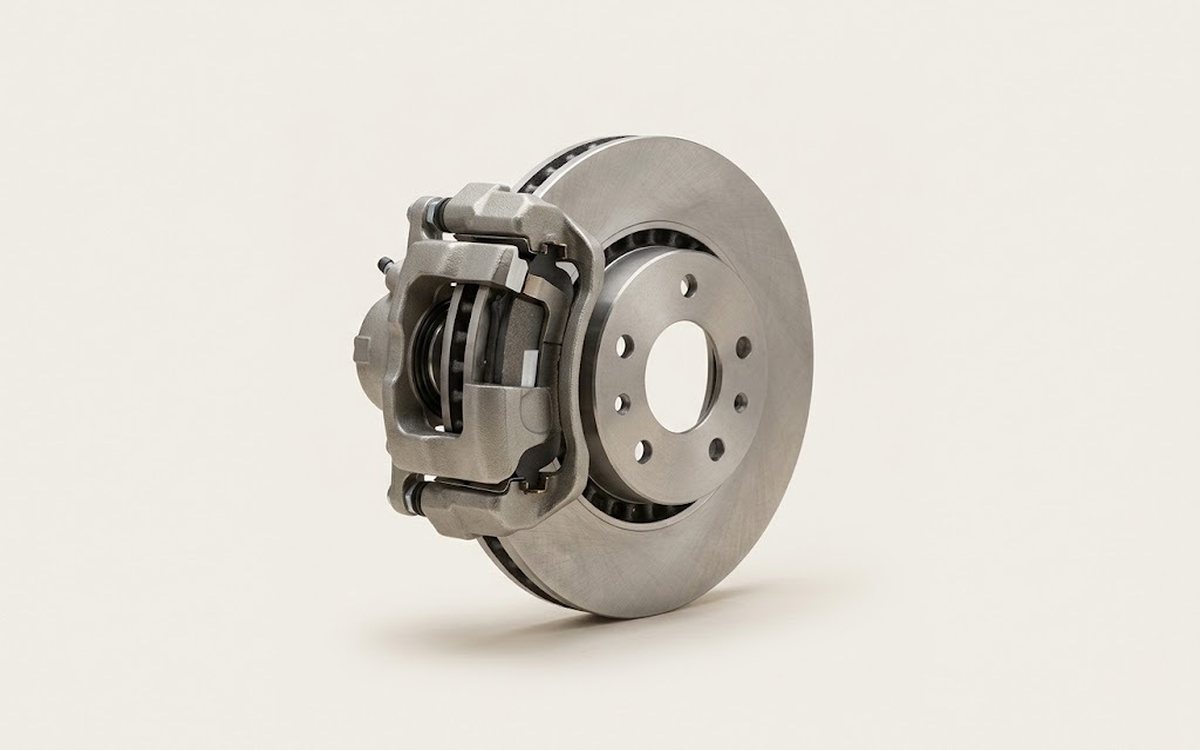 How it works · 3D
How Car Brakes Work
How the part you're working on actually works — in plain English, on a 3D model.
Open in 3D →