Autopapyrus · Santa Fe III (DM) 2.2 CRDi D4HB (2017)
https://autopapyrus.com/guides/hyundai/santa-fe/automatic-transmission-clutch-plate-replacement/
https://autopapyrus.com/guides/hyundai/santa-fe/automatic-transmission-clutch-plate-replacement/
Compiled automatically from service literature and owner experience. Specs are for the typical configuration — check them against your exact car before you start.
Santa Fe III (DM) 2.2 CRDi D4HB (2017): Automatic Transmission Clutch Plate Replacement
The Santa Fe DM with the 2.2 diesel has a six-speed hydromechanical automatic transmission. The clutch plates are replaced when there is slipping, harsh shifts, loss of gears, or metal particles and a burnt smell in the fluid. The job requires removing the transmission and a complete rebuild. The exact procedure for this model is not documented in open service materials, so the general principle is given below. Check tightening torques and clearances against the manufacturer's specifications.
Part
- 🔩 Automatic transmission overhaul kit (gasket and seal set), friction plate kit (friction discs and steel plates) for the required clutch packs, automatic transmission filter, automatic transmission fluid meeting the Hyundai specification (SP-IV or equivalent per the service schedule). If needed: torque converter, solenoid valves, valve body. Exact OE part numbers for your transmission depend on the model variant and drivetrain (2WD or 4WD) and are not confirmed in open sources, so select parts by the number on the transmission ID plate
 There's a full repair manual for this car
Every system, wiring diagrams and torque specs — not just this job. Haynes and 6 more.
See manuals →
Step by step
12 steps- Preliminary diagnostics. Read the fault codes with a scan tool, and check pressure and adaptation values. Before disassembling the transmission, make sure the cause is the clutches and not the solenoids, valve body or torque converter. Assess the fluid: dark fluid with a burnt smell and fine metal particles indicates worn plates.
- Preparation. Put the vehicle on a lift. Disconnect the negative battery terminal. Drain the transmission fluid and keep it so you can inspect the sediment.
- Removing attached components. Remove the underbody skid plate, the air filter with ducts, the transmission connectors and wiring, the shifter (cable or selector), and the transmission cooler lines. Mark the open lines and cap them.
- Remove the driveshaft, transfer case and axle shafts. This is needed for 4WD. Remove the exhaust system and crossmembers that block lowering the transmission. Remove the starter.
- Position the transmission jack and support the engine. Remove the bell housing bolts and the torque converter bolts through the inspection window. Mark the position of the converter on the flexplate. Carefully lower the transmission. It is heavy, so work with a helper.
- Disassemble the transmission on a clean workbench. Remove the pan, filter and valve body (unplug the electrical connectors and remove the valve body mounting bolts in order, and note the location of the check balls and springs). Remove the rear housing and the oil pump, then take out the clutch packs one by one in order. Photograph every stage and lay out the parts in order.
- Inspection. Examine the drums, pistons, return springs, bearings, washers, gears and bushings. Replace anything with scoring, heat discoloration or wear. Check the piston seals and gaskets; they are always replaced.
- Soak the friction plates in clean transmission fluid for at least 30 minutes before installation. Assemble the packs in the exact sequence: steel and friction plates alternate, and check the number of plates and their thickness against the original pack. Measure the clutch pack clearances (end play) per the specification and adjust them with the thickness of the retaining rings or washers.
- Reassemble in reverse order. Replace all seals and O-rings from the overhaul kit, and lubricate them with transmission fluid. Measure the input shaft end play. Tighten the housing, pump and valve body bolts with a torque wrench to the specification and in the proper sequence. Flush the transmission cooler or replace it, otherwise metal particles will return to the transmission. If the torque converter is contaminated, replace it or flush it on a special machine.
- Install the transmission. Make sure the torque converter is fully seated on the splines. Tighten the bell housing bolts, then the torque converter bolts on the flexplate, observing the specified torques. Connect the connectors, shifter, cooler lines, driveshaft and axle shafts.
- Refilling. Fill with the correct type of fluid, warm up the engine, cycle the selector through all positions, pausing in each, and check the level at operating temperature using the manufacturer's procedure (check plug or dipstick, with fluid temperature monitored by the scan tool).
- Adaptation and testing. Reset the transmission adaptations with the scan tool, then take a test drive with smooth acceleration and braking so the transmission can adapt. Check for fault codes and leaks.
Common mistakes and warnings
- This repair requires cleanliness, special tools and experience with hydromechanical automatic transmissions. A mistake in clearances or pack assembly order will cause the transmission to fail again. If you lack experience, leave the work to a specialized transmission shop. The transmission is heavy, so use a sound jack and safety supports. If the clutches have burned, you must flush or replace the cooler and torque converter, otherwise the new plates will fail quickly.
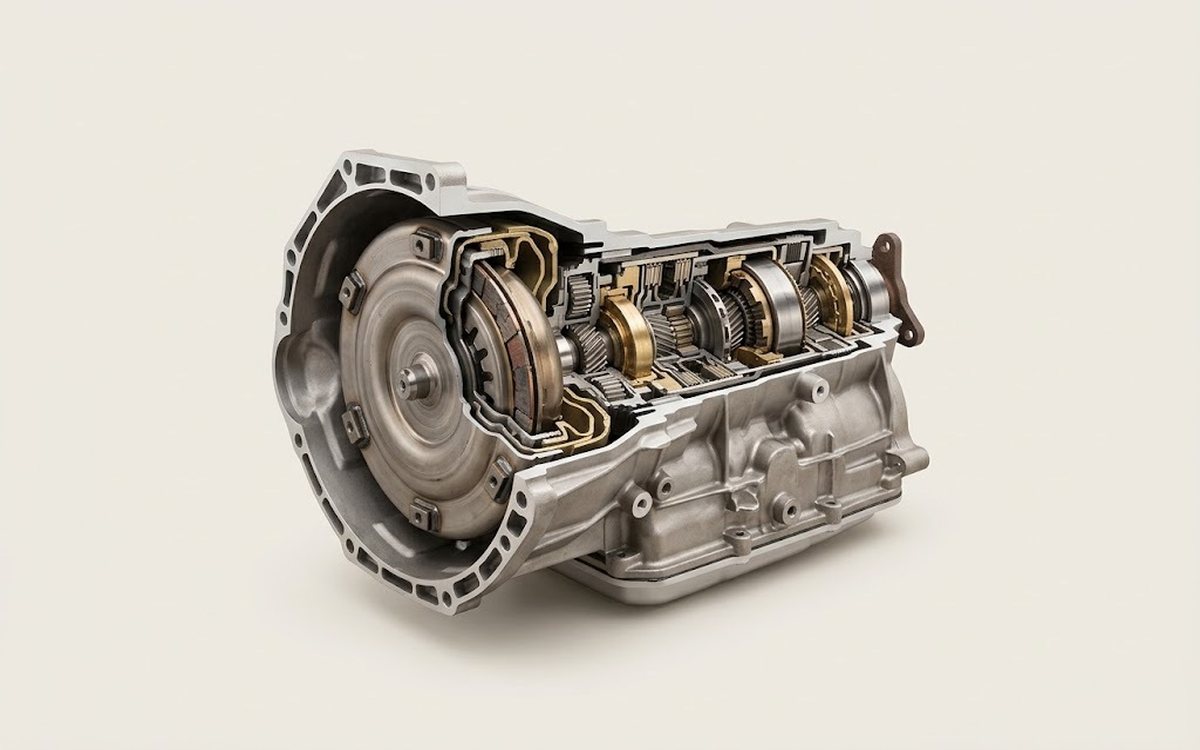 How it works · 3D
How an Automatic Transmission Works
How the part you're working on actually works — in plain English, on a 3D model.
Open in 3D →