Autopapyrus · Hyundai Tucson (1st generation, JM)
https://autopapyrus.com/guides/hyundai/tucson/master-cylinder-replacement/
https://autopapyrus.com/guides/hyundai/tucson/master-cylinder-replacement/
Compiled automatically from service literature and owner experience. Specs are for the typical configuration — check them against your exact car before you start.
Hyundai Tucson (1st generation, JM): Master Cylinder Replacement
The brake master cylinder is mounted on the vacuum brake booster on the left side of the engine bay. Replace it if the pedal sinks, if the fluid level drops with no visible leaks at the wheels, or if there are fluid streaks on the booster. After replacement, you must bench bleed the new cylinder and bleed the whole brake system. This job affects safety, so if you have no experience, it is better to leave it to a repair shop.
Parts
4| № | Part | Genuine part no. | Alternatives |
|---|---|---|---|
| 01 | Master cylinder assembly, dual-circuit, Hyundai Tucson JM with ABS | 58510-2E500 | ATE, TRW, Bosch |
| 58501-2EA20 | |||
| 02 | Master cylinder repair kitif needed | ATE, TRW, Bosch | |
| 03 | Brake fluid DOT 4about 1 L (1.1 qt) | ||
| 04 | Seal (gasket) between master cylinder and boosterif not included with the cylinder | 58513-32300 |
Part numbers are from the manufacturer's original catalogue. Check them against your VIN before ordering.
Tools
11- Open-end and box-end wrenches in 10
- 12
- 13 and 14 mm
- flare nut (line) wrenches in 10 and 11 mm (without them the fittings are easily rounded off)
- socket set with ratchet
- syringe or turkey baster for removing fluid
- containers and rags
- clear hose for bleeding
- an assistant
- torque wrench
- plugs or caps for the brake lines
 There's a full repair manual for this car
Every system, wiring diagrams and torque specs — not just this job. Haynes AutoFix (online) and 2 more.
See manuals →
Step by step
14 steps- Park the car on level ground, set the parking brake, turn off the engine and disconnect the negative battery terminal. With the ignition off, press the brake pedal several times to release the vacuum in the booster.
- Lay rags on the fender and under the cylinder, because brake fluid damages paint. Remove the reservoir cap and draw the fluid out of the reservoir with a syringe or turkey baster.
- Disconnect the fluid level sensor connector in the reservoir cap. If the air intake duct or a plastic cover is in the way, remove it.
- Disconnect the clutch line from the reservoir, if there is one (on manual transmission cars the reservoir is often shared with the clutch hydraulic system). Plug the hose so fluid does not run out.
- Use a flare nut wrench to loosen the nuts of the two brake lines on the master cylinder body. Before doing so, mark which line goes to which port. Plug the lines right away so fluid does not leak out and dirt does not get in. Do not bend the lines much, as they are thin.
- Remove the two nuts securing the master cylinder to the vacuum booster (usually 12 or 13 mm). Carefully pull the cylinder straight off the studs toward you, without tilting it. The booster pushrod must stay in place.
- Compare the new cylinder with the old one: number of outlets, diameter, fitting positions and the pushrod seat. Check that the booster pushrod protrusion has not been disturbed. Do not adjust it unless necessary.
- Bench bleed the new cylinder on a workbench or in a vise. Fit fittings or plugs with short hoses into the outlet ports, routing the hoses back into the reservoir. Fill the reservoir with fluid. Slowly push the piston rod in all the way with a screwdriver or pushrod until bubbles stop coming out of the hoses. Then plug the outlets.
- Install the cylinder on the booster studs, fit a new seal (if there is one) and start the nuts by hand. Tighten them evenly. Check the torque in the manufacturer's specifications; a rough guide for fasteners like these is 10-15 N·m (7-11 lb-ft). Do not overtighten, as the body may distort.
- Insert the brake lines into the ports. First start the nuts by hand so you do not strip the threads, then tighten them with a flare nut wrench. A rough guide is 13-17 N·m (10-13 lb-ft); check the exact value in the manufacturer's specifications.
- Reconnect the level sensor connector, the clutch hose (if there is one) and the air intake duct, if you removed them. Fill with fresh DOT 4 fluid up to the MAX mark.
- Bleed the brakes at all four wheels. Order: from the farthest wheel to the nearest, that is, right rear, left rear, right front, left front. If the car has ABS and air has entered the system, use a scan tool to activate the ABS pump if needed. Watch the reservoir level and do not let it drop below MIN.
- Reconnect the battery, start the engine and check the pedal feel. It should be firm, with no sinking, and the pedal should not slowly creep down under prolonged pressure. Inspect the connections: there should be no leaks.
- Drive at low speed in a safe area and test the brakes several times. Only after that should you go out on the road. Check the fluid level again after a few dozen kilometers.
Common mistakes and warnings
- The brake system is critical to safety
- If the pedal is soft or sinks after reassembly, do not drive the car; repeat the bleeding or take it to a repair shop
- Brake fluid is toxic and eats away paint: wash off any splashes with water right away
- Take old fluid to a recycling point
- Do not mix DOT 4 with silicone-based fluids (DOT 5)
- If the car has ABS and the pedal still feels spongy after bleeding, you will need to bleed the system with the hydraulic unit activated by a diagnostic scan tool
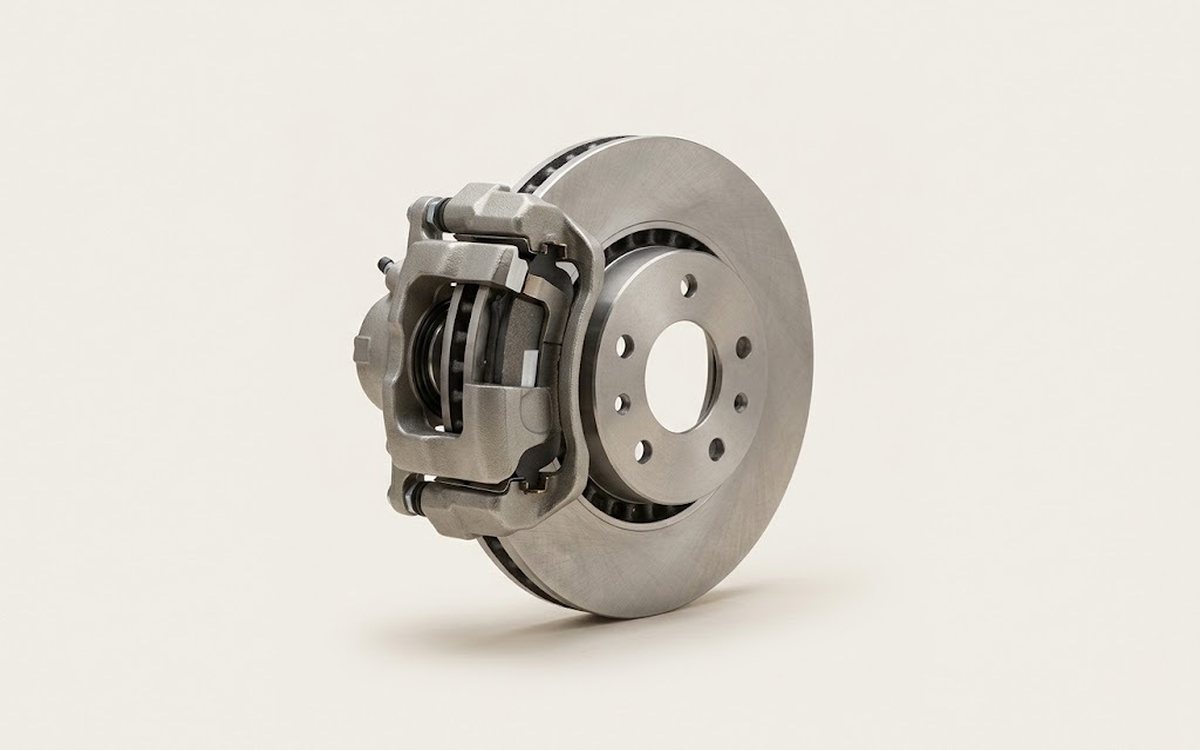 How it works · 3D
How Car Brakes Work
How the part you're working on actually works — in plain English, on a 3D model.
Open in 3D →