Autopapyrus · Lada 4x4 (Niva) (1st generation)
https://autopapyrus.com/guides/lada/4x4-niva/rear-shock-absorber-replacement/
https://autopapyrus.com/guides/lada/4x4-niva/rear-shock-absorber-replacement/
Compiled automatically from service literature and owner experience. Specs are for the typical configuration — check them against your exact car before you start.
Lada 4x4 (Niva) (1st generation): Rear Shock Absorber Replacement
The Niva's rear shock absorber mounts to the body at the top and to a bracket on the rear axle beam at the bottom, with rubber bushings at both points. You can replace it without removing the axle: unload the suspension, remove two nuts and install the new shock. The key rule: do the final tightening of the fasteners only with the car on its wheels. Otherwise the bushings get twisted and wear out quickly.
Key figures
- Rear shock absorber nut torque38-62 N·m (28-46 lb-ft). Set it on the torque wrench in step 11; overtightening ruins the rubber bushings
- Lug nut torque62-77 N·m (46-57 lb-ft). Step 12; tighten in a crisscross pattern
- Reference dimension from axle beam to body side memberabout 152 mm. Measure with the car on its wheels; it verifies the suspension load before final tightening (step 13)
Check these values against the manufacturer’s specification for your vehicle before you start.
Diagram: where the Niva rear shock absorber sits and what to undo
Tap to enlarge
- 1Nut on the upper threaded stud of the shock, which goes into the body. Apply penetrating lube, clean the thread with a brush, remove the nut and take off the washers and upper bushing, remembering their order.
- 2Rear shock absorber: black cylinder with a chrome rod. Replace in pairs only; the new one must match in length and eyes.
- 3Lower mount: eye with rubber bushing on the axle beam bracket with a bolt and nut through it. Undo the nut, pull out the bolt and remove the shock. Tighten to 38-62 Nm only with the car on its wheels.
- 4The spring stands next to the shock between body and beam. It does not need to be removed.
- 5Rear axle beam: put a hydraulic jack under it and support it lightly so the axle does not hang on the springs and rods.
- 6Wheel on the side where you change the shock: remove it after putting the car on stands.
Parts
3| № | Part | Alternatives |
|---|---|---|
| 01 | Rear shock absorbers for Niva, oil or gas-oil type2 pcs, replace only as a pair | AlternativesSAAZPlazaKayabaMonroe |
| 02 | Shock absorber rubber bushings, upper and lowernew, for 2 shock absorbers | |
| 03 | Rear shock absorber mounting hardware |
Tools
8- jack and two jack stands
- hydraulic floor jack or a support under the rear axle beam
- lug wrench
- set of open-end and box wrenches and sockets
- torque wrench
- penetrating oil (WD-40 or equivalent)
- wire brush
- pry bar
Step by step
13 steps- Park the car on level ground, put it in first gear and chock the front wheels. Loosen the lug nuts on the rear wheels.
- Jack up the rear of the car, support it on jack stands under the body (not under the axle), and remove the wheel on the side where you are replacing the shock.
- Place a hydraulic floor jack under the rear axle beam and lightly support it. The axle must not hang on the springs and links while you work.
- Treat both threaded shock mounting points with penetrating oil, wait 5-10 minutes and clean the threads with a wire brush. Threads on the Niva often seize.
- Remove the nut securing the upper shock mount to the body, take off the washers and the upper bushing, and note the order they came off in.
- Remove the nut on the lower mount at the axle beam bracket, then drive out or pull out the bolt or stud. Remove the shock absorber. If the eye will not come out, raise the beam slightly with the jack or lower it.
- Compare the new shock with the old one: the length and the type of mounting eyes must match. Before installing, pump the new shock by hand several times in a vertical position to remove air from the rod.
- Install the new bushings and washers in the same order as the old ones. Insert the shock's lower eye into the beam bracket and start the nut by hand. Then guide the upper rod into the body hole, fit the bushing and washer, and start the nut. Do not fully tighten yet.
- Repeat the procedure on the other side. Make sure no hose or cable is pinched.
- Install the wheels, lower the car to the ground and remove the jack from under the axle. Ideally the suspension should be loaded normally: car on its wheels, with no cargo in the trunk.
- Tighten the shock mounting nuts with a torque wrench with the car standing on its wheels. The torque from the Niva specification table is 38-62 N·m (28-46 lb-ft) (factory table: 38.2-61.7 N·m (28-46 lb-ft)). If you aim for the middle of the range, that is 45-55 N·m (33-41 lb-ft). Do not overtighten the nuts: overtightened rubber bushings fail and quickly collapse.
- Tighten the lug nuts in a crisscross pattern to 62-77 N·m (46-57 lb-ft), staying within the factory range.
- Check the suspension. On level ground, the distance from the axle beam to the body side member, measured 100 mm from the crossmember bracket, should be about 152 mm with the suspension normally loaded. This is the reference dimension for tightening the mounts. Take a test drive and recheck the nut tightness after 100-200 km.
Common mistakes and warnings
- Work only on stable jack stands, and never stay under a car supported by a jack alone
- Tightening the nuts with the axle hanging is the main cause of premature shock bushing wear
- If the springs have already sagged significantly, or the shocks are from another model (for example, with a shorter length), the result will be worse than with the original type
- Socket and wrench sizes depend on the hardware kit (M12x1.25 thread), so pick them to fit
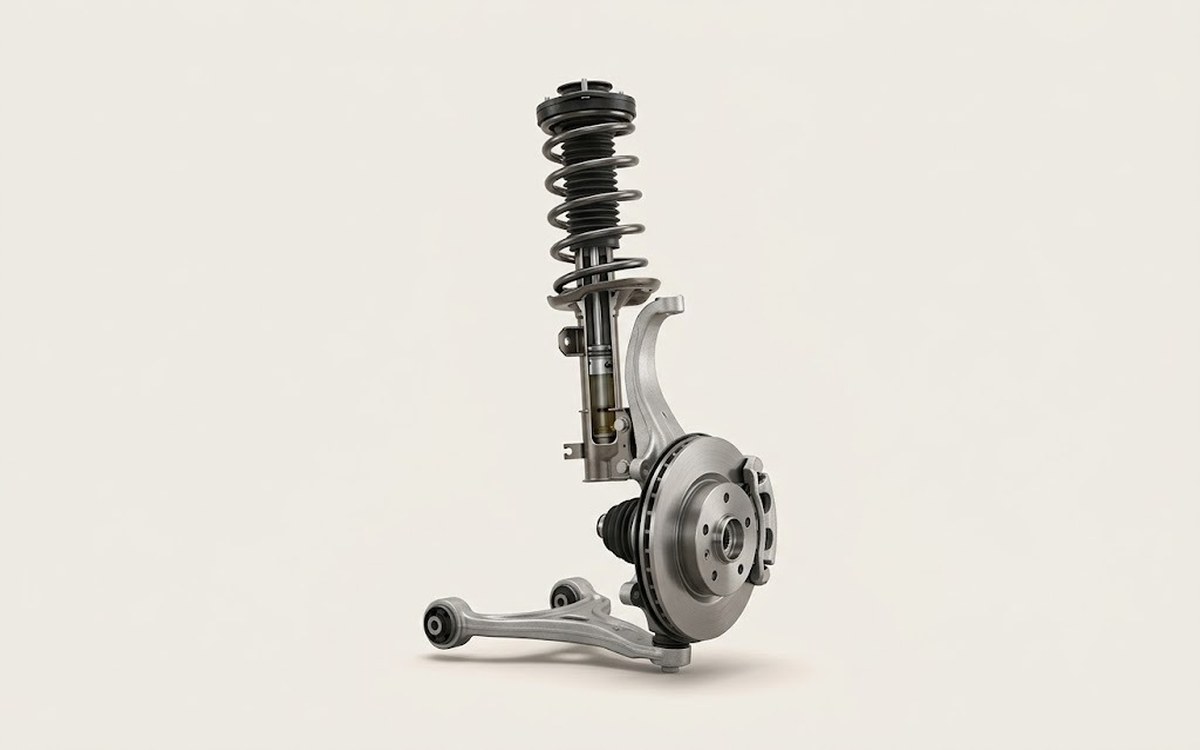 How it works · 3D
How Car Suspension Works
How the part you're working on actually works — in plain English, on a 3D model.
Open in 3D →