Autopapyrus · Lada Niva Travel (Gen 1)
https://autopapyrus.com/guides/lada/niva-travel/rear-axle-differential-pinion-seal-replacement/
https://autopapyrus.com/guides/lada/niva-travel/rear-axle-differential-pinion-seal-replacement/
Compiled automatically from service literature and owner experience. Specs are for the typical configuration — check them against your exact car before you start.
Lada Niva Travel (Gen 1): Rear Axle Differential Pinion Seal Replacement
Oil leaking from around the driveshaft yoke flange on the rear differential means the pinion seal is worn. The key to this job is not changing the tightness of the pinion nut. If you tighten it more than it was before, you can permanently deform the crush sleeve of the drive pinion bearings. The differential would then have to be disassembled and readjusted.
Part
- 🔩 Rear axle differential pinion seal (drive pinion oil seal), new driveshaft fastener set, rear axle gear oil per Lada specification (if oil was lost). Match the seal size to the old one, and measure it before buying
Step by step
12 steps- Park the vehicle on level ground, secure it with wheel chocks, and raise the rear on a lift or jack stands. Let the components cool down and clean the dirt and oil from around the pinion.
- Mark the parts before disassembly. Use a center punch or paint to mark the driveshaft flange relative to the shaft, and the shaft relative to the differential flange. Also make a mark that shows the position of the pinion nut relative to the threaded end of the drive pinion. The mark on the nut and the pinion end is needed so you can tighten to the original position later.
- Remove the bolts that secure the rear driveshaft to the differential flange, move the shaft aside and tie it up. Do not let it hang from the joints.
- Place a drain pan underneath. If the oil level in the axle housing is above the seal, some oil will run out when the flange is removed. Plug the pinion opening or simply be ready for some seepage.
- Hold the flange against turning (with a pry bar braced between the bolts, or a special holding tool) and remove the pinion nut. Count and write down the exact number of turns needed to loosen it. This is the reference value for reassembly.
- Remove the washer and pull the flange off the pinion splines. If it is stuck, tap it carefully or use a puller. Do not strike the drive pinion shaft itself.
- Inspect the flange's seal surface. A wear groove or scoring is a reason to replace the flange, otherwise the new seal will leak again. You can lightly clean the surface with fine sandpaper, but not enough to change its diameter.
- Remove the old seal by prying it out with a screwdriver or a seal puller. Do not damage the seat in the housing, and do not let metal shavings or dirt fall inside. Wipe out the seat.
- Lubricate the working lip of the new seal and the flange surface with gear oil (or with grease in the gap between the lips). Press the seal in evenly with a driver, without tilting, until it is seated, to the same depth as the old one. The spring on the working lip must face toward the inside of the differential.
- Install the flange on the splines according to the marks, fit the washer, and thread on the nut. Tighten it only up to the position of the mark made in step 2. Do it carefully, without jerking, and do not exceed the previous position. As you tighten, check the rotational drag of the pinion by hand. It should be slightly stiff, without binding.
- Reconnect the driveshaft according to the marks and tighten the mounting bolts to the standard torque for this model (per the manufacturer's specification). Use new self-locking nuts or thread locker if the design requires it.
- Check the rear axle oil level at the fill hole and, if necessary, top it up to the lower edge of the hole. Lower the vehicle, warm it up, and take a test drive of 10-15 km. Then inspect the seal for leaks and check for noise and vibration.
Common mistakes and warnings
- The exact torque value and tolerance for the pinion nut on the Niva Travel could not be found in publicly available service materials, so the general principle of tightening to the marks is given instead. If the marks are lost, the nut has turned, a lot of oil has leaked out, or a hum or overheating of the differential appears after reassembly, do not keep driving. Take it to a repair shop to adjust the drive pinion bearing preload, which requires special tools. Never tighten the nut by feel.
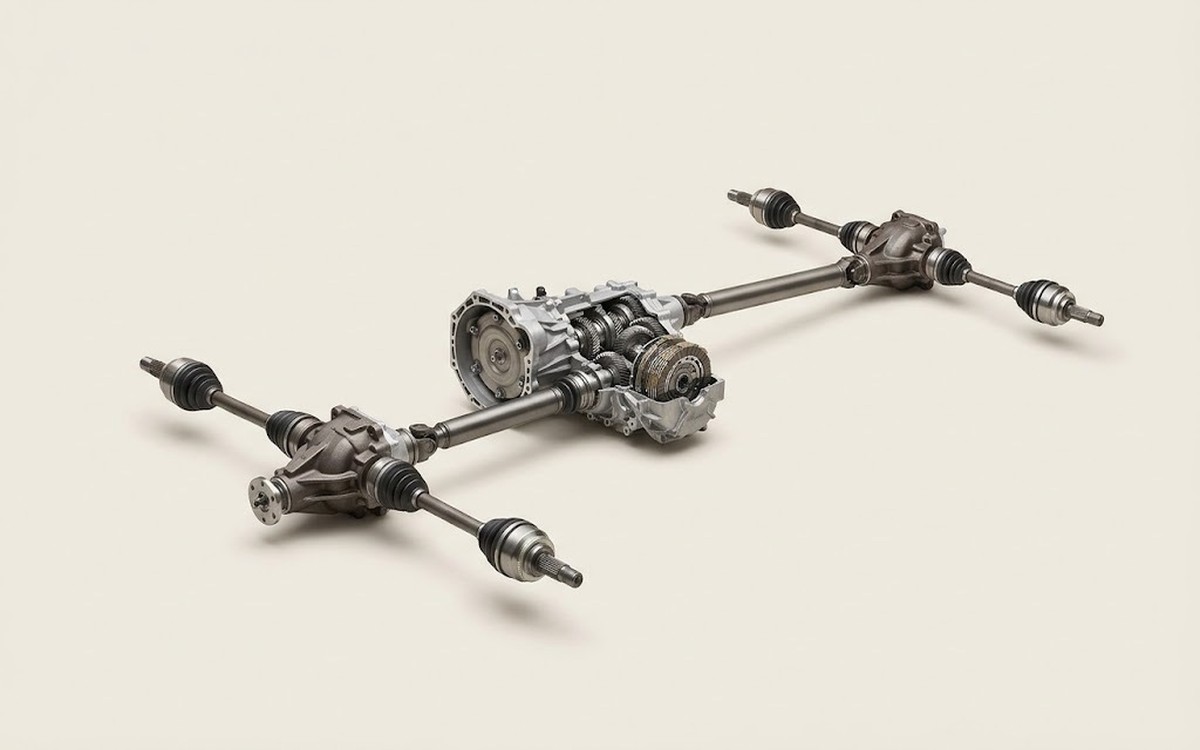 How it works · 3D
How All-Wheel Drive Works
How the part you're working on actually works — in plain English, on a 3D model.
Open in 3D →