Autopapyrus · Lifan X50 1.5 LFB479Q (2018)
https://autopapyrus.com/guides/lifan/x50/timing-belt-replacement/
https://autopapyrus.com/guides/lifan/x50/timing-belt-replacement/
Compiled automatically from service literature and owner experience. Specs are for the typical configuration — check them against your exact car before you start.
Lifan X50 1.5 LFB479Q (2018): Timing Belt Replacement
The 1.5 LFB479Q engine (103 hp) uses a toothed timing belt that drives two camshafts. The recommended belt replacement interval is about 60,000 km or every 4-5 years. Replace it more often if you drive in dusty conditions or frequent heavy traffic. The belt is replaced together with the pulleys, and it is convenient to replace the water pump during the same job because it sits behind the belt.
Parts
4| № | Part | Alternatives |
|---|---|---|
| 01 | Timing kit for 1.5 LFB479Q engine (timing belt, tensioner pulley, idler pulley)idler pulley if equipped | Gates, Contitech, SKF, Dayco |
| 02 | Water pump | |
| 03 | Accessory drive belt | |
| 04 | Coolantfor topping up |
Tools
9- Socket and wrench set (10, 12, 14, 17, 19 mm)
- crankshaft bolt socket
- torque wrench
- jack and jack stands
- engine support or jack
- pulley holding tool (or a chisel and wire)
- marker or paint
- drain pan for coolant (if replacing the water pump)
- clean rags
Step by step
15 steps- Park the car on level ground, put it in first gear, and set the parking brake. Disconnect the negative battery terminal. Prepare a clean work area.
- Loosen the right front wheel bolts, lift the front of the car, place it on jack stands, and remove the wheel. Remove the engine undercover (skid plate) and the right fender liner if it blocks access.
- Drain the coolant only if you are replacing the water pump. To do this, open the drain plug or disconnect the lower radiator hose, and open the expansion tank cap.
- Release the tension and remove the accessory drive belt (alternator, power steering pump/A/C compressor, if equipped). Remember the belt routing or take a photo of it.
- Place an engine support or jack under the engine, using a wooden block under the oil pan. Remove the upper engine mount (right-hand mount) and its bracket to gain access to the upper timing cover. Do not load the oil pan at a single point.
- Remove the upper and lower plastic timing covers. Remove the crankshaft pulley: hold the bolt with a holding tool or keep the crankshaft from turning (with the car in gear, but it is more reliable to lock the flywheel through the clutch housing inspection window). Do not remove the bolt with an impact wrench without locking the crankshaft.
- Turn the crankshaft in the normal direction of rotation until the marks align: the mark on the crankshaft pulley or sprocket must line up with the mark on the block or cover, and the marks on the camshaft pulleys must line up with the marks on the cylinder head or the rear belt cover. Check that both camshaft marks and the crankshaft mark are aligned at the same time. If you cannot see the factory marks, make your own with a marker on the belt and pulleys.
- Loosen the tensioner pulley and remove the old belt. Check the pulleys for play and noise. Check the crankshaft and camshaft seals for oil leaks. Replace the seals if they leak.
- If you are replacing the water pump, remove its mounting bolts, take it off, clean the mating surface, and install the new pump with a new gasket or O-ring. Tighten the bolts in a crisscross pattern to the manufacturer's specified torque (reference for M8 bolts: 18-25 N·m (13-18 lb-ft)).
- Install the new pulleys. Fit the new belt without twisting it and keep the marks aligned exactly: first onto the crankshaft sprocket, then in the direction of rotation onto the camshaft pulleys, and finally onto the water pump and the tensioner pulley. The belt side between the crankshaft and the drive camshaft must be taut.
- Adjust the tension using the mark on the tensioner or according to the specification (the belt must not be overtightened: the pointer of the spring-loaded tensioner must sit on the mark). Tighten the pulley to the specified torque (reference for the pulley bolt: 25-40 N·m (18-30 lb-ft)).
- Turn the crankshaft by hand 2 full revolutions in the normal direction of rotation and make sure the marks line up again. If the marks do not line up, remove the belt and repeat the installation. Do not start the engine until you are sure the timing is correct.
- Install the timing covers, the crankshaft pulley (tighten the bolt to the torque given in the service manual; reference for this bolt is 100-140 N·m (74-103 lb-ft), do not tighten it by feel), the engine mount, and the accessory drive belt.
- Refill the coolant (if you drained it) and bleed the air from the system: start the engine, let it warm up until the thermostat opens, and top up if needed. Check for leaks and unusual noises. Install the wheel and tighten the bolts in a crisscross pattern to 100-110 N·m (74-81 lb-ft) (reference for wheel bolts, confirm in the service manual).
- Drive the car 20-30 km and check the coolant level and the condition of the belts again.
Common mistakes and warnings
- Do not turn the crankshaft backward, and do not remove the belt without securing the timing marks
- Incorrect valve timing can cause the valves to hit the pistons
- Check the factory torque specifications for the crankshaft pulley bolt and tensioner pulley for this engine before starting work
- The values above are given as references only
- If you have no experience working with valve timing, have the job done at a repair shop
- A mistake in setting the timing marks leads to expensive engine repair
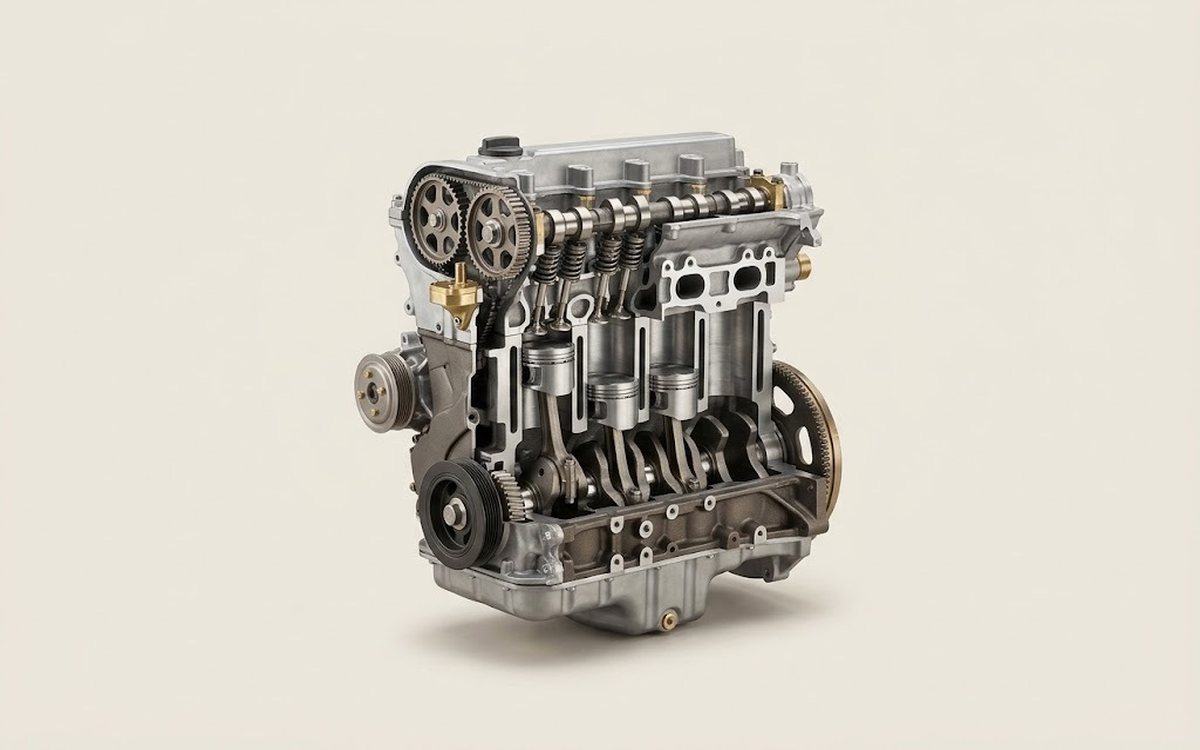 How it works · 3D
How a Car Engine Works
How the part you're working on actually works — in plain English, on a 3D model.
Open in 3D →