Autopapyrus · Mazda CX-9 3.7 V6 (2011)
https://autopapyrus.com/guides/mazda/cx-9/timing-chain-guide-tensioner-and-water-pump-replacement/
https://autopapyrus.com/guides/mazda/cx-9/timing-chain-guide-tensioner-and-water-pump-replacement/
Compiled automatically from service literature and owner experience. Specs are for the typical configuration — check them against your exact car before you start.
Mazda CX-9 3.7 V6 (2011): Timing Chain, Guide, Tensioner and Water Pump Replacement
This engine has no timing belt. The valve timing is chain-driven, and the water pump is located in the front cover and driven by the chain. The chain, guides, tensioners and water pump are therefore replaced in one job. The engine does not have to be removed from the vehicle, but a lot of disassembly is required. Typical signs of wear are a stretched chain, camshaft correlation trouble codes and noise on a cold start.
Parts
10| № | Part | Alternatives |
|---|---|---|
| 01 | Timing chain kit, 3.7 V6 (camshaft drive chains, oil pump drive chain (s) if equipped) | |
| 02 | Timing chain guides and dampers | |
| 03 | Hydraulic timing chain tensioners | |
| 04 | VVT phasersif worn | |
| 05 | Water pump, 3.7 V6 | |
| 06 | Timing cover gasket and seals | |
| 07 | Front crankshaft seal | |
| 08 | Mazda FL22 coolant | equivalent |
| 09 | Engine oil 5W-20 Ford WSS-M2C930-A | |
| 10 | Oil filter |
Tools
8- Socket set and ratchet
- torque wrench
- camshaft and crankshaft timing lock tool set for the Ford/Mazda 3.7 Cyclone
- crankshaft pulley puller
- Torx sockets
- drain pans for coolant and oil
- timing cover sealant (per Ford/Mazda specification)
- jack and jack stands
 There's a full repair manual for this car
Every system, wiring diagrams and torque specs — not just this job. Haynes AutoFix (online).
See manuals →
Step by step
17 steps- Disconnect the negative battery terminal. Drain the coolant and engine oil. Remove the underbody skid plate.
- Remove the air intake duct and air filter housing, the throttle body and the intake hoses. Disconnect and label any connectors and hoses that block access to the timing cover.
- Remove the drive belt, the belt tensioner, the alternator and any other accessories that cover the front cover. Unbolt the A/C compressor from its bracket and move it aside without opening the refrigerant circuit.
- Support the engine and remove the right engine mount with its bracket. This gives access to the timing cover. If the cover on your vehicle is also blocked by other suspension or subframe parts, remove them. Check the actual order of removal on your vehicle.
- Remove the valve covers from both cylinder heads. Set the crankshaft to TDC on cylinder 1 and lock the camshafts with the timing lock tools.
- Remove the crankshaft damper pulley. The bolt is very tight, so use a flywheel holding tool or a stop, and do not hammer on the shaft.
- Loosen the bolts evenly in the specified sequence and remove the front timing cover. Carefully separate it from the old sealant without damaging the sealing surface of the aluminum cover or the block.
- Before removing the chains, photograph the positions of the marks on the sprockets and phasers. Retract and lock the hydraulic chain tensioners (with a pin or paper clip), then remove the tensioners, guides and dampers.
- Remove the chains and the crankshaft sprocket. Inspect the VVT phasers for play, oil leaks and noise. If in doubt, replace them.
- Remove the water pump from the timing cover (or remove it together with the cover, depending on your engine's design). Clean the mating surfaces of any gasket and sealant residue, then degrease them.
- Install the new water pump with a new gasket or O-ring. Tighten the pump bolts to about 20-25 N·m (15-18 lb-ft). The exact value is in the manufacturer's specifications.
- Replace the front crankshaft seal. Install the new guides, dampers and sprockets. Fit the new chains strictly by the marks, and check that all marks match your photos and the original layout.
- Install the new tensioners and release their pins after you have verified the marks. Tighten the tensioner and guide bolts with a torque wrench to specification. As a guide, the tensioner is about 25-30 N·m (18-22 lb-ft). The phaser bolt torque is much higher and must be taken from the specifications.
- Apply sealant to the timing cover in the specified pattern, install the cover and tighten the bolts in a spiral pattern from the center outward, in several passes, to specification. Then install the crankshaft pulley. Tighten the bolt to specification (usually in several stages with an additional angle turn, and the bolt is single-use).
- Turn the crankshaft by hand two full revolutions and recheck that the marks and lock tools line up. Only then remove the lock tools and install the valve covers with new gaskets.
- Reinstall the accessories, engine mount, intake and drive belt. Fill with new coolant and oil, and replace the oil filter.
- Bleed the air from the cooling system. Warm up the engine with the expansion tank cap open until the fan turns on, then top off the coolant. Check for leaks and for camshaft trouble codes in OBD, and clear them if necessary.
Common mistakes and warnings
- This is a difficult job
- A mistake in setting the timing marks can cause the pistons to hit the valves and lead to costly engine repair
- If you have no experience or no camshaft lock tools, have a repair shop do the replacement
- Apply the timing cover sealant in a thin, even bead
- Excess sealant gets into the oil passages and damages the engine
- Do not replace the chain without also replacing the guides and tensioners, because they wear along with the chain
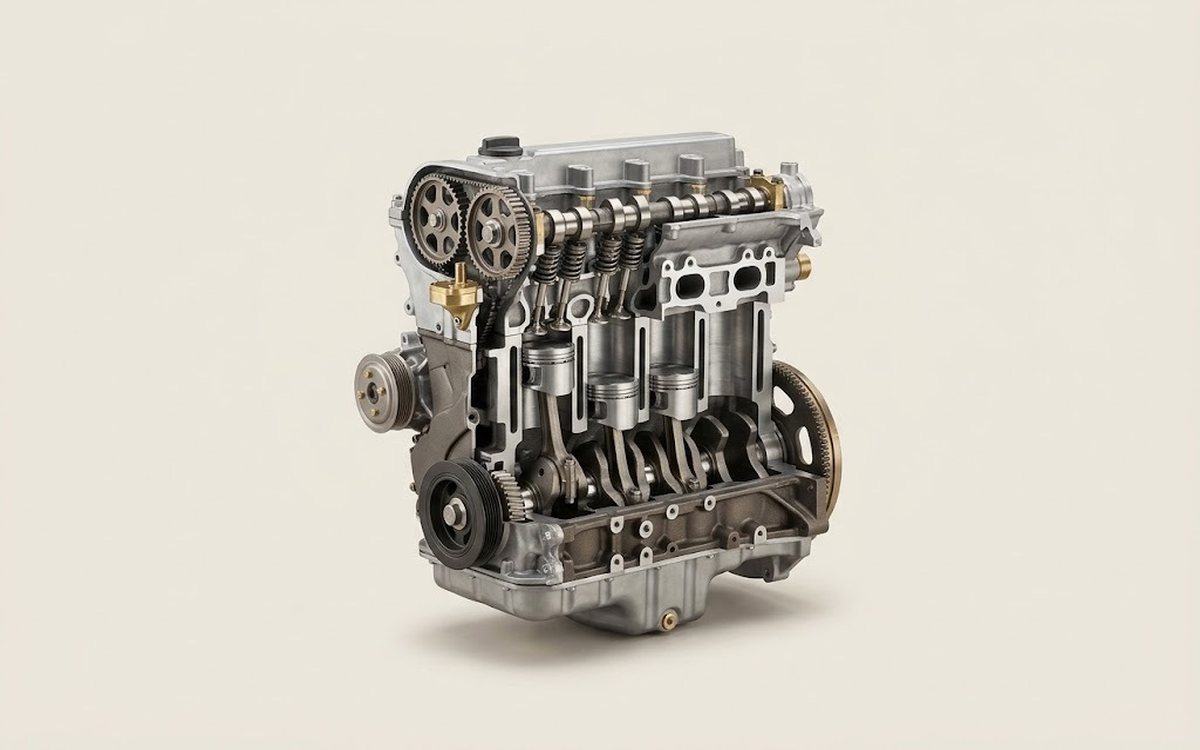 How it works · 3D
How a Car Engine Works
How the part you're working on actually works — in plain English, on a 3D model.
Open in 3D →