Autopapyrus · SsangYong Korando (3rd generation, C200)
https://autopapyrus.com/guides/ssangyong/korando/automatic-transmission-rebuild-with-clutch-plate-replacement/
https://autopapyrus.com/guides/ssangyong/korando/automatic-transmission-rebuild-with-clutch-plate-replacement/
Compiled automatically from service literature and owner experience. Specs are for the typical configuration — check them against your exact car before you start.
SsangYong Korando (3rd generation, C200): Automatic Transmission Rebuild with Clutch Plate Replacement
The exact clutch pack disassembly procedure for this transmission is not documented in open service materials. The general order and principles below apply to any hydraulic automatic transmission. Friction plates are replaced after the transmission is removed from the vehicle and fully disassembled. Take tightening torques and clearances from the manufacturer's service manual, not from memory.
Part
- 🔩 automatic transmission rebuild kit (friction plates, steel plates, gasket and seal set, piston seals), transmission filter with pan gasket, transmission fluid that meets the specification for your transmission. Kit prices and labor costs vary by manufacturer and shop
 There's a full repair manual for this car
Every system, wiring diagrams and torque specs — not just this job. Haynes AutoFix (online).
See manuals →
Step by step
13 steps- Before disassembly, confirm that the clutches are the problem. Symptoms: slipping and harsh shifts, delayed engagement into D and R, burnt fluid smell, dark fluid with metal dust. Read the transmission control unit trouble codes and check line pressure on a test bench. Sometimes the cause is the solenoids, valve body, or torque converter, in which case the plates do not need to be replaced.
- Disconnect the battery. Raise the vehicle on a lift and drain the transmission fluid. Remove the skid plate if equipped.
- Remove everything that blocks transmission removal: the air intake duct and air filter housing, the battery and battery tray, wiring connectors and brackets, the exhaust downpipe, the driveshaft, and the axle shafts. On AWD versions, the transfer case must also be removed.
- Disconnect the transmission cooler lines and the shift cable or selector linkage. Mark the position of the torque converter relative to the flexplate so you can reinstall it in the same position.
- Support the engine, place a transmission jack under the transmission, and remove the crossmember and mounts. Remove the bolts that secure the transmission housing to the engine and carefully lower the transmission. Make sure the torque converter stays on the shaft and does not fall out.
- Clean the transmission exterior and move it to a clean workbench. Disassemble in this order: pan, valve body (note the location and length of the bolts), pump, drums, and clutch packs. Lay out the parts in strict sequence and photograph each stage.
- Before disassembling each pack, measure its clearance and write down the value. Remove the plates in the order they were installed. The number and order of friction and steel plates, and the thickness of the pressure plates, must match the original or the data for the new kit.
- Inspect the steel plates. Bluing, scoring, and warping mean they must be replaced together with the friction plates. Check the drums, pistons, seals, return springs, and bushings. Replace all old rubber piston seals.
- Soak the new friction plates in clean transmission fluid recommended for this transmission for 20-30 minutes. Do not install them dry. Assemble the packs in strict order, lubricating the seals, then check the clearance and blow air through the packs: the pistons must apply firmly with no leaks.
- Reassemble the transmission in reverse order. Take the tightening torque for each fastener from the service manual and do not tighten by feel. Replace the transmission filter, the pan gasket, and the shaft seals.
- Before installation, make sure the torque converter is seated fully on the splines. Flush the transmission cooler and lines, because metal debris may remain in them. If wear is severe, replace the torque converter or flush it on a bench.
- Install the transmission in reverse order of removal. Fill with the correct type and amount of fluid. Start the engine, cycle through all selector positions with a pause in each, and check the fluid level on a warmed-up transmission using the procedure from the service manual.
- Reset the transmission control unit adaptations and clear the codes with a diagnostic scan tool. Take a 20-30 km (12-19 mi) test drive with smooth acceleration and no hard loads. Check for leaks and check the fluid level again.
Common mistakes and warnings
- Rebuilding a hydraulic automatic transmission requires cleanliness, a pressure test bench, and experience. An assembly error (plates in the wrong order, a missed seal, incorrect clearance) will destroy the transmission right after installation. If you lack experience, leave disassembly and reassembly to a transmission specialist and do only the removal and installation yourself. Work under the vehicle only on a lift or on solid stands. The transmission weighs roughly 80-100 kg (176-220 lb), so use a transmission jack.
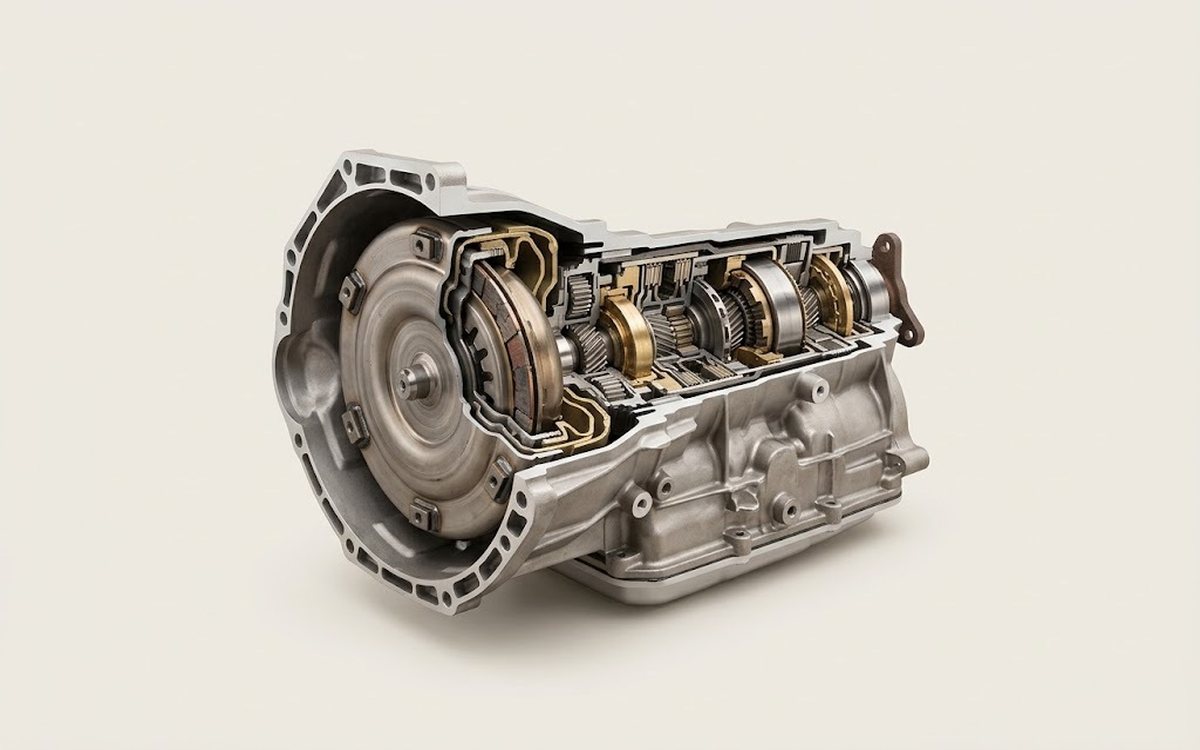 How it works · 3D
How an Automatic Transmission Works
How the part you're working on actually works — in plain English, on a 3D model.
Open in 3D →