Autopapyrus · Toyota Sienta 1.5 (2NR-FKE) (2016)
https://autopapyrus.com/guides/toyota/sienta/timing-chain-replacement/
https://autopapyrus.com/guides/toyota/sienta/timing-chain-replacement/
Compiled automatically from service literature and owner experience. Specs are for the typical configuration — check them against your exact car before you start.
Toyota Sienta 1.5 (2NR-FKE) (2016): Timing Chain Replacement
The 2NR-FKE is a 1.5-liter engine with a chain-driven timing system: a single-row roller chain with a hydraulic tensioner. The intake camshaft uses the electric VVT-iE variable valve timing system, and the exhaust camshaft uses a hydraulic one. The water pump and oil pump are built into the cast timing cover, so this is a big job: you have to remove the accessories, drain the fluids, and take off the cover itself. This engine is known for chain rattle after a cold start, and the chain is usually replaced together with an updated tensioner arm. The torque values below are approximate, so check the exact values against the manufacturer's service manual.
Diagram: where the timing chain, shoe, damper and tensioner are
Tap to enlarge
- 1Timing chain: runs from the crankshaft up to two camshafts. Align the coloured links with the sprocket marks; mark your own with paint before removal.
- 2Chain shoe (tensioner arm): curved plastic guide with a bolt eye. Check wear; a new one is fitted on replacement.
- 3Chain damper: straight plastic strip along the other chain run. Inspect wear and replace with the chain.
- 4Hydraulic tensioner: presses on the shoe and takes up chain slack. Check plunger extension; remove the lock after fitting the chain.
- 5Crankshaft sprocket: carries the chain, marks must match the coloured link. Replaced in the kit.
- 6Block and timing cover joint: clean off old sealant, degrease, apply new sealant in an even bead, tighten bolts from centre outward.
- 7Oil pan: remove if the manual requires it to reach the lower cover bolts. Remember which bolt goes where.
Parts
13| № | Part | Alternatives |
|---|---|---|
| 01 | Timing chain, 2NR-FKE (single-row roller, 8 mm pitch) | AlternativesFebiSchaeffler/INAMasuma |
| 02 | Hydraulic timing chain tensioner | AlternativesFebiSchaeffler/INAMasuma |
| 03 | Timing chain tensioner arm (shoe) | AlternativesFebiSchaeffler/INAMasuma |
| 04 | Timing chain damper | AlternativesFebiSchaeffler/INAMasuma |
| 05 | Timing chain guide | AlternativesFebiSchaeffler/INAMasuma |
| 06 | Crankshaft sprocket | AlternativesFebiSchaeffler/INAMasuma |
| 07 | Camshaft VVT gear or actuatoras needed | |
| 08 | Crankshaft seal | |
| 09 | Camshaft seals | |
| 10 | Valve cover gaskets | |
| 11 | Timing cover sealant | |
| 12 | Engine oil | |
| 13 | Coolant |
Tools
10- Socket and wrench set
- torque wrench
- crankshaft pulley holder (or the method specified in the service manual)
- crankshaft pulley puller if needed
- camshaft holding tools (per service manual)
- jack and engine support stand
- sealant for the cover mating surfaces
- marker or paint for alignment marks
- containers for oil and coolant
- plastic scrapers
Step by step
18 steps- Park the vehicle on a level surface or lift, disconnect the negative battery terminal, and wait a few minutes. Remove the engine undercover.
- Drain the engine oil and coolant. Remove the air filter with its ducts, the engine cover, the ignition coils, and the spark plugs.
- Remove the accessory drive belt. Disconnect and move aside any accessories that block access to the timing cover (right engine mount, and if necessary the power steering pump/alternator and brackets). Remove the right engine mount only after placing a jack with a wooden block under the oil pan.
- Remove the valve cover. Clean the old sealant from the mating surface, and keep debris from falling into the cylinder head.
- Turn the crankshaft in its normal direction of rotation and set cylinder 1 to TDC on the compression stroke: the mark on the crankshaft pulley lines up with the mark on the timing cover, and the marks on the camshaft sprockets/VVT actuators are at the positions given in the service manual. Paint your own marks on the chain and sprockets. They do not replace the factory marks, but they help during assembly.
- Lock the crankshaft pulley against rotation and remove the pulley center bolt. The bolt torque is high (around 150-250 N·m (111-184 lb-ft), and on some engines it includes an angle turn). Check the exact value and tightening method in the service manual. Remove the pulley, using a puller if necessary.
- Remove the oil pan if the service manual requires separating the timing cover together with it (on some engines this is needed to reach the lower cover bolts). Note beforehand where each bolt of a different length goes.
- Remove the timing cover. It is held on with sealant, so separate it carefully with a scraper. Do not pry with a screwdriver in the joint, because the aluminum casting can crack. Remember that the water pump and oil pump are installed in the cover.
- Inspect the components: wear on the shoe and damper, chain slack, tensioner extension, and the sprockets. Before removal, check the chain marks against the sprockets once more.
- Remove the tensioner, tensioner arm, damper, and guide, then the chain. If the VVT sprockets or actuators are being replaced along with the chain, remove them per the service manual, after first locking the camshafts.
- Install the new sprockets and actuators (if being replaced), and the new guides and damper. Tighten the bolts of these parts to the service manual torque (usually within 9-25 N·m (80-221 lb-in) for the small guide bolts).
- Fit the new chain, lining up the colored links on the chain with the marks on the crankshaft and camshaft sprockets. First install the chain without the tensioner and check the marks, then install the arm and the tensioner itself, and remove the tensioner lock pin.
- Turn the crankshaft by hand through 2 full revolutions and check again that the marks line up at TDC. If the marks do not line up, disassemble and refit the chain.
- Clean the mating surfaces of the block and cover of old sealant and degrease them. Apply new sealant in an even bead and replace the crankshaft seal in the timing cover. Install the cover and tighten the bolts evenly, from the center outward, to the service manual torque values.
- Install the oil pan (if removed) and the crankshaft pulley, and tighten its center bolt per the service manual. Install the valve cover with a new gasket, tightening the bolts per the service manual.
- Reinstall the accessories, engine mount, accessory drive belt, spark plugs, ignition coils, and air filter. Fill with oil of the correct viscosity and with coolant. Let the sealant cure for the time stated on its packaging before starting the engine.
- Before starting, crank the engine several times with the starter with the ignition disabled so oil pressure builds up in the tensioner. Start the engine, warm it up, and check for oil and coolant leaks. Bleed the cooling system. Read the trouble codes and make sure there are no valve timing codes.
- Take a test drive, then check the oil and coolant levels again.
Common mistakes and warnings
- This job requires exact alignment of the marks
- An error of even one tooth causes timing faults and poor engine running, and in the worst case the pistons and valves collide
- If you have no experience with chain-driven engines, leave the job to a repair shop
- Do not use screwdrivers to separate the timing cover from the block, and do not start the engine until you have checked the marks after turning it through 2 revolutions
- After the engine has been opened, do not reuse the pistons and connecting rods without the necessary condition assessment, as specified in the manufacturer's service manual
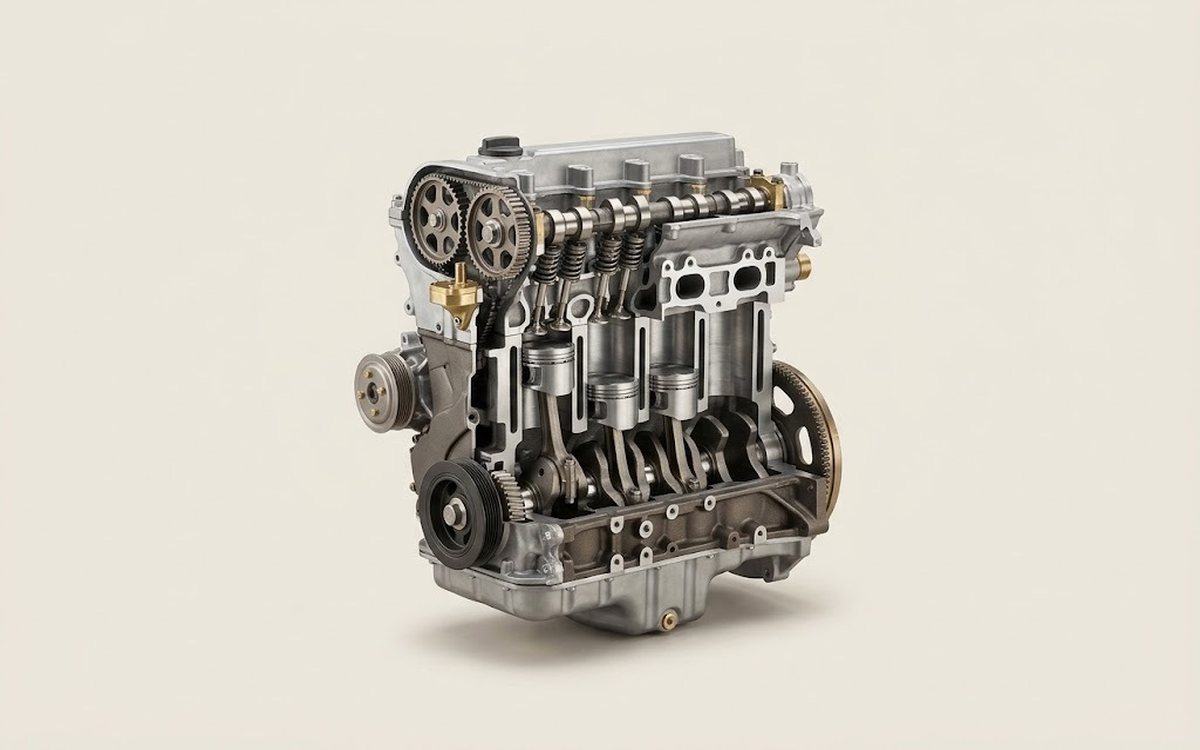 How it works · 3D
How a Car Engine Works
How the part you're working on actually works — in plain English, on a 3D model.
Open in 3D →