https://autopapyrus.com/catalog/geely/monjaro/guides/automatic-transmission-fluid-exchange-machine-method/
Geely Monjaro (1st generation): Automatic Transmission Fluid Exchange (Machine Method)
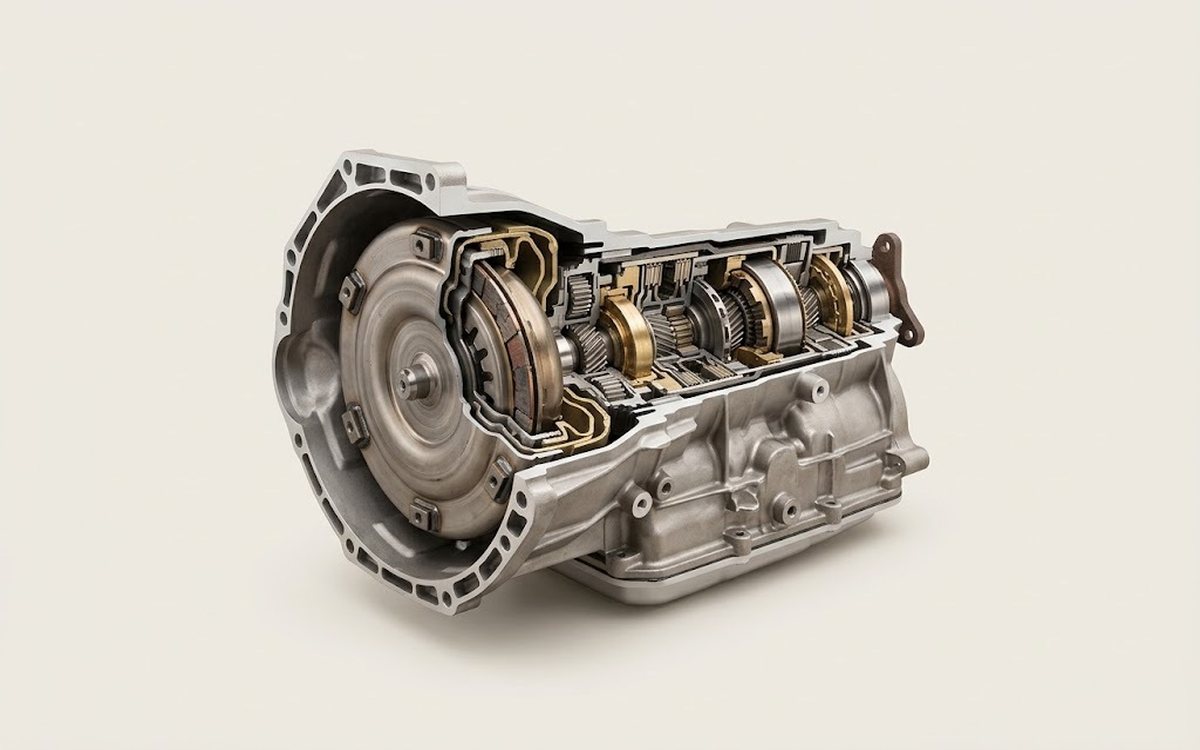
The Monjaro uses an 8-speed Aisin automatic transmission with a torque converter. The fluid is filled for life, but under severe-duty conditions it is changed about every 60-80 thousand km (37,000-50,000 miles). A machine exchange replaces almost all of the fluid, including the fluid in the torque converter and cooler. The manufacturer specifies the exact capacities, specification and interval in the maintenance schedule. For this transmission they are not documented in open sources, so the general principle is described below.
Parts
4| № | Part |
|---|---|
| 01 | Automatic transmission fluid for Aisin 8-speed automatichave 1.5-2 times the capacity of your version on hand, usually 12-18 L (12.7-19.0 qt)Find on Amazon → |
| 02 | Drain plug sealing ringif replaceableFind on Amazon → |
| 03 | Fill/check plug sealing ringif replaceableFind on Amazon → |
| 04 | Automatic transmission filter with pan gasketif replacing the filter, buy as a kitFind on Amazon → |
Amazon links search by the part name; use Amazon's fit check for your car before ordering. We may earn a commission from qualifying purchases.
Tools
8- Transmission fluid exchange machine with adapters for the cooler lines (or a shop-grade fluid exchanger) Amazon →
- lift or inspection pit Amazon →
- socket set and hex bit set Amazon →
- torque wrench Amazon →
- scan tool or thermometer for monitoring fluid temperature Amazon →
- drain pan Amazon →
- syringe or pump for refilling Amazon →
- new drain and fill/check plug sealing rings Amazon →
Read the codes yourself
A scanner plugged into the OBD2 port under the dashboard shows which fault codes the car has stored, before you buy any parts. Cars sold in the US from 1996, and petrol cars in Europe from 2001 (diesels from 2004), have this port.
- Basic code reader, about $20–40: reads and clears engine codes Amazon →
- Bluetooth scanner with a phone app, about $30–100: live sensor data, and on many cars ABS and airbag codes too Amazon →
Check that the scanner lists your make and model year before you buy. We may earn a commission from qualifying purchases.
Step by step
11 steps- Park the car on a lift or over a pit on level ground. Remove the engine undershield if it blocks access to the transmission pan.
- Warm up the transmission with a short drive. Monitor the fluid temperature with a scan tool. Filling and checking the level must be done within the temperature window set by the manufacturer, usually around 35-45 °C (95-113 °F). Check the exact window against the maintenance schedule for your car.
- Drain the old fluid through the pan drain hole. Note how much comes out. Inspect the fluid and the magnet on the plug. A thin gray film is normal, but large metal shavings or a burnt smell mean problems inside the transmission. In that case, do not do a machine exchange; have the transmission diagnosed instead.
- Close the drain hole with a new sealing ring. Take the tightening torque from the maintenance schedule. If no data is available, a rough guide for similar plugs is 20-30 N·m (15-22 lb-ft). Do not overtighten, because the pan is aluminum.
- Locate the transmission cooler hoses running to the radiator. Disconnect the return hose and connect it to the machine according to the machine's diagram. Connect the supply line as described in its instructions.
- Start the engine in P (park) and turn on the machine. It pumps the old fluid out of the circuit and delivers fresh fluid. Keep exchanging fluid until the color of the fluid coming out matches that of fresh fluid. This is usually 1.5-2 times the transmission capacity. Make sure the level in the transmission neither drops nor rises above the normal range.
- During the flush, with the engine idling, move the selector through all positions in turn (P, R, N, D), holding each for 3-5 seconds. This way the fluid passes through all the clutches and the valve body.
- Stop the machine, shut off the engine, reconnect the hoses in the standard way and tighten the clamps. Check the hoses for leaks.
- If you are replacing the filter, remove the pan, then replace the filter and gasket. Tighten the pan bolts in a crisscross pattern in 2-3 passes to the torque from the maintenance schedule. Then repeat the filling and level check.
- Check the level using the manufacturer's procedure. Most often this means: transmission warmed up (temperature within the window), engine running, selector cycled through all positions, and fluid at the level of the check hole or a thin stream slightly dripping out. Adjust the level to normal.
- Install the engine undershield, then take a test drive of 10-15 km (6-9 miles). Check for smooth shifting and the absence of jerks or clunks when engaging D and R, then inspect the pan and hoses for leaks.
Common mistakes and warnings
- The transmission is filled with a special fluid with a strict specification
- Fluid of the wrong type causes jerking, slipping and damage to the valve body
- Do not use universal fluids that lack the required specification
- Do not do a machine exchange on a transmission showing signs of wear, metal shavings in the fluid or slipping
- Fresh fluid can make the situation worse
- If you have no experience with fluid exchange equipment and temperature monitoring, leave the job to a repair shop
- A mistake in the fluid level or fill temperature can quickly destroy an expensive transmission
- The Haldex coupling on AWD versions and the rear differential are serviced separately and are not part of this procedure
 How it works · 3D
How an Automatic Transmission Works
How the part you're working on actually works — in plain English, on a 3D model.
Open in 3D →
Spotted a mistake? Tell us →
Our articles
 News
The Week in Cars: Li Auto Hacking, October Sales, the Monjaro Rumour and the 2027 Recycling Fee
Li Auto owners in Russia are having their car accounts hacked, and the car will not start without a ransom. Plus…
Read →
 Before you buy
What Actually Breaks: Engines and Transmissions in Popular Chinese Cars, a Reliability Breakdown
How long the engine and transmission last in the Haval Jolion and F7, Chery Tiggo 7 Pro, and Geely Coolray and Monjaro.…
Read →
 Before you buy
German Turbo Engines vs. Chinese Ones: Which Lasts Longer? An Honest Look at Engine Life
Volkswagen 1.4 and 2.0 TSI, BMW N20 and Mercedes M274 versus Haval, Chery and Geely engines: lifespan benchmarks…
Read →