https://autopapyrus.com/catalog/changan/uni-t/guides/full-machine-assisted-automatic-transmission-fluid-exchange/
Changan UNI-T 2.0 Turbo (2023): Full Machine-Assisted Automatic Transmission Fluid Exchange
The UNI-T with the 2.0 Turbo engine (233 hp) has an automatic hydromechanical transmission. The recommended ATF change interval is 60,000 km or 3 years. A machine-assisted exchange flushes out almost all of the old fluid through the cooler lines, but it requires strict control of temperature and fluid level. The exact capacities, ATF type and torque values for this transmission are not confirmed in publicly available sources, so the general procedure and ranges are given below.
Parts
4| № | Part |
|---|---|
| 01 | Automatic transmission fluid (spec on the filler neck or in the service booklet, usually synthetic ATF)about 12-20 L (12.7-21.1 qt)Find on Amazon → |
| 02 | Drain/check plug gasket or O-ringFind on Amazon → |
| 03 | Transmission filterif neededFind on Amazon → |
| 04 | Pan gasketif neededFind on Amazon → |
Amazon links search by the part name; use Amazon's fit check for your car before ordering. We may earn a commission from qualifying purchases.
Tools
8- ATF exchange machine (connects to the transmission cooler lines) Amazon →
- lift or pit Amazon →
- wrenches and sockets for the pan drain plug and the fill/check plug Amazon →
- torque wrench Amazon →
- scan tool or thermometer for monitoring fluid temperature Amazon →
- clean graduated container Amazon →
- rags Amazon →
- fluid pump syringe for topping off Amazon →
Read the codes yourself
A scanner plugged into the OBD2 port under the dashboard shows which fault codes the car has stored, before you buy any parts. Cars sold in the US from 1996, and petrol cars in Europe from 2001 (diesels from 2004), have this port.
- Basic code reader, about $20–40: reads and clears engine codes Amazon →
- Bluetooth scanner with a phone app, about $30–100: live sensor data, and on many cars ABS and airbag codes too Amazon →
Check that the scanner lists your make and model year before you buy. We may earn a commission from qualifying purchases.
Step by step
12 steps- Warm up the transmission by driving for 10-15 minutes, then park the car level on a lift or over a pit. First, open the hood and make sure there are no fluid leaks and no transmission fault codes.
- Determine the ATF brand and specification from the label on the transmission or in the service booklet. Do not pick a "universal" fluid by guesswork: the wrong specification causes jerky shifts and clutch slip.
- Remove the underbody skid plate. Locate the drain plug on the transmission pan and the check plug or level tube. Their location depends on the version, so use the pan as your reference.
- Drain the fluid from the pan into a graduated container and note the volume. You will need it to compare with the amount you refill. If the transmission has a filter that is replaced during service, replace it together with its gasket or O-ring.
- Install the drain plug with a new seal. Check the tightening torque against the specification; for plugs like this it is usually 20-40 N·m (15-30 lb-ft). Do not overtighten a plug in an aluminum pan.
- Through the fill hole, pour in the same amount of fresh fluid that you drained. This is the minimum level needed to start the engine.
- Connect the machine to the cooler lines: disconnect the hoses at the transmission radiator or heat exchanger and attach the machine's supply and return lines. Check the connection (flow direction) before starting. A wrong connection can leave the transmission without fluid.
- Start the engine and, with the brake pedal pressed, move the selector through all positions, holding each for about 3-5 seconds. The machine pumps in fresh fluid and displaces the old. Make sure the supply and return volumes match.
- Continue the exchange until the fluid coming from the return line is the same color as the fresh fluid. This is usually 2-3 times the volume drained during a partial change. Do not let the level in the machine run low.
- Disconnect the machine, reconnect the cooler hoses in their original configuration, secure the clamps and check for leaks.
- Bring the fluid level to the correct value using the procedure for this transmission: engine running, fluid warmed to the check temperature (usually 35-50 °C (95-122 °F) per the scan tool; use the exact window from the specification), selector cycled through all positions, car on a level surface. Open the check plug or tube and top off until a thin stream appears or until the fluid is level with the opening.
- Close the check opening and refit the skid plate. Take a test drive and check for smooth shifting and no leaks. Inspect the pan and plugs again the next day.
Common mistakes and warnings
- The fluid level in an automatic transmission is critical: both underfilling and overfilling cause clutch slip, overheating and transmission failure
- If you have no experience with the machine and fluid temperature monitoring, leave the job to a repair shop
- After the exchange, do not reset the transmission adaptations unless necessary; if jerky shifting appears, the transmission needs scan tool diagnostics, not another drain-and-fill "by guesswork"
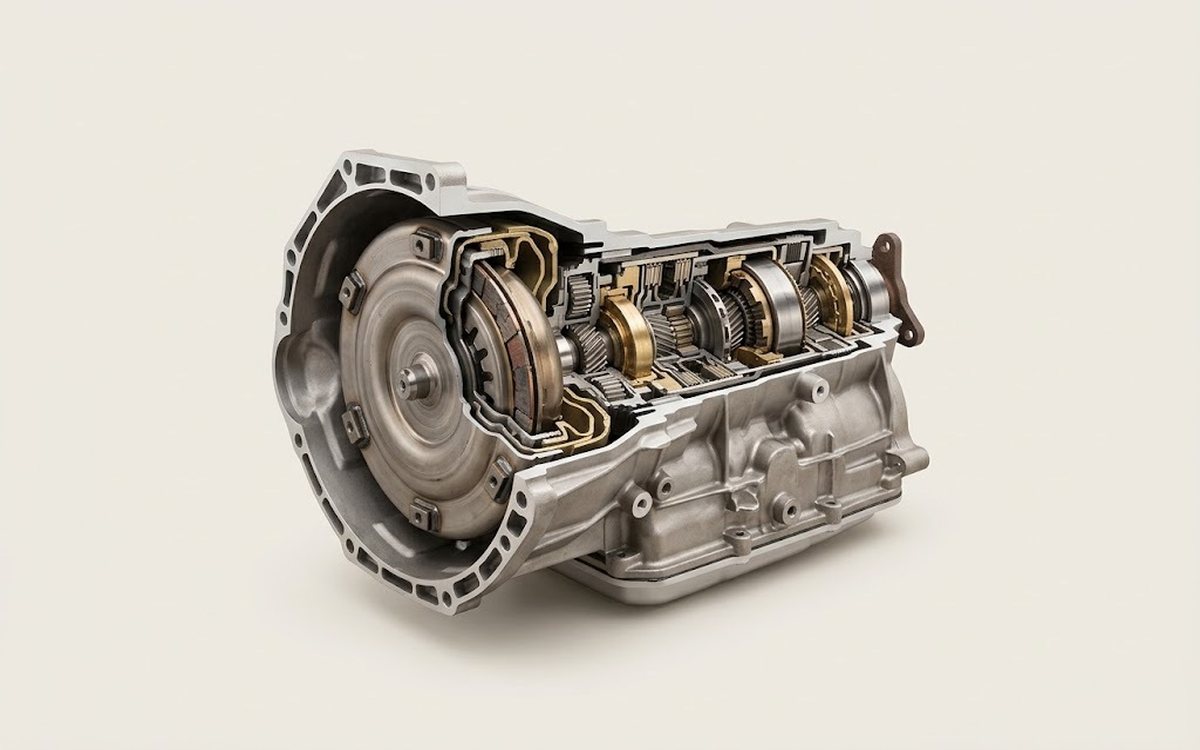 How it works · 3D
How an Automatic Transmission Works
How the part you're working on actually works — in plain English, on a 3D model.
Open in 3D →