https://autopapyrus.com/catalog/honda/stepwgn/guides/checking-the-level-and-changing-the-cvt-fluid/
Honda Stepwgn 1.5 (RP, 2018): Checking the Level and Changing the CVT Fluid
On the fifth-generation Stepwgn, the CVT has no dipstick. The level is checked at the check plug on the side of the case, and fluid is added through the filler opening on top of the case. A partial change (drain and refill) replaces only about 40% of the fluid, so for a noticeable effect the procedure is repeated after a few hundred kilometers. This guide covers a partial change by draining through the drain plug, without flushing machines. Use only HCF-2 fluid: any other fluid causes jerking and shuddering during acceleration.
Key figures
- Drain plug tightening torqueabout 47 N·m (35 lb-ft). Set it on the torque wrench in step 9. Too loose and it will leak, too tight and you will strip the threads in the pan.
- Check plug wrench size17 mm. The plug is removed from the side of the case to check the level (steps 10 and 17).
- Fill amountusually 3-4 L (3.2-4.2 qt) of HCF-2 fluid. This is what a partial change takes; for accuracy, go by the volume you drained (steps 7 and 12).
- Share of fluid renewedabout 40%. That is how much is replaced in one drain-and-refill, so the procedure is repeated for a bigger effect (summary).
Check these values against the manufacturer’s specification for your vehicle before you start.
Parts
2| № | Part |
|---|---|
| 01 | Honda HCF-2 CVT fluidabout 4 L (4.2 qt)Find on Amazon → |
| 02 | Drain plug sealing washernewFind on Amazon → |
Amazon links search by the part name; use Amazon's fit check for your car before ordering. We may earn a commission from qualifying purchases.
Tools
10- lift or inspection pit (or a pair of inclined ramps) Amazon →
- jack and jack stands Amazon →
- torque wrench Amazon →
- socket or wrench for the drain plug (size to match the plug) Amazon →
- 17 mm wrench for the check plug Amazon →
- long funnel with a flexible hose Amazon →
- drain pan of 5 L (5.3 qt) or larger Amazon →
- rags Amazon →
- screwdriver for the underbody cover fasteners Amazon →
- gloves Amazon →
Step by step
21 steps · 4 stagesStage 1 of 4 Preparation 4 steps
- Park the car on a level surface, lift, or ramps. Select P, set the parking brake, and chock the rear wheels.
- Warm up the CVT: drive for 10-15 minutes, then shut off the engine. The fluid should be warm but not scalding. Do not touch the hot pan with bare hands.
- Prepare the HCF-2 fluid (about 4 L (4.2 qt)), a new drain plug washer, and the drain pan.
- If the car is on ramps, keep the incline in mind: do the final level check only on a level, horizontal surface.
Stage 2 of 4 Access and draining 5 steps
- Remove the lower plastic cover that protects the underside of the engine bay and the CVT (the fasteners are screws and clips; the number depends on the trim level).
- Find the drain plug (on the bottom) and the 17 mm check plug (on the side of the case) on the CVT housing. Wipe the area around them clean of dirt.
- Position the drain pan. Remove the drain plug and drain the fluid completely, letting it drip for several minutes. Note or measure the volume of drained fluid, since it is your reference for refilling.
- Inspect the plug and the old fluid: dark fluid is acceptable, but a burnt smell, shiny metallic particles, or large debris are reasons to have the CVT diagnosed. The plug may have a magnet, so clean any residue off it.
- Wipe the plug, install a new washer, and tighten the drain plug to about 47 N·m (35 lb-ft).
Stage 3 of 4 Refilling 5 steps
- Use the 17 mm wrench to remove the check plug on the side of the case and set it aside somewhere clean.
- Remove the filler cap (filler plug) on top of the CVT case. It is black with a hook on the end. The filler opening is in the engine bay and is usually accessed from above.
- Insert the long funnel with the hose and add HCF-2 fluid in small portions. Use the amount you drained as a guide, usually 3-4 L (3.2-4.2 qt).
- Keep adding fluid until it starts to drip from the check hole. Close the hole with the check plug.
- Reinstall the filler cap.
Stage 4 of 4 Checking the level 7 steps
- Start the engine and, with your foot on the brake, move the selector through all positions (P, R, N, D) one at a time, pausing a few seconds in each. Check for leaks around the plugs.
- Drive for about 15 minutes so the CVT reaches operating temperature.
- Park the car on a level, horizontal surface, shut off the engine, position the drain pan, and open the 17 mm check plug. The correct level is a thin trickle or a drip from the hole. If there is no fluid at all, add more through the filler opening until a drip appears.
- If the fluid runs out in a wide stream, let the excess drain until it drips, then tighten the check plug. Tighten the check plug and the filler cap to the manufacturer's specification, snugly and without jerking.
- Wipe the pan and plugs thoroughly so that any leak will be spotted right away by the traces.
- Reinstall the lower cover. If the instrument panel has a fluid life indicator, reset it (some cars require a scan tool).
- After a few days of driving, check that the drain plug is dry and recheck the level if necessary.
Common mistakes and warnings
- Do not use fluids meant for conventional automatic transmissions (ATF, Dexron) or CVT fluids from other manufacturers that lack Honda HCF-2 approval
- The CVT will start to shudder and fail quickly
- Overfilling and underfilling are equally harmful
- Follow the manufacturer's change interval; change it more often if you tow, drive in the mountains, or spend a lot of time in stop-and-go traffic
- If your car needs a service reset procedure or you have no experience checking the level, take it to a repair shop
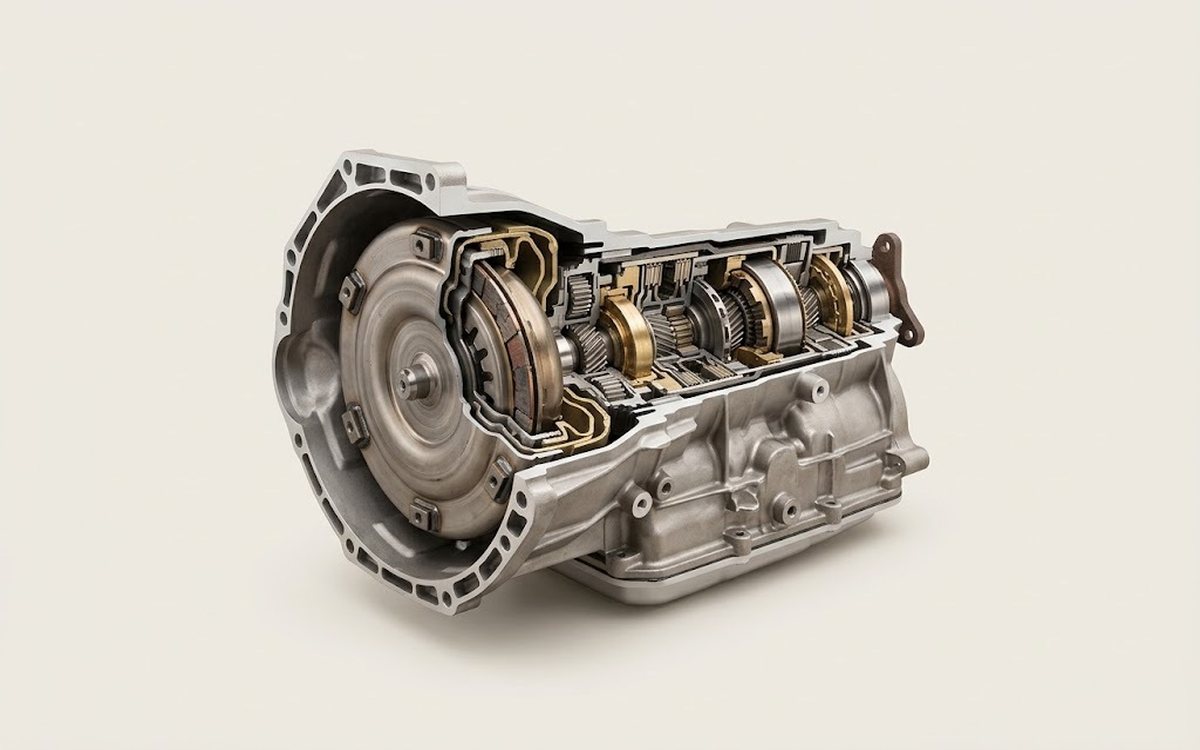 How it works · 3D
How an Automatic Transmission Works
How the part you're working on actually works — in plain English, on a 3D model.
Open in 3D →
Spotted a mistake? Tell us →
Our articles
 Brand stories
The History of Honda
The founder of the famous company, Japanese entrepreneur Soichiro Honda, was born in 1906 into the family of a poor…
Read →
 Garage
Fuel Quality Indicators: What Octane and Cetane Numbers Mean
What is an octane number? What about a cetane number? Which fuel should you choose for a high-compression engine?…
Read →
 Before you buy
How to Pick Up Your Car from the Dealership the Right Way
If you've decided to buy a car from a dealership, it isn't enough to simply choose a model you like, pay for it, and…
Read →