Autopapyrus · Lada 2107 (Gen 1)
https://autopapyrus.com/catalog/lada/2107/guides/replacing-the-front-sway-bar-bushings-and-mounts/
https://autopapyrus.com/catalog/lada/2107/guides/replacing-the-front-sway-bar-bushings-and-mounts/
Compiled automatically from service literature and owner experience. Specs are for the typical configuration — check them against your exact car before you start.
Lada 2107 (Gen 1): Replacing the Front Sway Bar Bushings and Mounts
The classic "Seven" has no separate sway bar links like front-wheel-drive models do. The bar attaches to the lower control arms with clamps that hold rubber bushings, and to the body with two brackets that also have bushings. Worn bushings and clamps cause the knocking and the body "wobble" in corners. This car has no rear sway bar.
Key figures
- Wrench size13 mm. A socket with a ratchet (an extension is needed for the brackets near the body) fits all the nuts in steps 3, 6 and 11
- Number of nuts at the clamps2 per side. Remove them in step 3 to free the bushings on the lower arms
- Wait time after applying oila few minutes. This is how long the penetrating oil needs to work so the threads don't snap (step 1)
Check these values against the manufacturer’s specification for your vehicle before you start.
Diagram: where the stabilizer bar clamp and bushing are and how to remove them
Tap to enlarge
- 1Stabilizer bar: thick bent rod. When replacing the bar or the bracket bushings, it is removed together with the brackets after unbolting them from the side member.
- 2Clamp with rubber bushing: stamped strap around the bar and bushing. Mark the clamp and bushing positions first, then pry the clamp off the arm studs with a mounting spatula. Left and right clamps are not interchangeable.
- 3Two 13 mm nuts on each clamp: spray with penetrating lubricant, wait a few minutes, then unscrew with a socket and ratchet.
- 4Lower arm: the clamp sits on its studs. The arm stays in place, you only remove the clamp.
- 5Coil spring on the shock absorber: a landmark, rests on the lower arm. Do not touch, but the load on the left and right springs must be equal.
- 6Brake disc: a landmark showing we are looking from the wheel side.
- 7Ball joint: a landmark at the wheel end of the arm. Do not touch.
Parts
5| № | Part | Alternatives |
|---|---|---|
| 01 | Front sway bar bushings (rubber)Find on Amazon → | AlternativesBRTBelebeyVAZ |
| 02 | Sway bar bushing clamps for lower control armsleft and right are not interchangeableFind on Amazon → | |
| 03 | Front sway bar assemblyif bent or wornFind on Amazon → | |
| 04 | Sway bar mounting brackets for side memberFind on Amazon → | |
| 05 | M8 nuts with spring washersFind on Amazon → | AlternativesBRTBelebeyVAZ |
Amazon links search by the part name; use Amazon's fit check for your car before ordering. We may earn a commission from qualifying purchases.
Tools
9Step by step
12 steps- Put the car over a pit or on ramps, set the parking brake, and chock the rear wheels. Treat all threaded connections with penetrating oil and wait a few minutes. Otherwise the studs and bolts can easily snap.
- Mark the position of the clamps relative to the arms, and of the bushings relative to the bar. The left and right clamps are not interchangeable, so don't mix them up.
- Use a 13 mm socket to remove the two nuts that secure each clamp to the lower arm.
- Pry the clamp off the arm studs with a pry bar and remove it. Slide the bushing off the bar. Do the same on the other side. If you are only replacing the bushings at the arms, you don't need to disassemble anything further, so go to step 10.
- If you are replacing the bar or the bushings in the brackets, remove the engine splash shield. Make sure the load on the left and right springs is equal: a twisted bar can spring straight when removed and hit you.
- Use a 13 mm socket with an extension to remove the two nuts that secure each bracket to the body side member.
- Remove the bar together with the brackets and clean off the dirt.
- Clamp a bracket in the vise, lubricate the bar with soapy water, and pull it out of the bushing while twisting it back and forth. Push the old bushing out of the bracket with a flat-blade screwdriver. Repeat with the second bracket.
- Install the new bushings in the brackets and insert the bar, lubricated with soapy water, in line with the marks. If the bar is new, use the position of the old one as a reference.
- Secure the brackets to the side members with the nuts and tighten them.
- Slip the clamp onto the lower arm studs and start one nut by 2-3 turns. Squeeze the clamp with adjustable pliers and thread on the second nut. The bushing's tab must sit in the slot of the clamp. Then tighten both nuts fully and do the same on the other side.
- Reinstall the splash shield and check that the bar doesn't touch the body. Drive over some bumps: the knocking should be gone.
Common mistakes and warnings
- Exact torque specifications for this assembly are not given in publicly available materials
- The M8 thread is fine, so tighten the nuts firmly but without excessive force, and replace the spring washers
- Re-tighten the nuts after a few hundred kilometers
- Steering and suspension affect safety: if you lack experience, have a repair shop do the work
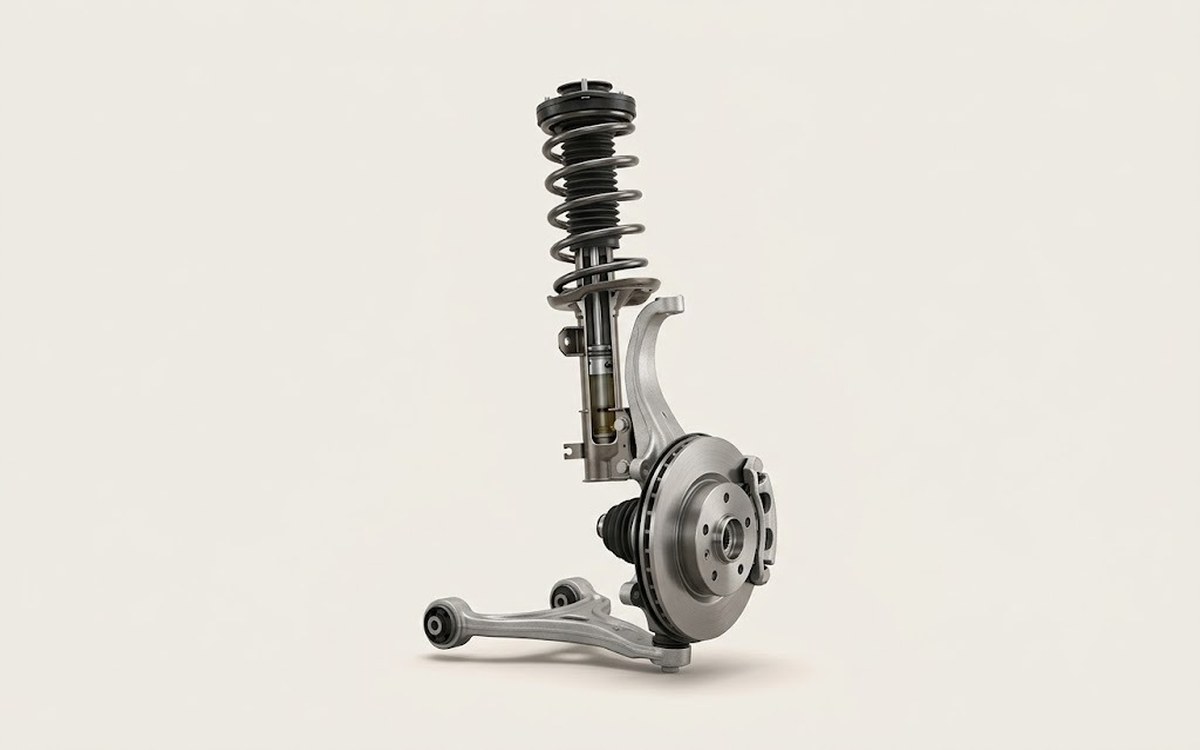 How it works · 3D
How Car Suspension Works
How the part you're working on actually works — in plain English, on a 3D model.
Open in 3D →