https://autopapyrus.com/catalog/mercedes-benz/e-class/guides/9g-tronic-automatic-transmission-fluid-and-filter-change/
Mercedes-Benz E-Class W213 (2020, OM656): 9G-Tronic Automatic Transmission Fluid and Filter Change
The W213 with the OM656 diesel uses the 9-speed 9G-Tronic automatic transmission (725.0). The manufacturer's schedule treats the fluid as "lifetime," but in practice it is changed every 60,000-100,000 km. A simple drain-and-fill renews only about half of the fluid, and the rest stays in the torque converter and cooler. A machine-assisted change (through the cooling lines) renews almost the entire volume, but this transmission requires an exact fluid level, which can only be set by temperature.
Parts
4| № | Part | Alternatives |
|---|---|---|
| 01 | ATF meeting MB 236.17 (ATF D971 type)about 10-12 L (10.6-12.7 qt)Find on Amazon → | AlternativesFuchs TitanShell D971Ravenol ATF M 9-G |
| 02 | 9G-Tronic transmission oil pan with integrated filter, completeFind on Amazon → | |
| 03 | Transmission pan sealing ringsFind on Amazon → | |
| 04 | Drain plug with new sealFind on Amazon → |
Amazon links search by the part name; use Amazon's fit check for your car before ordering. We may earn a commission from qualifying purchases.
Tools
8- lift or inspection pit Amazon →
- torque wrench Amazon →
- metric socket set and Torx set Amazon →
- special drain plug socket and fill adapter (included in service kits) Amazon →
- diagnostic scan tool that displays transmission fluid temperature Amazon →
- fluid fill machine or pump with a measuring container Amazon →
- 12-15 L (12.7-15.9 qt) drain pan Amazon →
- gloves Amazon →
Read the codes yourself
A scanner plugged into the OBD2 port under the dashboard shows which fault codes the car has stored, before you buy any parts. Cars sold in the US from 1996, and petrol cars in Europe from 2001 (diesels from 2004), have this port.
- Basic code reader, about $20–40: reads and clears engine codes Amazon →
- Bluetooth scanner with a phone app, about $30–100: live sensor data, and on many cars ABS and airbag codes too Amazon →
Check that the scanner lists your make and model year before you buy. We may earn a commission from qualifying purchases.
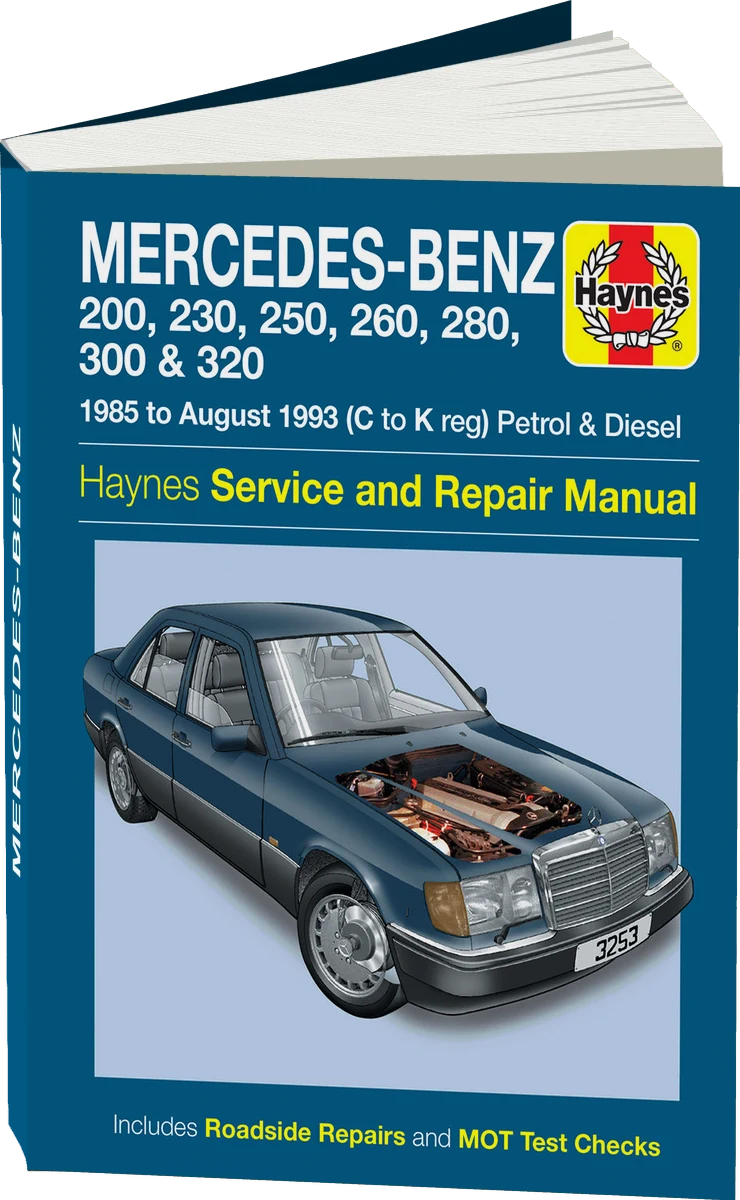 There's a full repair manual for this car
Every system, wiring diagrams and torque specs — not just this job. Haynes and 9 more.
See manuals →
Step by step
12 steps- Prepare everything in advance: the car on level ground or a lift, engine cold or warm (transmission temperature no higher than 30-35 °C before draining). Connect the scan tool and make sure you can see the transmission fluid temperature. A basic ELM adapter without the right software usually does not show it.
- Remove the lower engine bay undercover and the undercover below the transmission, if fitted.
- Place the drain pan, remove the drain plug with the special socket, and drain the fluid. Note or estimate the drained volume: the same amount needs to go back in.
- Remove the transmission pan with the filters: loosen the mounting bolts in a diagonal pattern and carefully lower the pan (it still contains fluid). Do not let it tilt, to avoid damaging the seals on the connecting tubes.
- Inspect the pan and the magnet for metal particles. A light gray film is normal, but large metal shavings or clutch friction debris indicate serious transmission wear.
- Install the new pan with new seals. Tighten the bolts in a crisscross pattern. Reference: 4 N·m (3 lb-ft), then an additional 90° turn (for this pan). Verify against the specification for your configuration.
- For a machine-assisted change: connect the machine to the cooling lines following its instructions (the return line of the transmission cooler is interrupted). The engine runs in P, the machine pumps in fresh fluid, and the old fluid goes into a container. Exchange the volume roughly 1:1 until clean fluid comes out. Do not leave the engine running without fluid in the transmission, and do not let the pump run dry.
- Install the drain plug with a new seal (reference about 23 N·m (17 lb-ft); verify against the manual for your transmission). Add fluid through the fill opening / adapter up to the calculated volume.
- Start the engine with your foot on the brake, cycle through P-R-N-D, pausing 2-3 seconds in each, and return to P.
- Setting the level by temperature: warm up the fluid until the scan tool shows 35-45 °C. The transmission must overflow through the check tube only within this window. Keep the engine idling, the selector in P, and the car level. Open the check opening (overflow plug/tube): if fluid comes out in a thin stream and then turns to drips, the level is correct. If nothing flows, add fluid in small amounts until a stream appears. If it flows heavily, let it drain until it drips.
- Close the check opening, install the plug with a new seal, and tighten to specification. Do not let the temperature leave the window: above 45-50 °C the level will read incorrectly.
- Refit the undercovers, lower the car, and take a 5-10 km test drive. Check for smooth shifting and for leaks at the pan and plugs. Resetting the transmission adaptation after a fluid change is not required.
Common mistakes and warnings
- Underfilling or overfilling the 9G-Tronic leads to slipping, overheating, and transmission failure, and the repair is very expensive
- Use only fluid that meets MB 236.17
- Universal "all-in-one" Dexron/ATF fluids are not suitable
- If you do not have a scan tool that shows transmission fluid temperature, the correct socket, and experience setting the level, it is better to leave the job to a repair shop with the proper equipment
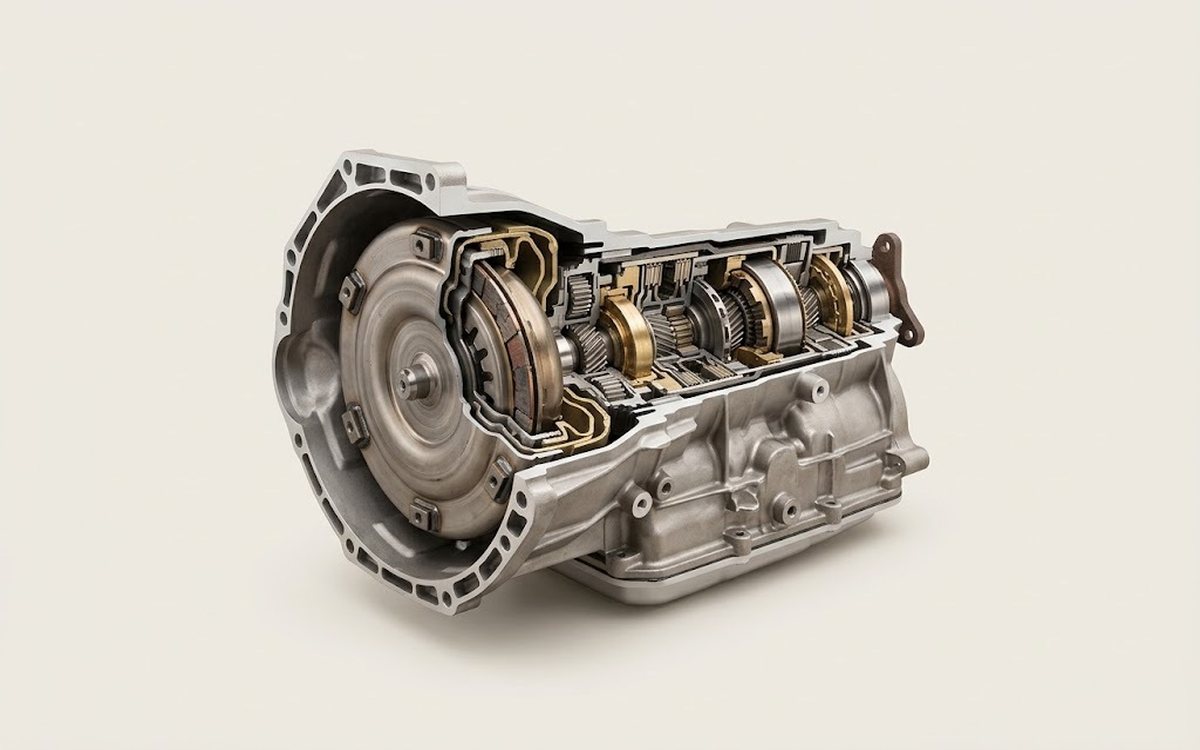 How it works · 3D
How an Automatic Transmission Works
How the part you're working on actually works — in plain English, on a 3D model.
Open in 3D →