Nissan Maxima A33 (V generation) (2000–present) — repair and maintenance
4 repair manuals
Nissan Maxima A33 (V generation) guides
207Engine55
- Piston ring side clearance
- Rear oil seal
- Piston-to-gudgeon pin clearance
- Replacing the engine oil
- Replacing the air filter element
- Engine maintenance
- Front oil seal
- Repairing the cylinder block
47 more
- Removing and installing the oil pan
- Engine assembly
- Diagnosing the engine condition using a vacuum gauge
- Replacing the air filter
- Replacing the connecting rod bushing (in the small end)
- Replacing the cylinder head
- Replacing the metering control valve
- Replacing the rear crankshaft oil seal
- Replacing the crankshaft
- Replacing the valve stem seals and valve springs with retainers
- Replacing the oil filter
- Replacing the valve guide
- Replacing the front crankshaft oil seal
- Replacing the oil seals
- Replacing the valve seat with an oversize one
- Replacing the timing chain
- Valve clearances
- Engine mechanical components
- Engine oil
- Drive belts
- Checking and adjusting the valve clearances
- Checking and adjusting the idle speed
- Checking the PCV valve
- Checking the cylinder compression pressure
- Checking the manual transmission oil
- Checking the positive crankcase ventilation (PCV) system
- Checking the condition and replacing the camshaft position sensor
- Checking the condition of the EGR valve
- Checking the condition of the crankshaft
- Checking the condition of the piston and connecting rod assembly components
- Checking the electrical circuit
- Disassembling the cylinder head
- Assembling the cylinder head
- Valve seats
- Removing and installing the intake manifold
- Removing and installing the cylinder heads
- Removing and installing the luggage compartment lid latch and lock cylinder
- Removing and installing the flywheel/driveplate
- Removing and installing the engine oil pan
- Removing and installing the camshafts and valve lifters
- Removing and installing the A/C receiver-drier
- Removing the crankshaft
- Removing the piston and connecting rod assemblies
- Removing, inspecting and installing the oil pump
- Removing, inspecting and installing the rocker arm assembly
- Removing, inspecting and installing the timing chain and sprockets
- Installing the piston rings
Suspension & steering18
- Replacing the shock absorber/coil spring of the strut assembly
- Replacing the steering gear assembly boots
- Replacing the ball joints
- Checking the steering gear and linkage
- Checking the condition of the power steering fluid and lines
- Checking the condition of and replacing the powertrain mounts
- Checking the power steering fluid level
- Adjusting the steering wheel
10 more
- Adjusting the wheel alignment angles
- Removing and installing the rear suspension components, 1995 models and later
- Removing and installing the track rod ends
- Removing and installing the front stabilizer bar
- Removing and installing the steering wheel
- Removing and installing the power steering pump
- Removing and installing the front suspension control arm
- Removing and installing the steering column cover sections
- Removing, inspecting and installing the rear suspension struts
- Removing, inspecting and installing the front suspension strut assemblies
Electrical37
- Replacing the battery
- Replacing the hazard warning switch
- Replacing the headlight bulbs
- Replacing the spark plugs
- Replacing the spark plugs (platinum-tipped)
- Replacing the tachometer
- Replacing the traction relay
- Replacing the wiper blades
29 more
- Ignition switch
- Checking the oxygen sensor (O2S)
- Checking and replacing the reverse light switch
- Checking and adjusting the ignition timing settings
- Checking the operation and replacing the horns
- Checking the starter and starting circuit for proper operation
- Checking the condition of the battery and replacing it
- Checking the condition and replacing the knock sensor
- Checking the condition and replacing the fuel flow sensor
- Checking the condition and replacing the vehicle speed sensor (VSS)
- Checking the condition and replacing the ignition coils
- Checking the condition of and replacing the spark plugs
- Checking the condition of the charging system
- Checking the operation of the ignition system
- Checking, replacing and adjusting the start enable switch sensor
- Checking, servicing and charging the battery
- Adjusting the headlight aim
- Repairing the power windows
- Removing and installing the radio antenna
- Removing and installing the headlight units
- Removing and installing the control unit
- Removing and installing the alternator
- Removing and installing the instrument cluster
- Removing and installing the A/C condenser
- Removing and installing the main section of the instrument panel
- Removing and installing the instrument panel trim sections
- Removing and installing the window regulators
- Removing and installing the starter
- Removing and installing the heater blower motor
Fuel system13
- Replacing the fuel filter
- Replacing the throttle body
- Replacing the fuel pressure regulator
- Checking the injection system for proper operation
- Checking the vapor lines of the evaporative emission control system
- Inspecting and replacing the throttle body
- Checking the condition of the fuel system components
- Checking the fuel lines
Interior9
Brakes14
Transmission16
- Replacing the ATF in the automatic transmission and the final drive
- Replacing the automatic transmission fluid
- Replacing the protective boots and checking the condition of the CV joints
- Replacing the robotized gearbox transmission oil
- Checking the automatic transmission fluid
- Checking the automatic transmission ATF level
- Checking the manual transmission oil level
- Checking, adjusting and replacing the gearshift cable
8 more
- Adjusting the clutch pedal
- Removing and installing the clutch master cylinder
- Removing and installing the clutch slave cylinder
- Removing and installing the gear shift linkage components
- Removing and installing the driveshafts
- Removing and installing the transfer case
- Removing, disassembling and installing the rack-and-pinion steering gear
- Removing, inspecting and installing the clutch assembly components
Cooling system20
- Checking the radiator cap
- Checking the cooling system
- Replacing the engine coolant
- Replacing the engine coolant
- Filling with coolant
- Servicing the engine cooling system
- Checking the vacuum hoses and connections
- Checking the operation of and replacing the thermostat
12 more
- Checking the cooling system for leaks
- Checking the condition of and replacing the water pump
- Checking the condition and replacing the hoses in the engine compartment
- Checking the condition of the cooling system components
- Checking the ventilation hoses
- Checking the cooling system hoses
- Flushing the cooling system
- Draining the coolant
- Removing and installing the intake manifold
- Removing and installing the radiator grille trim
- Removing and installing the heater core
- Removing, servicing and installing the A/C compressor
Body & glass13
- Replacing the windshield and other fixed glass
- Door locks
- Adjusting the sunroof
- Removing and installing the door glass
- Removing and installing the rear parcel shelf
- Removing and installing the hood lock latch and release cable
- Removing and installing the door latch, lock cylinder and handles
- Removing and installing the rear-view mirrors
Wheels & tires10
Need a job that isn't listed? A full repair manual for the Nissan Maxima A33 (V generation) covers every system: wiring diagrams, torque specs, step-by-step photos.
Find a repair manual →Need a part? Search Amazon for Nissan Maxima A33 (V generation) parts: filters, brakes, sensors, belts. Check the fit for your year and engine before you buy.
Find parts on Amazon →Nissan Maxima A33 (V generation) repair manuals
4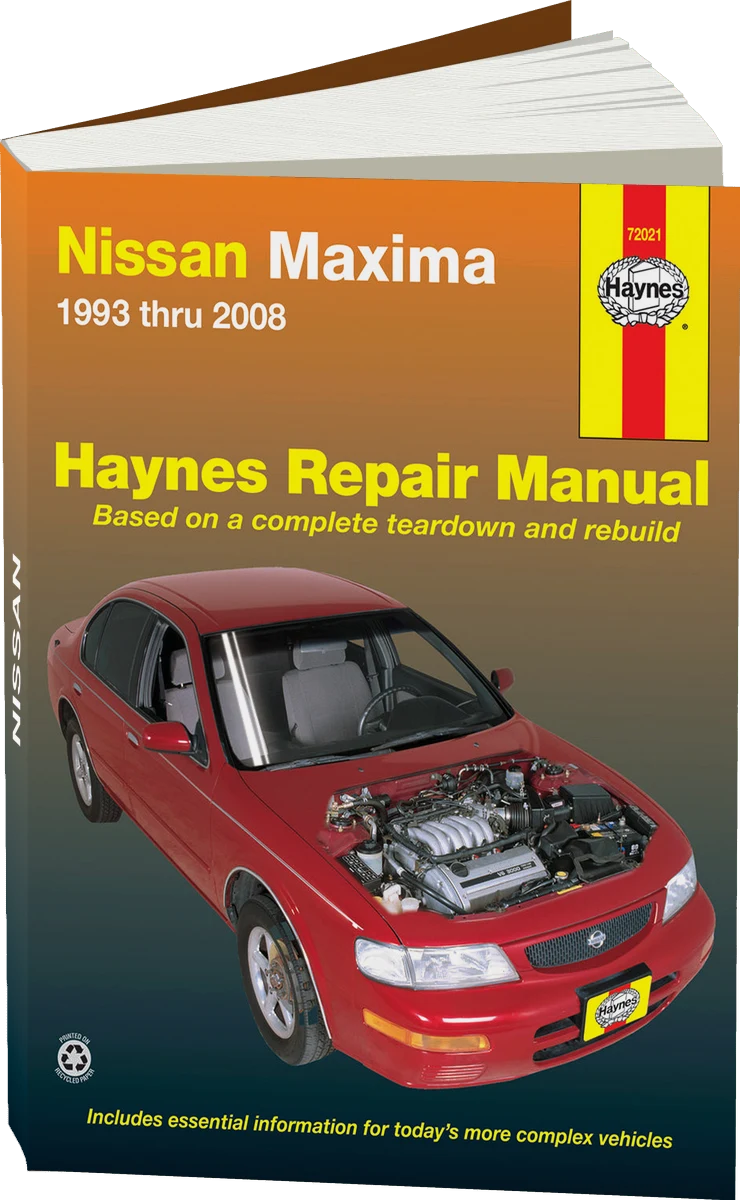
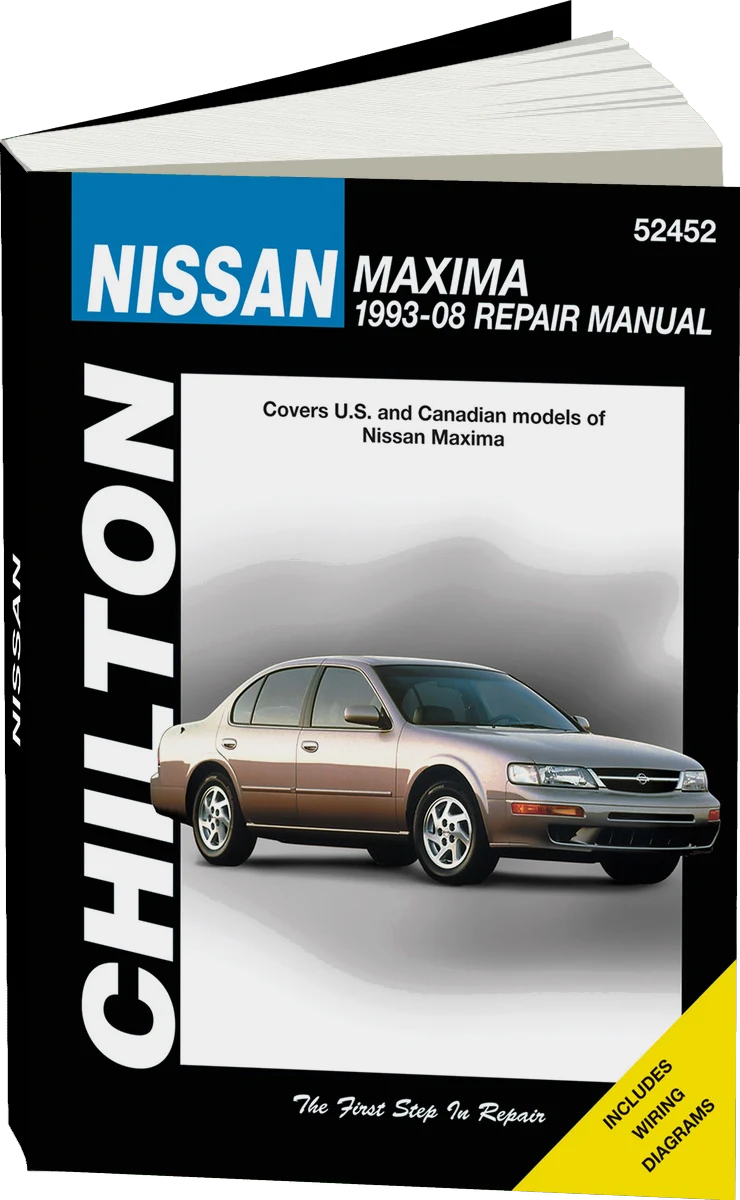
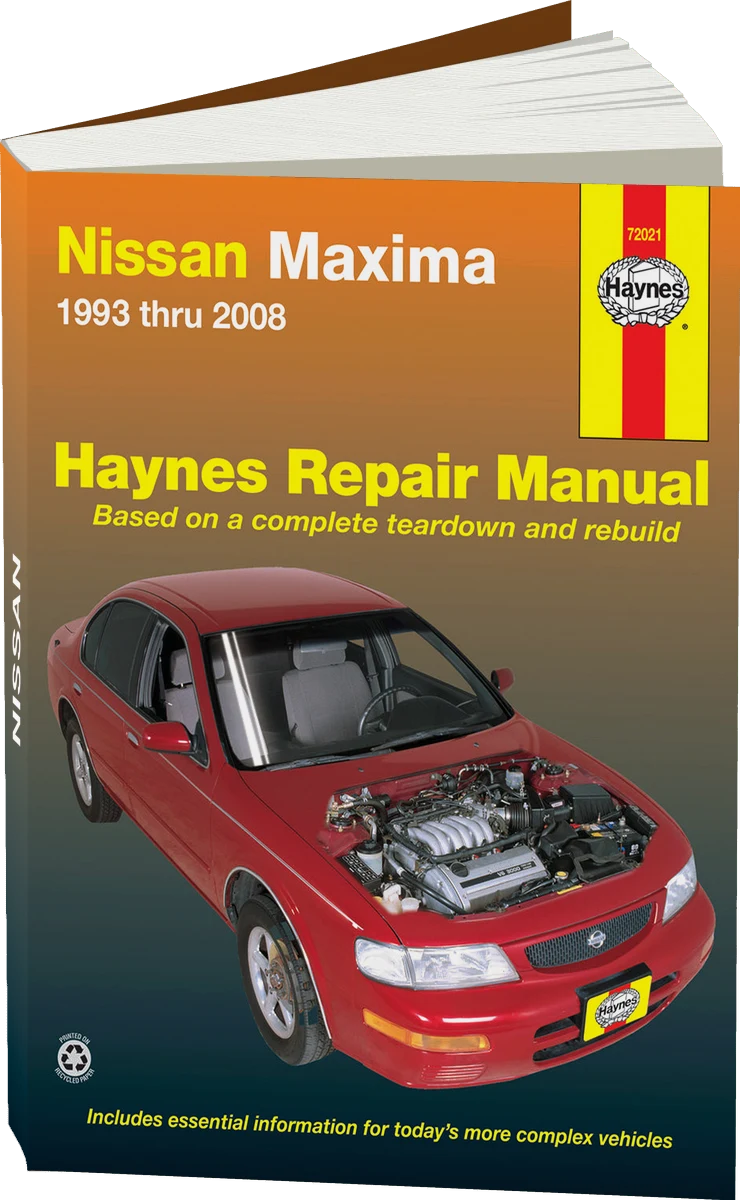

Nissan Maxima V (A33) 2000 to 2003 Haynes Online Diagnostics & Service Guide
UK edition · online access
£28.79
Manuals are written for specific model years — check that the years match your car. Prices are set by the seller.
Our articles
 Brand stories
The History of Nissan
Over the course of 80 years, this Japanese automaker has come a long way and risen to become a leader of the global…
Read →
 Garage
Fuel Quality Indicators: What Octane and Cetane Numbers Mean
What is an octane number? What about a cetane number? Which fuel should you choose for a high-compression engine?…
Read →
 Before you buy
How to Pick Up Your Car from the Dealership the Right Way
If you've decided to buy a car from a dealership, it isn't enough to simply choose a model you like, pay for it, and…
Read →
Owner discussions
all discussions →- Nissan Bluebird - speedometer not working · Nissan Bluebird
- Nissan Terrano 2.4L - High Fuel Consumption · Nissan Terrano
- Nissan Tiida 2007, 1.6 L 16V HR16 misfiring on two or three cylinders · Nissan Tiida
- Nissan Pathfinder R52, CVT jerking · Nissan Pathfinder
- Nissan Primera P12, 2.0l: Engine starts and stalls after 30-50 seconds · Nissan Primera