https://autopapyrus.com/catalog/skoda/superb/guides/coolant-replacement/
Skoda Superb 2.0 TDI DFGA 150 hp (2018): Coolant Replacement
The EA288 cooling system has no drain plug. You drain the coolant by removing the radiator hoses and the auxiliary pump hose. Some old coolant stays in the system after draining. Air pockets in this complex circuit (which includes a small circuit with an electric pump) don't clear on their own. For that reason, fill the system under vacuum and warm up the engine using the service bleeding procedure. The drained volume is about 5 L (5.3 qt).
Key figures
- Drained volumeabout 5 L (5.3 qt). This is how much comes out of the system when draining, and you need a 8-10 L (8.5-10.5 qt) container (steps 2, 8)
- Coolant reserve for vacuum fillat least 8 L (8.5 qt). Prepare this much in advance (step 16)
- Warm-up temperature during bleeding90 °C. Heat the engine to this temperature to purge the air (step 22)
- RPM to open the thermostat2500 rpm for 120 seconds. This is the final stage of bleeding (step 22)
- Vacuum for the vacuum fillabout 0.7 bar. It is reached in under a minute (step 16)
Check these values against the manufacturer’s specification for your vehicle before you start.
Parts
2| № | Part | Alternatives |
|---|---|---|
| 01 | G12evo coolant (VW TL 774), premixed or concentrate 50/50 with distilled waterabout 5 L (5.3 qt) of premixed coolant; at least 8 L (8.5 qt) for vacuum fillFind on Amazon → | AlternativesBASF GlysantineHepuFebi |
| 02 | Radiator hose O-ringsif wornFind on Amazon → |
Amazon links search by the part name; use Amazon's fit check for your car before ordering. We may earn a commission from qualifying purchases.
Tools
9- lift or inspection pit (or ramps) Amazon →
- Torx T25 and T40 Amazon →
- flat-blade screwdriver Amazon →
- spring clamp pliers (preferably with a cable-type drive) Amazon →
- 8-10 L (8.5-10.5 qt) drain container Amazon →
- funnel Amazon →
- distilled water Amazon →
- vacuum coolant filling tool (recommended) Amazon →
- diagnostic scan tool with a cooling circuit fill and bleed function (ODIS or equivalent) Amazon →
Read the codes yourself
A scanner plugged into the OBD2 port under the dashboard shows which fault codes the car has stored, before you buy any parts. Cars sold in the US from 1996, and petrol cars in Europe from 2001 (diesels from 2004), have this port.
- Basic code reader, about $20–40: reads and clears engine codes Amazon →
- Bluetooth scanner with a phone app, about $30–100: live sensor data, and on many cars ABS and airbag codes too Amazon →
Check that the scanner lists your make and model year before you buy. We may earn a commission from qualifying purchases.
 There's a full repair manual for this car
Every system, wiring diagrams and torque specs — not just this job. Haynes AutoFix (online) and 2 more.
See manuals →
Step by step
28 steps · 6 stagesStage 1 of 6 Preparation 4 steps
- Drive the car onto a lift or over an inspection pit. Work only on an engine that is OFF and COMPLETELY COOLED DOWN. The system is under pressure, and hot coolant will spray out in a jet when you remove the hoses.
- Prepare a drain container of 8-10 L (8.5-10.5 qt), rags and gloves. Coolant is toxic, so don't let it spill on the ground.
- Open the hood, carefully unscrew the expansion tank cap and remove it. This lets the coolant flow out freely.
- Remove the lower undertray: about 8 self-tapping screws on the sides and front (Torx T25) and 3 bolts at the rear (Torx T40). Keep the fasteners separate.
Stage 2 of 6 Draining 6 steps
- Place the container under the radiator on the left. Use a flat-blade screwdriver to push back the spring retainer on the left radiator hose. Pull the hose off by hand, rocking it as you go. Keep a rag close, because coolant starts flowing right away.
- Remove the right radiator hose the same way. Coolant will drain from the tank, the radiator and the intake circuits.
- Find the auxiliary coolant pump hose. It sits behind the oil drain plug in the oil pan. Remove the clamp from it (pliers with a cable-type drive make this easier) and pull the hose off. Most of the coolant will drain from the engine and the heater.
- Let the coolant drain completely and measure the drained volume. Expect about 5 L (5.3 qt). This is only part of the total circuit volume. Old coolant will remain in the block, the heater and the small circuit.
- If you want, flush the system. Fill it with distilled water, warm up the engine, drain it the same way and repeat 2-3 times. Do this especially if different coolant types were mixed before, or if the coolant is cloudy or has sediment. Don't use aggressive cleaners unless you need to.
- Remove the expansion tank, or flush it in place to clear out sediment. If there is a silica gel bag inside (G13 coolant), take it out and clean the tank.
Stage 3 of 6 Reassembling the circuit 4 steps
- Lubricate the radiator hose O-rings with a drop of coolant. Otherwise the hoses seat tightly and you can damage the plastic radiator fittings. Replace worn O-rings.
- Install both radiator hoses until the retainer clicks. Pull on them by hand to make sure they are seated.
- Fit the auxiliary pump hose and put the clamp back in place.
- Check that all clamps and retainers are in place and that there are no signs of spills under the car.
Stage 4 of 6 Filling 4 steps
- Mix the G12evo coolant with distilled water 50/50 (if you aren't using premixed). Don't use regular tap water.
- Recommended method: connect the vacuum tool to the expansion tank and create a vacuum (about 0.7 bar is reached in under a minute). Close the compressor valve and open the coolant supply valve. The system fills until the tank is full in a couple of minutes.
- If you don't have a vacuum tool, pour the coolant into the tank slowly up to the MAX mark. Periodically squeeze the upper radiator hose by hand to push the air out. This method is less reliable, and air pockets are more likely.
- Close the expansion tank cap.
Stage 5 of 6 Bleeding and warm-up 5 steps
- Connect the scan tool and start the cooling circuit fill and bleed procedure in the engine control unit ("Fill coolant circuit" in ODIS, with an equivalent in VCDS). It takes about an hour and has three parts.
- Part 1: the engine starts, the RPM is held automatically for about 800 seconds, then the engine shuts off.
- Part 2: turn the ignition on without starting the engine. The small circuit pumps run for about 900 seconds. During this stage you can open the tank cap and watch the air come out. Don't open it on a hot engine.
- Part 3: start the engine and warm the coolant up to 90 °C. Then hold 2500 rpm for 120 seconds so the thermostat opens.
- If you don't have a scan tool, warm up the engine until the thermostat opens (the upper radiator hose becomes hot). Turn the heater to maximum, rev the engine to 2500 rpm several times and watch the level. Air clears less well this way, so be sure to repeat the check the next day.
Stage 6 of 6 Finishing and checking 5 steps
- Shut off the engine, let it cool down completely and check the level in the tank. It should be between the MIN and MAX marks. Top up if necessary.
- Install the undertray. Tighten the bolts to the manufacturer's specification. As a rough guide, use a low torque of 5-10 N·m (4-7 lb-ft). Don't overtighten, because the plastic undertray cracks. You can apply blue threadlocker to the 3 rear bolts.
- After a test drive, inspect the hoses and clamps for leaks.
- Over the next few days, check the level in the cooled tank and top up with the same coolant. If the level rises above normal, or the heater runs weakly, there is air in the circuit. Repeat the bleeding.
- Take the old coolant to a collection point. Don't pour it into the sewer or onto the ground.
Common mistakes and warnings
- Don't open the tank cap or remove the hoses on a hot engine
- A release of hot coolant under pressure causes severe burns
- For 2018 model year cars, the standard coolant is G12evo (it mixes with G13)
- Don't mix it with coolants of unknown origin or with plain water
- If sediment or signs of old coolant breakdown remain in the system, flush the circuit with distilled water several times
- The manufacturer's replacement interval is about 48 months or 60,000 km (37,000 mi) for checking the coolant condition
- Check the exact interval in the service book
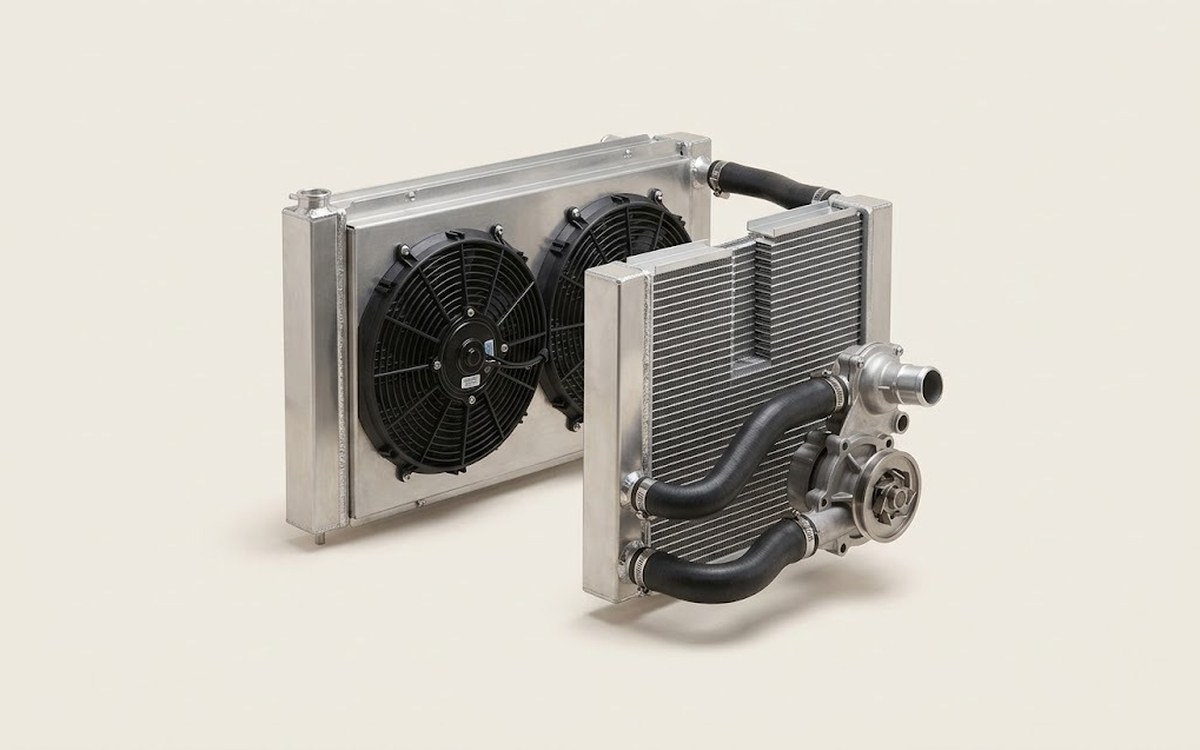 How it works · 3D
How the Engine Cooling System Works
How the part you're working on actually works — in plain English, on a 3D model.
Open in 3D →
Spotted a mistake? Tell us →
Our articles
 Brand stories
The History of Skoda
A detailed look at how the Škoda automotive brand came to be.
Read →
 Garage
Fuel Quality Indicators: What Octane and Cetane Numbers Mean
What is an octane number? What about a cetane number? Which fuel should you choose for a high-compression engine?…
Read →
 Before you buy
How to Pick Up Your Car from the Dealership the Right Way
If you've decided to buy a car from a dealership, it isn't enough to simply choose a model you like, pay for it, and…
Read →