Autopapyrus · Toyota Avensis (2006)
https://autopapyrus.com/catalog/toyota/avensis/guides/checking-and-replacing-the-coolant/
https://autopapyrus.com/catalog/toyota/avensis/guides/checking-and-replacing-the-coolant/
Compiled automatically from service literature and owner experience. Specs are for the typical configuration — check them against your exact car before you start.
Toyota Avensis (2006): Checking and Replacing the Coolant
Super Long Life coolant on the Avensis T250 should be replaced about every 5 years or 100,000 km (this is Toyota's factory-fill coolant with that service life). If the color has changed, or the coolant is cloudy, contains rust or has an oil film, replace it sooner. Draining is done through the radiator drain cock and the plug on the cylinder block. Refilling is done through the radiator filler neck and the expansion tank.
Key figures
- System capacitythis is how much coolant you need to prepare to fill the whole system (step 18); account for the remainder after draining (about 1 L (1.1 qt)) when refillingabout 5.7-5.9 L (6.0-6.2 qt) for the 1.8 gasoline (1ZZ-FE) and about 8-8.2 L (8.5-8.7 qt) for the 2.0 D-4D diesel
- Maximum ethylene glycolthe upper limit for the share of concentrate in the mixture (step 17); going higher is not allowed, as the coolant removes heat less effectively and freezes soonerno more than 70%
Check these values against the manufacturer’s specification for your vehicle before you start.
Diagram: where the radiator drain is and how to open the petcock
Tap to enlarge
- 1Drain petcock: black plastic, at the bottom of the radiator side tank. Open a few turns, do not unscrew fully or it will fall out.
- 2Upper radiator pipe with hose and clamp: check for cracks, swelling and leaks.
- 3Lower radiator pipe: disconnect the lower hose if needed to drain the remainder.
- 4Radiator filler neck with cap: open only on a cold engine, fill to the brim.
Parts
2| № | Part | Alternatives |
|---|---|---|
| 01 | Toyota Super Long Life Coolant (pink), ethylene glycol, concentrate or premixed, protection down to -35…-50 °Cabout 5.7-5.9 L (6.0-6.2 qt) for the 1.8 gasoline (1ZZ-FE), about 8-8.2 L (8.5-8.7 qt) for the 2.0 D-4D diesel (1AD-FTV); for other engines, 7-9 L (7.4-9.5 qt)Find on Amazon → | AlternativesToyotaAisinTotalMotul |
| 02 | Distilled waterfor diluting concentrate and flushing the systemFind on Amazon → |
Amazon links search by the part name; use Amazon's fit check for your car before ordering. We may earn a commission from qualifying purchases.
Tools
8 There's a full repair manual for this car
Every system, wiring diagrams and torque specs — not just this job. Haynes and 4 more.
See manuals →
Step by step
25 steps · 5 stagesStage 1 of 5 Inspection and preparation 6 steps
- Let the engine cool down completely. Do not open the radiator cap on a hot engine: the coolant is under pressure and you can be burned.
- Park the car on level ground and apply the parking brake. If you need access from below, use a lift or a pit, or reliable jack stands. A jack alone is not enough.
- Check the level in the expansion tank: it should be between the MIN and MAX marks. Inspect the coolant: color, presence of rust, oil or foam.
- Inspect the radiator hoses, heater hoses and pipes for cracks, swelling and signs of leaks. Replace any questionable clamps and hoses beforehand.
- If you have a hydrometer or refractometer, measure the density. Freeze protection should be no higher than -35 °C for your climate.
- Remove the engine undercover if one is fitted (the fasteners depend on the trim level). This makes it easier to reach the radiator drain cock.
Stage 2 of 5 Draining the coolant 6 steps
- Turn the ignition on, set the heater temperature control to maximum "hot," and turn the ignition off. This opens the heater valve so the coolant drains from the heater core too.
- Place the pan under the radiator. Remove the radiator cap (engine cold).
- Find the drain cock on the lower tank of the radiator. It is plastic. Open it a few turns and do not unscrew it all the way, or it will fall out.
- Find the drain plug on the cylinder block (on the 1ZZ-FE and 1AZ gasoline engines it is on the side of the block closer to the bulkhead, near the oil filter). Unscrew it and let the coolant drain. Use a new washer or gasket if you have one.
- Let it drain completely and disconnect the lower radiator hose if you need to drain the remainder. Some coolant (about 1 L (1.1 qt)) will still stay in the block and heater core.
- Remove the expansion tank, empty it and rinse it with clean water if there is sediment on the bottom. Reinstall it.
Stage 3 of 5 Flushing (if needed) 3 steps
- Close the radiator drain cock and the block drain plug. Pour distilled water into the radiator and close the cap.
- Start the engine, set the heater to maximum and warm up until the radiator fan turns on. Shut off the engine and wait for it to cool down.
- Drain the water. Repeat the flush until nearly clear water comes out of the system (usually 2-3 times). Account for the remaining water (about 1 L (1.1 qt)) when mixing the concentrate.
Stage 4 of 5 Refilling and bleeding air 6 steps
- Close the radiator drain cock all the way (hand-tight, no tools) and tighten the block drain plug. The torque is low: approximately 10-25 N·m (7-18 lb-ft). Check the exact value against the manufacturer's specification and do not overtighten.
- If you are using concentrate, mix it with distilled water, usually in a ratio of about 50/50 (up to 60/40 for very cold climates). The ethylene glycol concentration must not exceed 70%.
- Pour coolant into the radiator filler neck until it reaches the top. Gently squeeze the upper and lower radiator hoses by hand several times to push out the air. If the level drops, top up.
- Close the radiator cap. Fill the expansion tank to the FULL (MAX) mark.
- Start the engine with the heater set to maximum heat. Let it run until the fan turns on, and rev it a couple of times to 2000-3000 rpm.
- Shut off the engine, let it cool and check the level in the tank and in the radiator. Top up as needed. Repeat the warm-up and check 1-2 times until the level stops dropping.
Stage 5 of 5 Final check 4 steps
- Inspect the drain cock, block plug, clamps, radiator cap and tank for leaks.
- Reinstall the engine undercover and secure it.
- After driving 100-200 km, check the level with the engine cold and top up to the mark if needed.
- Take the old coolant to a recycling facility. Do not pour it on the ground: ethylene glycol is toxic.
Common mistakes and warnings
- Do not open the radiator cap or the tank on a hot engine: you can be severely burned
- Do not mix coolants of different types and colors
- Keep old coolant away from children and animals: it tastes sweet and is dangerous
- If air remains in the system after the replacement, the heater is weak or the temperature gauge jumps, repeat the air bleeding
- If the level keeps dropping, have the system checked for leaks at a repair shop
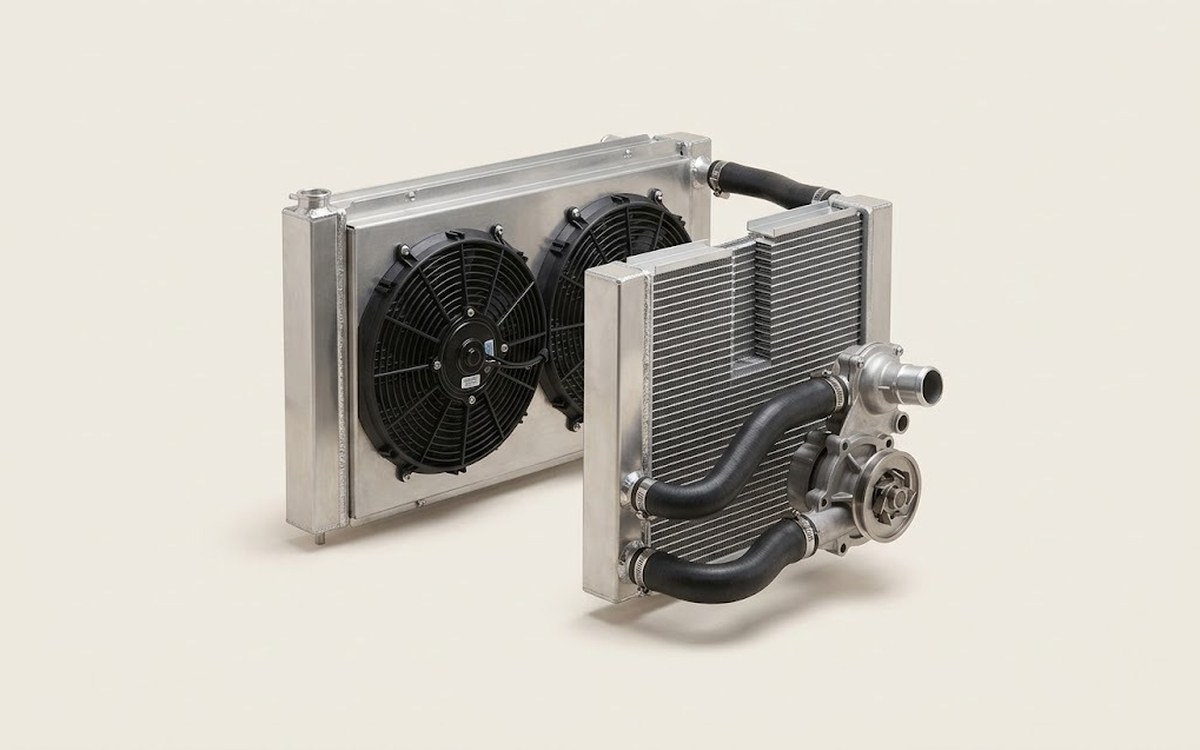 How it works · 3D
How the Engine Cooling System Works
How the part you're working on actually works — in plain English, on a 3D model.
Open in 3D →
Spotted a mistake? Tell us →
Our articles
 Brand stories
The History of Toyota
From weaving looms to reliable mass-produced cars.
Read →
 Garage
Fuel Quality Indicators: What Octane and Cetane Numbers Mean
What is an octane number? What about a cetane number? Which fuel should you choose for a high-compression engine?…
Read →
 Before you buy
How to Pick Up Your Car from the Dealership the Right Way
If you've decided to buy a car from a dealership, it isn't enough to simply choose a model you like, pay for it, and…
Read →