https://autopapyrus.com/catalog/toyota/land-cruiser-prado/guides/automatic-transmission-valve-body-removal-and-repair/
Toyota Land Cruiser Prado 4.0 1GR-FE (2010): A750F Automatic Transmission Valve Body Repair
The A750F valve body is most often serviced because of sticking linear solenoids (SLT, SLU, SL1, SL2, SL3) caused by dirt and worn valve bores: the torque converter lock-up valves, the solenoid regulator valve and the "boost" bushing. Symptoms: harsh shifts, slipping, shuddering during lock-up, and SLT and SL2 fault codes. This guide covers removing the valve body from the vehicle through the pan; internal transmission repair involving disassembly of the gearbox is not included.
Diagram: where the A750F valve body is and how to reach it through the pan
- 1Pan bolts all around: they run along the whole case flange and hold the pan. Remove them all and clean the mating surface.
- 2Oil strainer (filter): mesh filter on two bolts. Remove it from the valve body and fit a new one with a new seal.
- 3Valve body: cast housing behind the filter, partly under it. Its bolts differ in length: lay them out by diagram and lower the unit carefully.
- 4Solenoids and connectors: large SLT and SLU, smaller SL1, SL2, SL3. Unplug the connectors, remove solenoids in order and replace the seals.
- 5Wiring harness: the internal harness runs from the solenoid connectors. Photograph the wire layout before unplugging.
Parts
9| № | Part | Alternatives |
|---|---|---|
| 01 | Toyota WS ATFenough for an oil pan fluid changeFind on Amazon → | |
| 02 | Transmission pan gasket or sealantFind on Amazon → | |
| 03 | Transmission pan magnetsFind on Amazon → | |
| 04 | Transmission filter (strainer)Find on Amazon → | |
| 05 | Valve body and solenoid O-ring kitFind on Amazon → | |
| 06 | Linear solenoids SLT, SLU, SL1, SL2, SL3if neededFind on Amazon → | |
| 07 | Internal transmission wiring harnessif neededFind on Amazon → | |
| 08 | Valve body worn bore repair kitsif wornFind on Amazon → | AlternativesSonnaxTransgo |
| 09 | Radiator with transmission cooler / engine radiatorif neededFind on Amazon → |
Amazon links search by the part name; use Amazon's fit check for your car before ordering. We may earn a commission from qualifying purchases.
Tools
11- Lift or inspection pit Amazon →
- socket set and ratchet Amazon →
- low-range torque wrench (5-25 N·m (44-221 lb-in)) Amazon →
- container for draining ATF Amazon →
- syringe or pump for refilling ATF Amazon →
- tweezers Amazon →
- magnet Amazon →
- clean container for parts Amazon →
- compressed air Amazon →
- transmission parts cleaner Amazon →
- Techstream scan tool or OBD-compatible scanner for resetting adaptations and checking ATF by temperature Amazon →
Read the codes yourself
A scanner plugged into the OBD2 port under the dashboard shows which fault codes the car has stored, before you buy any parts. Cars sold in the US from 1996, and petrol cars in Europe from 2001 (diesels from 2004), have this port.
- Basic code reader, about $20–40: reads and clears engine codes Amazon →
- Bluetooth scanner with a phone app, about $30–100: live sensor data, and on many cars ABS and airbag codes too Amazon →
Check that the scanner lists your make and model year before you buy. We may earn a commission from qualifying purchases.
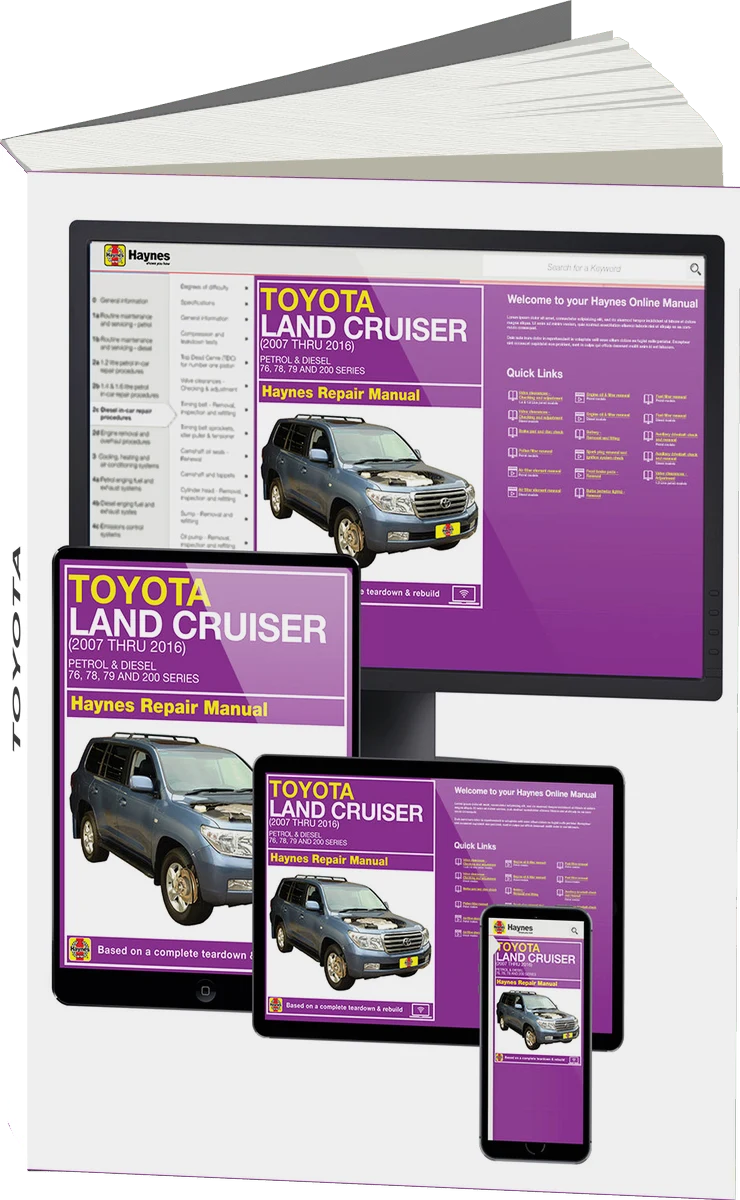 There's a full repair manual for this car
Every system, wiring diagrams and torque specs — not just this job. Haynes and 6 more.
See manuals →
Step by step
31 steps · 6 stagesStage 1 of 6 Diagnosis and preparation 5 steps
- Read the codes with a scan tool. Codes such as P0776 (SL2) and P2714 (SLT) point to a pressure regulation and solenoid problem, not necessarily an open circuit.
- Check the ATF level and condition using the factory procedure (by fluid temperature, through the check plug). Dark fluid with a burnt smell or metal shavings in the fluid indicate wear inside the transmission, not just in the valve body.
- Check the transmission cooler in the radiator: traces of coolant in the fluid (milky color) mean the radiator must be replaced and the lines flushed first, otherwise the contamination will return to the valve body.
- Measure the resistance of the solenoids and the internal harness (values are in the factory manual). Normal resistance does not prove that a solenoid or valve is hydraulically sound, so check them for sticking after removal.
- Prepare a clean work area and containers for parts: the valve body is very sensitive to dirt.
Stage 2 of 6 Access and draining 5 steps
- Park the vehicle on a level surface, lift or pit. Disconnect the negative battery terminal.
- Remove the engine and oil pan skid plate (the lower protection) to access the transmission pan.
- Drain the ATF through the pan drain plug (if there is no plug, drain it by loosening the pan, with a large container underneath). The drain plug tightening torque during reassembly is per the manufacturer's specification.
- Remove the pan bolts and carefully remove the pan without spilling the remaining fluid. Inspect the magnets and the bottom of the pan: fine metal dust is acceptable, but large particles and pieces of friction lining indicate serious wear.
- Remove the old gasket and clean the mating surfaces of the pan and the case of any sealant residue, without letting debris fall into the transmission.
Stage 3 of 6 Valve body removal 5 steps
- Disconnect the solenoid connectors and the internal harness at the valve body, and photograph the routing of the wires and connectors.
- Remove the strainer (oil pickup filter) from the valve body.
- Remove the valve body bolts (about 19 of them, in different lengths). Photograph them or lay them out on a layout diagram so each bolt can be returned to its original position.
- Carefully lower the valve body, supporting the manual valve and the accumulators. Do not let balls, springs and plates fall out. When removing the solenoids, watch the O-rings: they must be replaced during reassembly.
- Remove the solenoids (SLT, SLU, SL1, SL2, SL3 and the rest) and lay them out in order, with labels.
Stage 4 of 6 Cleaning and inspection 5 steps
- Disassemble the valve body on a clean bench, photographing each stage. Lay out the plates, balls and springs according to a diagram.
- Clean the parts with transmission cleaner and compressed air. Blow out the passages, and do not use lint-leaving rags.
- Check the valves for bore wear: on the A750 the typical wear areas are the torque converter lock-up relay valve, the lock-up control valve, the solenoid regulator valve (its bore is worn almost always), the "boost" bushing, and the clutch control valves. Wear causes lock-up slipping, harsh shifts and unstable lock-up.
- Worn bores can be restored with repair kits and reamers (Sonnax, Transgo). If the wear is severe, replace the valve body assembly with solenoids.
- Open the linear solenoids (SLT, SLU are large; SL1, SL2, SL3 are small) with a special tool, clean the plunger and the bushing, and check that the spool moves freely in the nozzle. When removing the spool, mark its position and count the turns so it can be returned to the same depth. Fine dirt makes the plunger stick, and a stuck SL1 or SLT looks like a faulty valve body.
Stage 5 of 6 Reassembly and installation 6 steps
- Reassemble the valve body in reverse order using the photos, lubricating the parts with clean ATF. Install new O-rings on the solenoids (including S1).
- Install the valve body on the transmission case, aligning the manual valve with the manual selector lever. Insert the bolts per the diagram and tighten them evenly in several passes. The valve body bolt torque is low, approximately 10-12 N·m (89-106 lb-in) (exact values for bolts of different lengths are per the manufacturer's specification).
- Connect the solenoid connectors and the internal harness, and check that they are securely latched.
- Install a new strainer (filter) with a new seal.
- Clean the pan magnets and put them back in place. Install the pan with a new gasket and tighten the bolts in a crisscross pattern. Torque is per the manufacturer's specification (pan bolts are tightened to a low torque).
- Install the drain plug with a new washer; torque is per the manufacturer's specification.
Stage 6 of 6 Refilling and testing 5 steps
- Fill with Toyota WS ATF (or an equivalent meeting this specification) in the required amount through the fill port, using the volume of fluid drained as a guide.
- Start the engine and, with the vehicle stationary, shift the selector through all positions, pausing 2-3 seconds in each.
- Warm the ATF to the factory level-check temperature and check the level through the check plug using the standard procedure. Top up or drain any excess.
- Reset the transmission adaptive values with the Techstream scan tool (Utility, Reset Memory) or an equivalent, and clear the codes.
- Take a test drive: check for smooth shifts, torque converter lock-up, and the absence of slipping and fault codes. After 50-100 km, recheck the fluid level and check for pan leaks.
Common mistakes and warnings
- This work demands cleanliness: any fine dirt in the valve body causes the solenoids to stick and leads to a repeat repair
- If the cause of the fault is clutch wear or coolant that has gotten into the fluid, cleaning the valve body alone will not solve the problem: first the radiator must be replaced and the lines flushed
- The torque values above are approximate, so verify the exact values against the manufacturer's specification
- If you have no experience working with automatic transmissions, leave disassembly and adjustment of the valve body to a transmission specialist
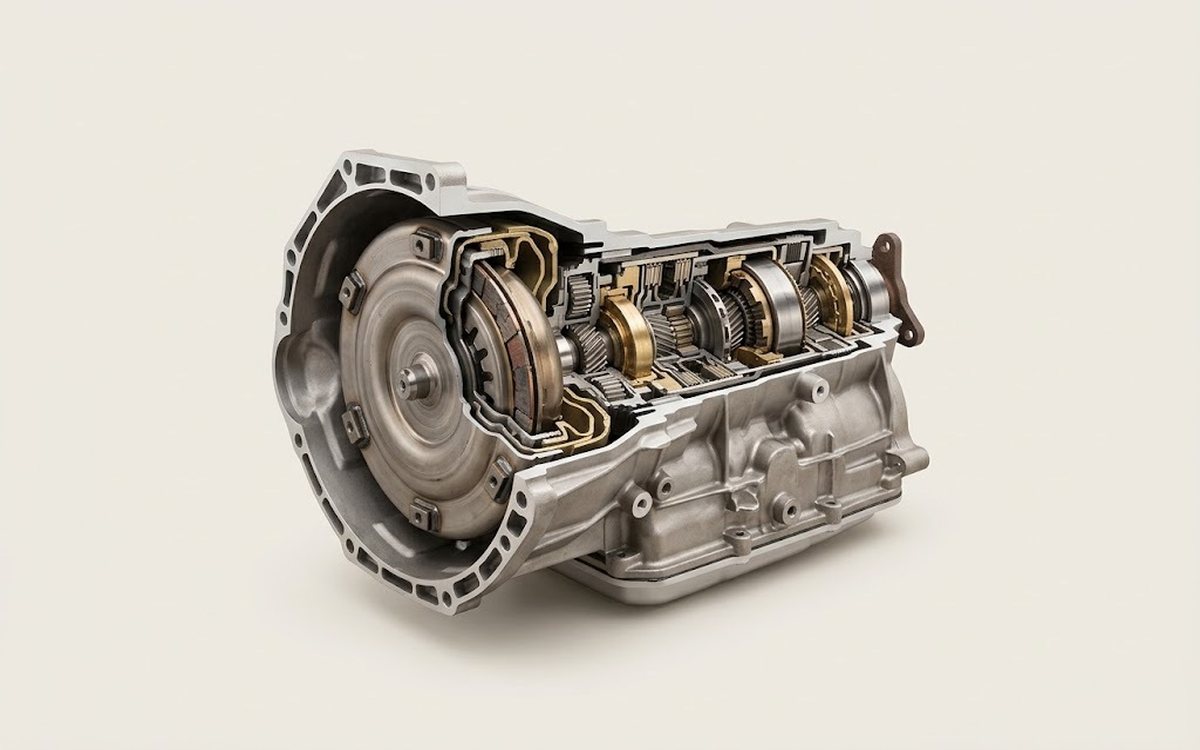 How it works · 3D
How an Automatic Transmission Works
How the part you're working on actually works — in plain English, on a 3D model.
Open in 3D →
Spotted a mistake? Tell us →
Our articles
 Brand stories
The History of Toyota
From weaving looms to reliable mass-produced cars.
Read →
 Garage
Fuel Quality Indicators: What Octane and Cetane Numbers Mean
What is an octane number? What about a cetane number? Which fuel should you choose for a high-compression engine?…
Read →
 Before you buy
How to Pick Up Your Car from the Dealership the Right Way
If you've decided to buy a car from a dealership, it isn't enough to simply choose a model you like, pay for it, and…
Read →