https://autopapyrus.com/catalog/volkswagen/transporter/guides/coolant-replacement/
Volkswagen Transporter T6 2.0 TDI (2019): Coolant Replacement
The diesel T6 2.0 TDI uses G13 coolant. Simply draining and refilling is not enough: air pockets easily remain in the system, so after filling you must run the engine up to temperature and bleed the air out. The torque values below are approximate, so check the exact figures against the manufacturer's specifications. This guide covers draining through the hoses and filling with either a vacuum filling tool or the conventional method.
Diagram: where to drain the coolant and how to pull the hose off the pump pipe
- 1Spring clamp on the hose: squeeze it with pliers or a screwdriver and slide it along the hose.
- 2Hose: once the clamp is moved, carefully pull the hose off the pipe and let the coolant drain.
- 3Pump pipe: with the hose removed it is open and coolant runs out of it.
- 4Additional pump: if you can reach it, disconnect the hose here and drain the remainder.
- 5Wide container of 10 L or more: put it under the drain point.
- 6Underbody noise shield: it is removed beforehand, held by self-tapping screws and Torx bolts.
Parts
4| № | Part | Alternatives |
|---|---|---|
| 01 | G13 coolant (purple), VW TL-VW 774 Jat least 8 L (8.5 qt) of ready-to-use mixtureFind on Amazon → | AlternativesFebiGlysantineWürth |
| 02 | Distilled water for diluting concentrateif using concentrateFind on Amazon → | |
| 03 | Spring hose clampswhen opening the hosesFind on Amazon → | |
| 04 | Hose seal ringsif the old ones are damagedFind on Amazon → |
Amazon links search by the part name; use Amazon's fit check for your car before ordering. We may earn a commission from qualifying purchases.
Tools
2- Lift or inspection pit, sockets and Torx bits (for the underbody shield), flat-head screwdriver, pliers or spring clamp pliers, 10-12 L (10.5-12.7 qt) drain pan, funnel, gloves and safety glasses Amazon →
- a vacuum coolant filling tool and a scan tool with a cooling system fill function are recommended Amazon →
Read the codes yourself
A scanner plugged into the OBD2 port under the dashboard shows which fault codes the car has stored, before you buy any parts. Cars sold in the US from 1996, and petrol cars in Europe from 2001 (diesels from 2004), have this port.
- Basic code reader, about $20–40: reads and clears engine codes Amazon →
- Bluetooth scanner with a phone app, about $30–100: live sensor data, and on many cars ABS and airbag codes too Amazon →
Check that the scanner lists your make and model year before you buy. We may earn a commission from qualifying purchases.
 There's a full repair manual for this car
Every system, wiring diagrams and torque specs — not just this job. Haynes and 21 more.
See manuals →
Step by step
25 steps · 5 stagesStage 1 of 5 Preparation 5 steps
- Let the engine cool down completely: the cooling system is under pressure, and hot coolant causes burns. Park the vehicle on level ground.
- Find out which coolant is currently in the system (check the color and the label on the reservoir). Purple G13 is compatible with new G13. Do not mix other types without a complete flush.
- Prepare the coolant: if you are using concentrate, dilute it with distilled water following the instructions on the container (usually 1:1). Prepare at least 8 L (8.5 qt) of ready-to-use mixture.
- Raise the front of the vehicle on a lift or drive it over an inspection pit, and secure it against rolling.
- Open the hood and locate the coolant expansion tank. Disconnect the negative battery terminal if you plan to work near electrical components.
Stage 2 of 5 Access and draining 7 steps
- Remove the sound-insulating underbody shield beneath the engine. It is held by self-tapping screws and Torx bolts; keep all the fasteners together in one place.
- Place a wide drain pan under the radiator and engine (with a capacity of 10 L (10.5 qt) or more): the coolant will spread over a large area when it runs out.
- Slowly unscrew the expansion tank cap to release the pressure, and leave the cap off.
- Remove the lower radiator hose: squeeze the spring clamp with pliers or a screwdriver, slide it along the hose, and carefully pull the hose off the pipe. Let the coolant drain. The second lower radiator hose can be removed the same way.
- If you can reach it, disconnect the hose at the auxiliary pump or at the lowest point of the block, and drain the remaining coolant from the engine and heater.
- About 5 L (5.3 qt) usually drains out of the system, but not the entire volume: some stays in the block, heater and auxiliary circuits. For a more thorough replacement, you can flush the system with distilled water and drain it again.
- Inspect the hoses, clamps and seal rings for cracks and leaks; replace any damaged parts.
Stage 3 of 5 Filling 4 steps
- Reconnect the hoses and secure the spring clamps in their original positions. Lightly lubricate the seal rings with fresh coolant.
- Filling with a vacuum tool (preferred): connect it to the expansion tank neck, pull a vacuum in the system, then open the coolant supply and let the circuit fill.
- Filling without a vacuum tool: pour the mixture in through the reservoir in small portions, up to a level between the MIN and MAX marks.
- Close the reservoir cap until it clicks.
Stage 4 of 5 Air bleeding 4 steps
- Switch the ignition on and set the climate control to maximum cabin temperature so the heater valve opens (on a car with automatic climate control, set it to HI).
- Start the engine and let it idle, periodically raising the revs to 2000-2500 rpm. Watch the level in the reservoir and top up as needed.
- To purge air from all circuits, warm the engine up until the thermostat opens (temperature gauge at about 90 °C, upper radiator hose becomes hot). After that, repair shops use the scan tool's "cooling circuit fill" function, which controls the engine speed and pumps automatically; if you have it available, it is better to run that function.
- Shut off the engine, let it cool, check the level and top up to the proper mark.
Stage 5 of 5 Finishing and checking 5 steps
- Inspect the hose connections and clamps for any leaks.
- Reinstall the underbody shield and tighten the bolts and screws (torque per specification; approximately low, 8-25 N·m (6-18 lb-ft) for the shield bolts).
- Lower the vehicle and reconnect the battery if you disconnected it.
- Over the next several drives, check the level again with the engine cold and top up if needed. If the level keeps rising or the heater doesn't warm up well, there is still air in the circuit: repeat the warm-up and air bleeding.
- Dispose of the old coolant at a collection point: it is toxic, and it must not be poured onto the ground or down a drain.
Common mistakes and warnings
- Do not open the reservoir on a hot engine: scalding steam and hot coolant can cause burns
- Do not mix G13 with other types of coolant, and do not use tap water
- Air in the system causes overheating, so do not skip the air bleeding stage
- Leftover coolant is dangerous to animals and children
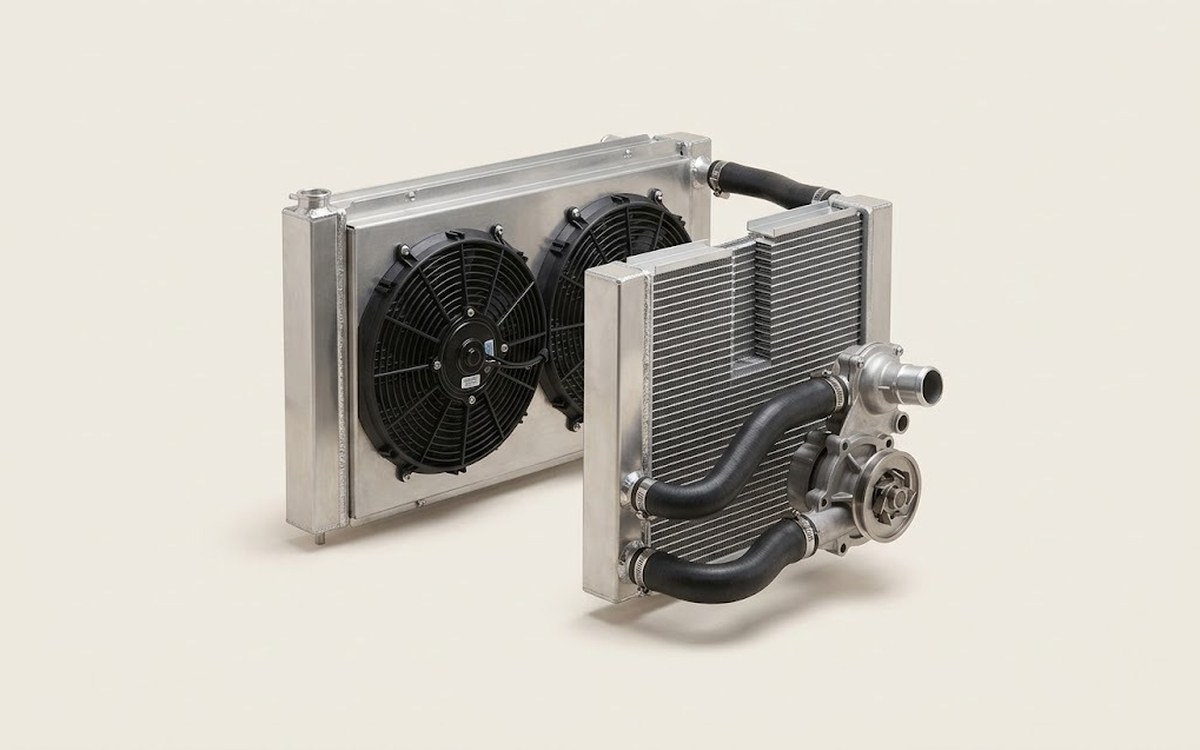 How it works · 3D
How the Engine Cooling System Works
How the part you're working on actually works — in plain English, on a 3D model.
Open in 3D →
Spotted a mistake? Tell us →
Our articles
 Brand stories
The History of Volkswagen
Volkswagen proved to the world that a car can be "the people's car": good-looking, affordable and fun.
Read →
 Garage
Fuel Quality Indicators: What Octane and Cetane Numbers Mean
What is an octane number? What about a cetane number? Which fuel should you choose for a high-compression engine?…
Read →
 Before you buy
How to Pick Up Your Car from the Dealership the Right Way
If you've decided to buy a car from a dealership, it isn't enough to simply choose a model you like, pay for it, and…
Read →