Autopapyrus · Chevrolet Aveo (T250 facelift) 1.4 F14D4 (2009)
https://autopapyrus.com/guides/chevrolet/aveo/outer-cv-joint-replacement/
https://autopapyrus.com/guides/chevrolet/aveo/outer-cv-joint-replacement/
Compiled automatically from service literature and owner experience. Specs are for the typical configuration — check them against your exact car before you start.
Chevrolet Aveo (T250 facelift) 1.4 F14D4 (2009): Outer CV Joint Replacement
A worn outer CV joint shows itself as crunching and clicking when you turn the steering wheel under load, such as when accelerating. The joint sits on the shaft splines and is held by a retaining ring, so it comes off with a sharp blow, and the new one is pressed on until the ring clicks into place. If the CV joint is worn, replace the whole joint, not just the boot.
Parts
4| № | Part | Alternatives |
|---|---|---|
| 01 | Front driveshaft outer CV joint assembly (with boot, clamps, retaining ring and grease) for Aveo 1.4left and right as needed; version depends on transmission (manual or automatic) and ABS | GKN, SKF, NTN-SNR, Lobro |
| 02 | Axle nutnew | |
| 03 | Cotter pin or locking nutnew, if fitted on the car | |
| 04 | CV joint repair kit (boot, clamps, grease)if needed |
Tools
12- Jack and jack stands
- lug wrench
- socket for the axle nut (usually 30 mm, verify on the car) with a long breaker bar or ratchet
- socket and wrench set
- ball joint separator or pry bar
- hammer
- brass or aluminum drift
- pliers or snap ring pliers
- screwdriver
- hex wrench for boot clamps or side cutters
- torque wrench
- hub support stand
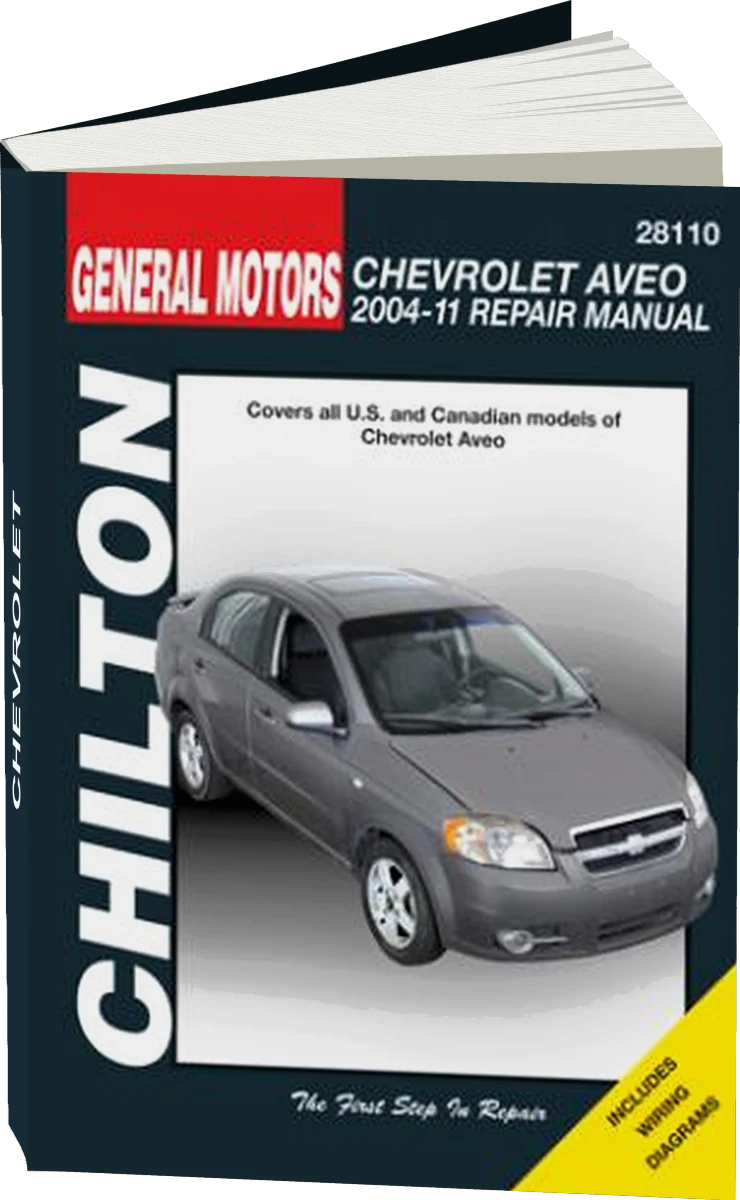 There's a full repair manual for this car
Every system, wiring diagrams and torque specs — not just this job. Chilton and 4 more.
See manuals →
Step by step
19 steps- Park the car on level ground, put it in gear (or P on an automatic) and set the parking brake. Chock the wheels under the rear axle. Remove the axle nut dust cap, remove the cotter pin from the nut and loosen the nut while the car is still on the ground. The nut is very tight, so use a long breaker bar and brace against it by pressing the brake pedal or having a helper press it.
- Loosen the lug bolts, raise the front of the car, set it on jack stands and remove the wheel. Place the stands under the body, not under the control arm.
- Remove the axle nut completely and take off the washer. Use a new nut when reassembling.
- Disconnect the lower ball joint from the steering knuckle. To do this, remove the pinch bolt or undo the nuts that hold the ball joint to the control arm, depending on how it is attached on your car. Swing the knuckle outward. Be careful not to tear the ball joint boot.
- If the knuckle does not swing out far enough, also disconnect the tie rod end. Remove the nut and press the stud out with a separator. Do not hit the tie rod end with a hammer.
- Push the shaft out of the hub. If the splines are seized, tap the end of the shaft through a brass drift or use a hub puller. Do not hit the shaft threads without a protective nut or cap on them.
- Pull the inner end of the driveshaft out of the transmission and carefully support the shaft with wire so it does not hang from the inner CV joint. This is important: the inner CV joint must not be bent to a large angle.
- Lay the shaft on a workbench or clamp it in a vise using soft jaw protectors. Remove the large and small boot clamps and slide the boot down the shaft. The joint itself is held by the retaining ring and comes off with a sharp hammer blow to the joint housing on the side opposite the shaft (or with a slide-hammer puller). Strike the housing, not the cage.
- Inspect the shaft and splines. If there is wear or nicks, replace the shaft. Wipe the splines clean and check the retaining ring groove. If the new retaining ring comes separately, fit the one from the kit into the groove on the shaft.
- Slide the new boot onto the shaft (small clamp end toward the shaft, large end toward the joint) BEFORE installing the new joint. If you forget, you will have to remove the joint again.
- Fill the new CV joint with the grease from the kit: about half goes into the joint and half into the boot. Do not use any other grease.
- Compress the retaining ring in the shaft groove and place the joint on the splines, turning it slightly so the splines line up. Then strike the end of the joint with a hammer through a wood or soft-metal spacer until you hear a distinct click. Check that the ring has seated: pull on the joint and it should not come off.
- Seat the boot on the necks, let the air out of the boot so there is no excess pressure, and tighten the new clamps. The boot clamp must be tight and must not turn by hand.
- Install the driveshaft: first insert the inner CV joint into the transmission until it locks (the retaining ring should snap in), then guide the outer CV joint into the hub.
- Reconnect the ball joint and tie rod end and tighten the fasteners. Torques: tie rod end nut about 25-35 N·m (18-26 lb-ft), ball joint fasteners about 50-70 N·m (37-52 lb-ft) (use the manufacturer's specification for the exact values for your type of attachment). If you used a pinch bolt, install it in the same groove it came out of.
- Fit the washer and the new axle nut and tighten it in several stages with the car's weight off the wheel; the approximate torque is 150-200 N·m (111-148 lb-ft), and the exact value is per the Aveo service manual. Then secure the nut with a cotter pin or lock it the same way it was originally secured.
- Install the wheel, lower the car and tighten the lug bolts in a crisscross pattern to about 100 N·m (74 lb-ft).
- Check the transmission oil level if oil ran out when you pulled the shaft. Top it up to the proper level with the same grade.
- Take a test drive: at low speed, turn the steering wheel several times to the right and left and listen for crunching. After 100-200 km, check the tightness of the clamps and the fasteners of the ball joint and tie rod end.
Common mistakes and warnings
- This job involves the steering and suspension, so it affects driving safety
- If you lack experience or a torque wrench, have a repair shop do the work
- Always use a new axle nut, cotter pin and clamps
- After the replacement, have the wheel alignment checked if you disconnected the tie rod end
- On ABS versions, do not damage the sensor ring or pull on the sensor wire when removing the knuckle
- Do not roll the car with the axle nut removed, and do not subject the wheel bearing to impacts