Autopapyrus · Chrysler Town & Country 3.3 V6 (2005)
https://autopapyrus.com/guides/chrysler/town-and-country/partial-automatic-transmission-fluid-change-via-the-pan-drain-plug/
https://autopapyrus.com/guides/chrysler/town-and-country/partial-automatic-transmission-fluid-change-via-the-pan-drain-plug/
Compiled automatically from service literature and owner experience. Specs are for the typical configuration — check them against your exact car before you start.
Chrysler Town & Country 3.3 V6 (2005): Partial Automatic Transmission Fluid Change via the Pan Drain Plug
On the 41TE automatic transmission (3.3 V6), a partial fluid change replaces only the fluid that drains from the pan. That is roughly one third of the total capacity. The rest stays in the torque converter, cooler, and valve body. The filter is not replaced. To refresh the fluid more thoroughly, repeat the procedure 2-3 times, driving a few hundred kilometers between changes.
Part
- 🔩 ATF+4 fluid (Chrysler ATF+4 specification, MS-9602), about 3.5-4 L (3.7-4.2 qt) for a partial change. A new drain plug washer or sealing ring, if your design has one
Step by step
9 steps- Warm up the vehicle for 5-10 minutes. Warm fluid drains better and carries away more suspended debris. Shut off the engine and park on a level surface, then raise the vehicle on a lift, over a pit, or on jack stands. Never work under a vehicle supported only by a jack.
- Locate the transmission pan at the bottom of the transmission. Many units of this generation have a drain plug in the pan. If there is no plug, the pan must be removed, as described in step 5. In that case you will need sealant or a gasket kit.
- Place the container underneath, remove the plug, and let the fluid drain completely, 10-15 minutes. Inspect the plug: a light gray film on the magnetic part is acceptable. Large metal shavings, clutch friction material particles, or a burnt smell indicate serious transmission wear. In that case, have the transmission diagnosed first.
- Clean the plug and reinstall it with a new washer. The torque is low, about 15-25 N·m (11-18 lb-ft). Check the exact value against the manufacturer's specification, and do not overtighten the plug in the aluminum housing.
- If there is no drain plug and the pan is removable: remove the bolts around the perimeter, leaving a couple of bolts in opposite corners. Support the pan by hand, then remove the last bolts and carefully lower the pan, draining the remaining fluid. Clean the pan and magnets, remove any old sealant residue, and install the pan with new sealant or a gasket. Tighten the bolts in a crisscross pattern to a low torque, about 10-20 N·m (7-15 lb-ft) (check the exact value against the specification).
- Measure the amount of drained fluid with the measuring container. Add the same amount of ATF+4 through the dipstick tube using the funnel and hose. Start with slightly less (by 200-300 mL (6.8-10.1 oz)) and add fluid in small amounts.
- Start the engine with the vehicle parked on a level surface. At idle, hold each position for about 3 seconds and move the selector through the positions in turn: P, R, N, D, 2, 1, then back to P. This fills the valve body passages with fluid.
- Bring the transmission to operating temperature. Check the level with the dipstick with the engine running, the selector in P, the vehicle on a level surface, and the transmission hot. The level should be in the HOT zone on the dipstick. Add fluid in small amounts until you reach the correct mark. Do not overfill: excess fluid is just as harmful as too little.
- Inspect the plug and pan for leaks. Take a 10-15 minute test drive, then check the level again and adjust if necessary.
Common mistakes and warnings
- Fill only with ATF+4 or fluid with a confirmed Chrysler ATF+4 approval. Universal fluids such as Dexron or Mercon can cause slipping and transmission damage, because the 41TE has special requirements for the fluid's friction properties. Do not use pressurized flush machines without experience: on these transmissions they can dislodge deposits and clog the valve body. If the fluid is dark, smells burnt, or there are many metal shavings in the pan, it is better to go to a specialized transmission shop instead of doing repeated partial changes.
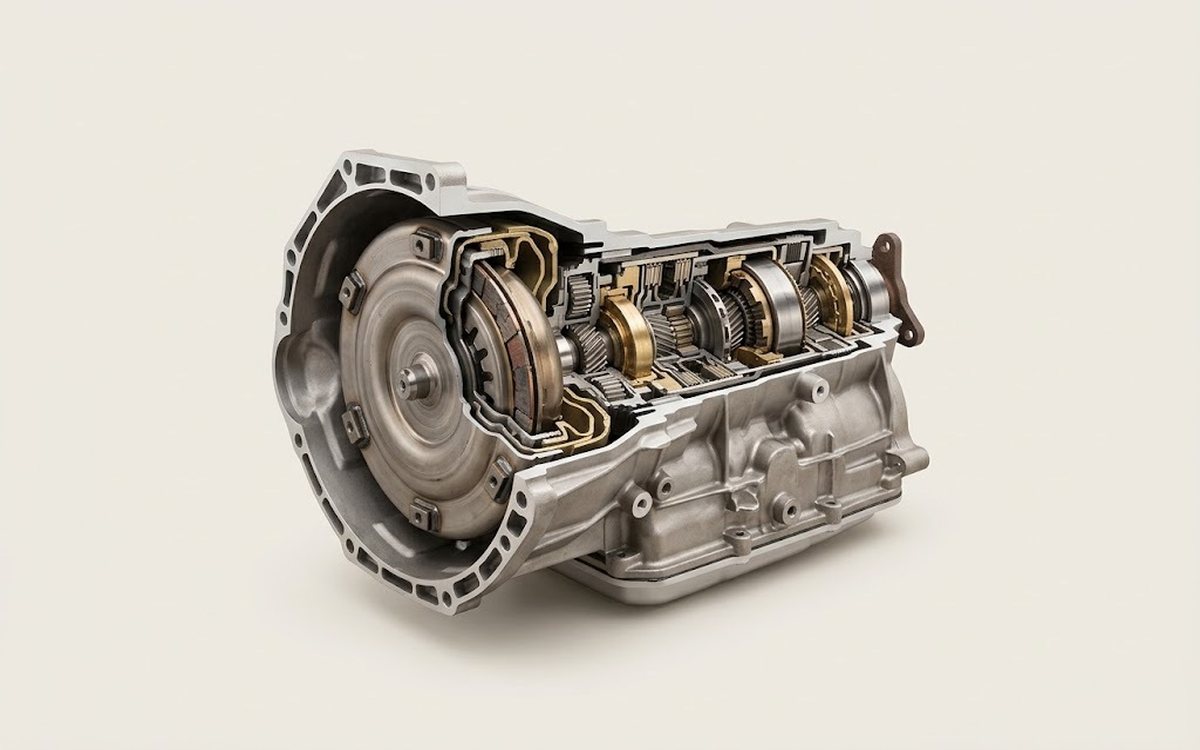 How it works · 3D
How an Automatic Transmission Works
How the part you're working on actually works — in plain English, on a 3D model.
Open in 3D →