Autopapyrus · Citroën Xsara 2.0 HDi DW10 109 hp (2002)
https://autopapyrus.com/guides/citroen/xsara/coolant-replacement/
https://autopapyrus.com/guides/citroen/xsara/coolant-replacement/
Compiled automatically from service literature and owner experience. Specs are for the typical configuration — check them against your exact car before you start.
Citroën Xsara 2.0 HDi DW10 109 hp (2002): Coolant Replacement
On the Xsara with the DW10 engine, coolant is changed about every 4-5 years or every 60,000-90,000 km, or sooner if it has lost its color or contains sediment. The main challenge is removing all the air. Air pockets in the system cause overheating and poor heater performance.
Parts
2- 🔩 Coolant meeting PSA B71 5110 specification (pre-mixed, or concentrate with distilled water). The typical system capacity for this engine is about 6-7 L (6.3-7.4 qt)
- 🔩 check the exact value in the service manual
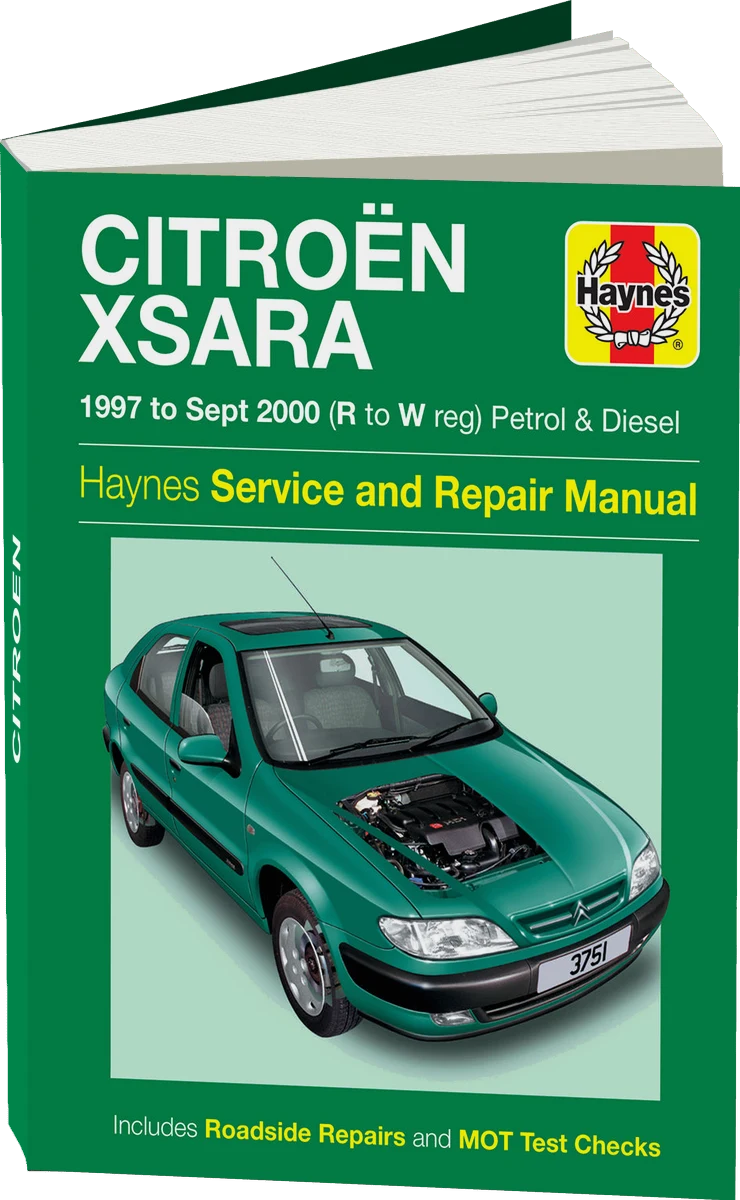 There's a full repair manual for this car
Every system, wiring diagrams and torque specs — not just this job. Haynes and 2 more.
See manuals →
Step by step
11 steps- Park the car on level ground and shut off the engine. Let it cool down completely. Do not open the expansion tank cap when the engine is hot: the system is under pressure and you can be scalded.
- If necessary, remove the skid plate. Place the drain pan under the radiator.
- Slowly unscrew the expansion tank cap to release any residual pressure.
- Open the drain plug on the lower hose or the bottom tank of the radiator. If there is no plug, release the clamp and detach the lower radiator hose. Drain the coolant.
- Also drain the coolant from the cylinder block if it has a drain fitting or plug. Otherwise, some of the old coolant will stay in the engine's water jacket.
- If the coolant was dirty or contained rust, flush the system with clean water: fill with water, warm up the engine with the heater set to maximum, let it cool, and drain. Repeat until the drained liquid runs clear.
- Close the drain openings and refit the hose or plug. Check that the clamps are tight.
- Open the bleed screws (if fitted) on the system hoses, including the one near the thermostat housing. Check the screw locations visually, as they depend on the trim and equipment level. Pour coolant into the expansion tank to a level slightly above the MAX mark. Close each screw once coolant flows from it without bubbles.
- Close the tank cap, start the engine, and set the heater to maximum warm air. Hold the engine at 2000-2500 rpm until the radiator fan switches on. Make sure the level in the tank does not drop below MIN, and top up as needed.
- Shut off the engine, let it cool, and check the level with the engine cold. Top up to a level between MIN and MAX.
- Repeat the warm-up and level check after the first drive. Watch the temperature gauge and look for leaks from the hoses and the drain plug.
Common mistakes and warnings
- Coolant is toxic and dangerous to animals (it tastes sweet). Take used coolant to a recycling facility and do not pour it on the ground. Do not mix different types of coolant. If the heater stays cold after the change or the temperature gauge climbs, there is still air in the system. Repeat the bleeding procedure and do not drive with an overheated engine: it can warp the cylinder head.
 How it works · 3D
How the Engine Cooling System Works
How the part you're working on actually works — in plain English, on a 3D model.
Open in 3D →