Autopapyrus · Dongfeng 580 (Second Generation)
https://autopapyrus.com/guides/dongfeng/580/cooling-system-thermostat-replacement/
https://autopapyrus.com/guides/dongfeng/580/cooling-system-thermostat-replacement/
Compiled automatically from service literature and owner experience. Specs are for the typical configuration — check them against your exact car before you start.
Dongfeng 580 (Second Generation): Cooling System Thermostat Replacement
The thermostat on the Dongfeng 580 is located in a housing on the cooling system hoses near the engine. Signs of a faulty thermostat: the engine takes a long time to warm up or overheats, the heater blows cold air, and the upper and lower radiator hoses differ greatly in temperature. The exact procedure for this model and engine is not documented in public service materials, so the general principle is given below with notes on specifics. Check the housing location and the number of fasteners on the vehicle itself.
Parts
3| № | Part |
|---|---|
| 01 | Thermostat with housingor insert-type thermostat with O-ringone option, your choice |
| 02 | Coolant (antifreeze)for topping off |
| 03 | Thermostat housing gasket or O-ring |
Tools
8- Socket set and ratchet (8-13 mm)
- flathead screwdriver
- hose clamp pliers
- coolant drain pan (6 L (6.3 qt) or larger)
- funnel
- rags
- torque wrench
- Torx sockets if needed
Step by step
12 steps- Park the vehicle on level ground, shut off the engine, and let it cool completely. Do not open the coolant reservoir cap on a hot engine: hot pressurized coolant can spray out.
- Disconnect the negative battery terminal. If they are in the way, remove the plastic engine cover and the air intake duct or air filter housing.
- Locate the thermostat housing: the thick radiator hose (lower or upper, depending on the engine design) and the hoses from the engine connect to it. Take a photo of the hose and connector layout.
- Place a drain pan under the radiator, open the radiator drain plug (or disconnect the lower hose), and drain the coolant. Open the coolant reservoir cap so the coolant drains faster. If there is a temperature sensor on the thermostat housing, disconnect its connector.
- Loosen the clamps and pull the hoses off the thermostat housing. If the hoses are stuck, gently twist them by hand. Do not cut them or pull on the corrugated section.
- Remove the thermostat housing bolts (usually 2-4 bolts) and take off the housing. Note the position of the thermostat, especially the side with the air bleed valve (the vent hole): when installed, it must be at the top.
- Remove the old thermostat and seal. Clean the mating surface of gasket residue and scale without damaging the aluminum. Test the thermostat in a pot of hot water: it should start to open at roughly 80-90 °C (the exact value is marked on the thermostat body).
- Install the new thermostat with a new O-ring or gasket, with the air bleed valve up. Lubricate the seal only with clean antifreeze or a rubber-safe silicone grease.
- Install the housing and tighten the bolts evenly in a crisscross pattern. For M6-M8 bolts like these, the torque is typically 8-25 N·m (6-18 lb-ft); check the manufacturer's specification for your engine for the exact value. Do not overtighten, as the housing may be plastic.
- Reattach the hoses, tighten the clamps, reconnect the temperature sensor connector, and close the radiator drain plug.
- Fill the coolant reservoir to the MAX level. Start the engine, turn the heater to maximum, and let it run with the reservoir cap open. Raise the engine speed to 2500-3000 rpm until the air pockets are purged from the system and the cooling fan has cycled on once.
- Check for leaks at the thermostat housing and at the clamps. Shut off the engine, let it cool, and top off the coolant to the proper level. Check the level again after a day or two of driving.
Common mistakes and warnings
- Work only on a cold engine: coolant is toxic and can cause burns
- An air pocket in the system after replacement is the most common cause of overheating, so be sure to bleed the air
- Do not mix antifreezes of different types or colors unless you are sure they are compatible
- If the engine overheats after replacement or the temperature gauge does not rise, take the vehicle to a repair shop
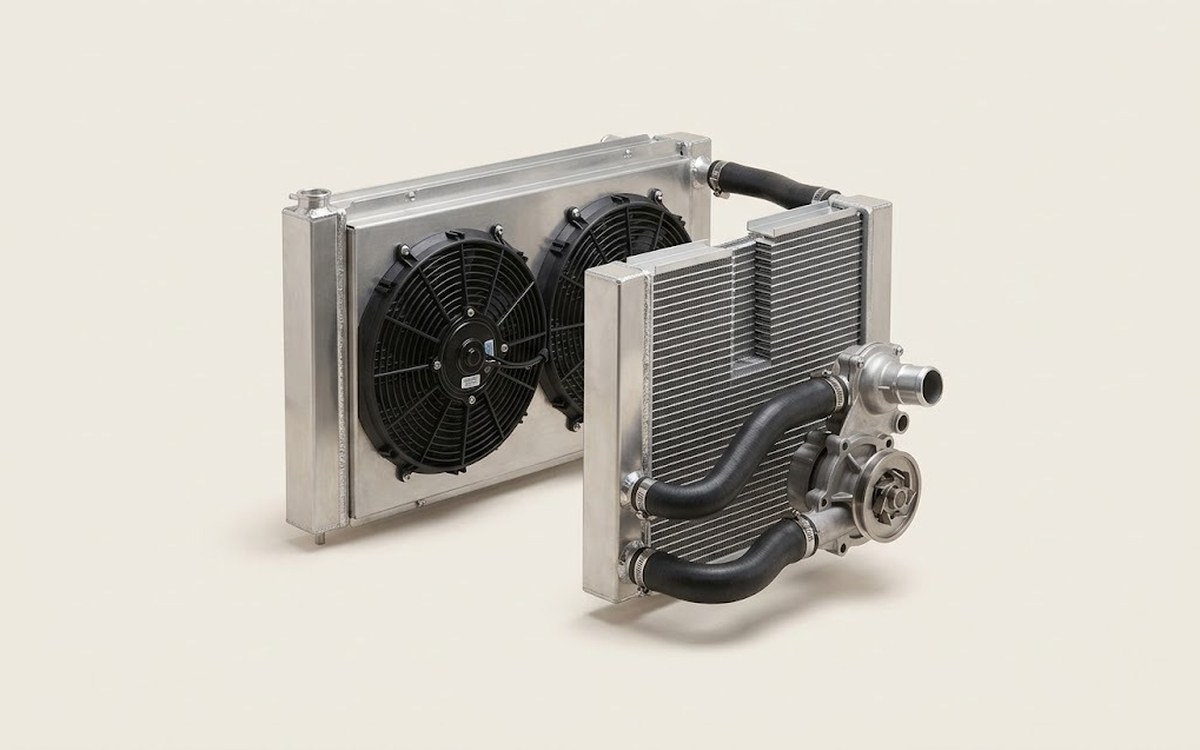 How it works · 3D
How the Engine Cooling System Works
How the part you're working on actually works — in plain English, on a 3D model.
Open in 3D →