Autopapyrus · Geely Emgrand X7 (2nd generation)
https://autopapyrus.com/guides/geely/emgrand-x7/rear-brake-pad-replacement/
https://autopapyrus.com/guides/geely/emgrand-x7/rear-brake-pad-replacement/
Compiled automatically from service literature and owner experience. Specs are for the typical configuration — check them against your exact car before you start.
Geely Emgrand X7 (2nd generation): Rear Brake Pad Replacement
The rear brakes are discs with a floating caliper. Pads are replaced as a set on both wheels of the same axle. The job is not difficult, but it is safety-critical: afterward, be sure to check the pedal feel and test the brakes in place before driving.
Parts
3| № | Part | Alternatives |
|---|---|---|
| 01 | Rear disc brake pad set | Textar, Brembo, Ferodo, Trialli |
| 02 | Caliper guide pin repair kitif needed | |
| 03 | Anti-squeal shimsif needed |
Tools
9- jack and jack stands
- lug wrench
- sockets and wrenches 12-17 mm
- torque wrench
- C-clamp or brake piston retractor tool
- copper brake grease
- brake cleaner
- wire brush
- syringe or fluid extractor (turkey baster)
Step by step
12 steps- Park the vehicle on a level surface, put it in first gear or P, and chock the front wheels. Do not apply the parking brake: it makes it harder to remove the rotor and push the piston back. Loosen the rear wheel lug nuts half a turn.
- Raise the rear of the vehicle, support it on jack stands, and remove the wheel.
- Inspect the caliper and brake hose for leaks and cracks. Clean the caliper and bracket of dirt with a brush and brake cleaner. Do not blow the dust off and do not breathe it in.
- Remove the two caliper guide bolts (usually a 12-14 mm head), holding the guide pins to keep them from turning. Lift the caliper off the pads and hang it with wire or a zip tie from the suspension spring. The hose must not hang under load.
- Remove the worn pads from the bracket and note the position of the spring clips and anti-squeal parts. Measure the friction material thickness: the minimum allowable is about 2-3 mm, but it is better to replace the pads sooner. Check the rotor: deep grooves, scoring, or a heavy lip mean it is best to replace the rotor along with the pads.
- Clean the pad seats in the bracket with a brush and install the new spring clips. Apply a thin layer of copper grease to the pad sliding surfaces in the bracket and to the guide pins. No grease may get on the friction surface or on the working surface of the rotor.
- Retract the caliper piston. If it retracts with simple pressure from a C-clamp, do it slowly and smoothly. If it does not move, the caliper has a built-in parking brake mechanism, and the piston must be wound in while pressing with a special tool (check the direction of rotation on the mechanism: usually clockwise). Never force the piston. Watch the fluid level in the reservoir: if necessary, remove some fluid so that it does not overflow.
- Install the new pads in the bracket (friction material facing the rotor; if there is a wear indicator pad, place it where the old one was). Reinstall the caliper and tighten the guide bolts. The torque for this model is not confirmed: use 25-35 N·m (18-26 lb-ft) as a guide, and follow the manufacturer's specification for the exact value. Check that the caliper slides freely on the pins.
- Install the wheel and tighten the lug nuts by hand, lower the vehicle, and tighten the nuts in a star pattern with a torque wrench: use 100-120 N·m (74-89 lb-ft) as a guide (follow the manufacturer's specification for the exact value). Repeat the procedure on the other wheel.
- Before driving, pump the brake pedal several times until it feels firm, and check the brake fluid level. If needed, top up to the MAX mark with fluid of the same class (DOT 4 unless otherwise stated on the reservoir cap).
- Check the parking brake operation: if necessary, adjust the lever or button travel so that it engages without excessive travel.
- Bed in the pads: drive 200-300 km without hard braking from high speed, making several moderate stops.
Common mistakes and warnings
- The brake system is critical to safety
- If you lack experience or have any doubts (scored rotor, leaks, a piston that will not retract), go to a repair shop
- Replace the pads on both sides of the axle at the same time, and never work under a vehicle supported only by a jack
- Do not spill brake fluid on paint or on the pads
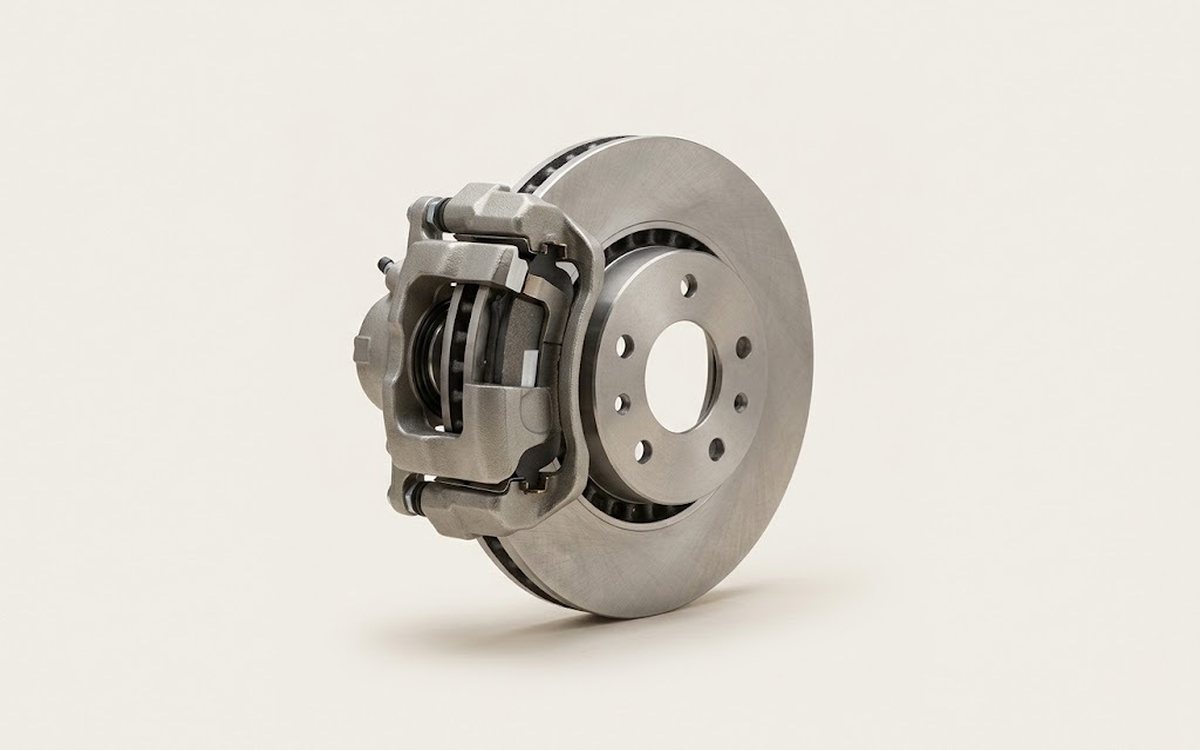 How it works · 3D
How Car Brakes Work
How the part you're working on actually works — in plain English, on a 3D model.
Open in 3D →