Autopapyrus · Haval Jolion (1st generation)
https://autopapyrus.com/guides/haval/jolion/front-brake-pad-replacement/
https://autopapyrus.com/guides/haval/jolion/front-brake-pad-replacement/
Compiled automatically from service literature and owner experience. Specs are for the typical configuration — check them against your exact car before you start.
Haval Jolion (1st generation): Front Brake Pad Replacement
The Jolion's front brakes are discs with a floating caliper on two guide pins. The pads are replaced as a set on both sides of the axle. The job is not difficult, but it involves a safety system, so all fasteners must be tightened to the correct torque.
Parts
3| № | Part | Alternatives |
|---|---|---|
| 01 | Front brake pad set (per axle, disc brakes)1 set per axle | Brembo, TRW, Ate, Textar |
| 02 | Brake pad retaining clip setif needed | |
| 03 | Caliper guide pin greaseif needed |
Tools
9- jack and jack stands
- lug wrench
- torque wrench
- socket and wrench set (caliper guide pin bolts are usually 12-14 mm)
- pry bar or C-clamp for retracting the piston
- wire for hanging the caliper
- brake cleaner
- copper or ceramic grease for the guide pins
- wire brush
Step by step
14 steps- Park the vehicle on level ground, apply the parking brake, and chock the rear wheels. Loosen the front lug nuts a quarter turn.
- Raise the front of the vehicle with a jack at the factory jacking point and place jack stands under it. Remove the wheel.
- Inspect the rotor and the brake hose: the rotor should not have deep grooves or a pronounced lip at the edge, and the guide pin boots should be intact.
- Open the hood and remove the brake fluid reservoir cap, or check the level: it will rise when the piston is retracted. If the fluid is close to the maximum mark, draw some off with a syringe. Do not let it spill onto the paint.
- Remove the lower caliper guide pin bolt (or both, depending on the design), holding the guide pin with a second wrench so it does not turn.
- Swing the caliper upward on the upper guide pin, or remove it from the bracket. Hang the caliper from the strut spring with wire. The brake hose must not carry the weight of the caliper, so do not stretch it.
- Remove the old pads from the bracket and note the position of the retaining clips and the wear sensor, if equipped. Compare the new pads with the old ones: the shape, dimensions, and wear indicator location must match.
- Clean the bracket seating surfaces with a wire brush and brake cleaner. Replace the retaining clips or reinstall them. Apply a thin layer of grease to the guide pins and to the pad contact points on the bracket side. Grease must not get on the friction surface of the pads or the rotor.
- Retract the caliper piston with a C-clamp or pry bar, slowly and all the way in, pressing through the old pad. Take care not to damage the piston boot.
- Install the new pads in the bracket, lower the caliper into place, and tighten the guide pin bolts. The guide pin bolt torque is usually in the range of 25-35 N·m (18-26 lb-ft); check the exact value in the manufacturer's specifications.
- Repeat the procedure on the other side. Always replace the pads on an axle as a pair.
- Install the wheels, tighten the lug nuts by hand, lower the vehicle, and tighten the nuts in a crisscross pattern. The lug nut torque is in the range of 100-120 N·m (74-89 lb-ft); confirm it in the specifications for your trim level.
- With the engine off, pump the brake pedal several times until it feels firm so the pistons seat against the pads. Check the brake fluid level and top it off to the proper level if necessary.
- Brake gently for the first 200-300 km and avoid hard stops so the pads can bed in to the rotor. Recheck the lug nut torque after the first 50-100 km.
Common mistakes and warnings
- The brake system is critical to your safety
- If you have no experience working on brakes, take the vehicle to a repair shop
- Do not press the brake pedal while the caliper is removed: the piston will pop out of the cylinder
- If the rotors are worn below the minimum thickness, have deep grooves, or show runout, replace them along with the pads
- Do not use pads with an unknown friction material composition or without markings
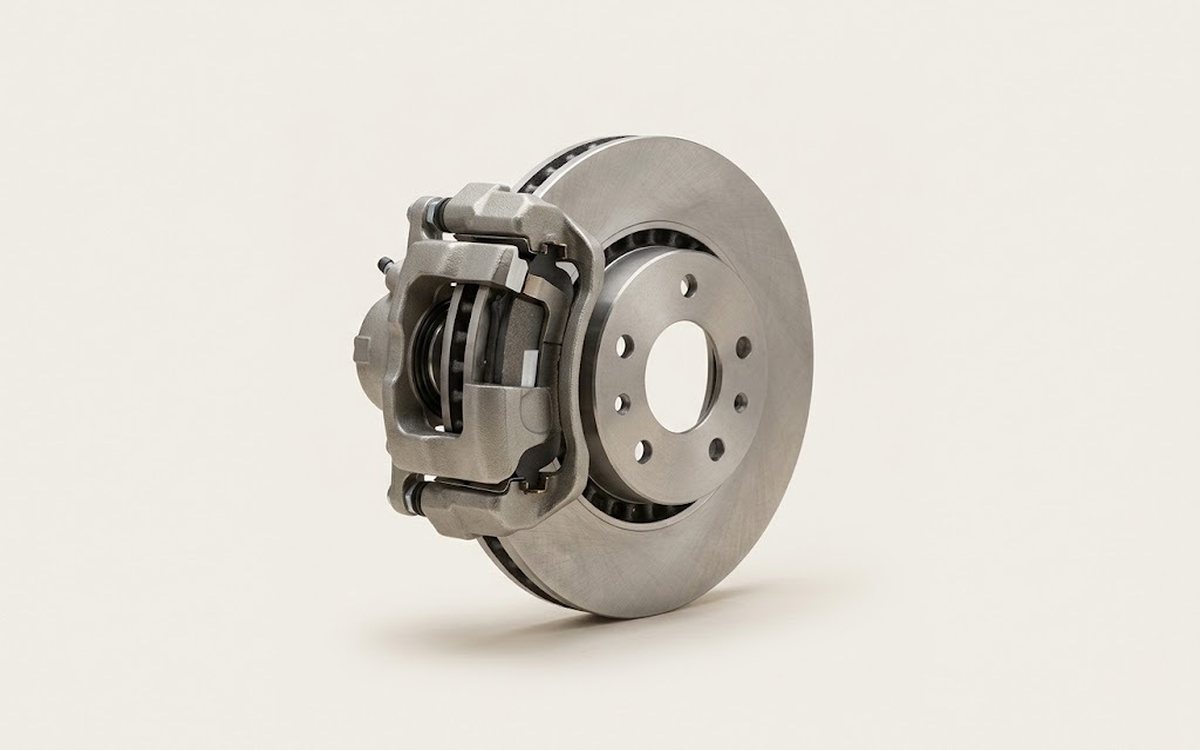 How it works · 3D
How Car Brakes Work
How the part you're working on actually works — in plain English, on a 3D model.
Open in 3D →