Autopapyrus · Haval Jolion 1.5 Turbo 143 hp (2023)
https://autopapyrus.com/guides/haval/jolion/timing-chain-replacement/
https://autopapyrus.com/guides/haval/jolion/timing-chain-replacement/
Compiled automatically from service literature and owner experience. Specs are for the typical configuration — check them against your exact car before you start.
Haval Jolion 1.5 Turbo 143 hp (2023): Timing Chain Replacement
The timing chain on the 1.5 Turbo (GW4G15K) is not a lifetime part. As a rough guide, it is replaced at around 90,000 km, or sooner if you notice a cold-start rattle, camshaft/crankshaft correlation fault codes, or a stretched chain. This is a hard job: it requires precise timing and a special tool. The exact procedure for this engine is not documented in detail in publicly available service materials, so what follows is the general principle. Check the tightening values against the manufacturer's specifications.
Parts
7| № | Part | Alternatives |
|---|---|---|
| 01 | Timing drive kit for 1.5 Turbo GW4G15K (chain, guide, tensioner shoe, hydraulic tensioner)sprockets if needed | Febi, Ruville, Swag |
| 02 | Timing cover gasket or sealant | Febi, Ruville, Swag |
| 03 | Front crankshaft seal | Febi, Ruville, Swag |
| 04 | Engine oil | |
| 05 | Oil filter | |
| 06 | Coolant | |
| 07 | Valve cover gasketif damaged | Febi, Ruville, Swag |
Tools
8- socket set and ratchet
- torque wrench
- Torx and E-Torx set
- camshaft and crankshaft locking tools (special tool for the GW4G15K)
- crankshaft pulley puller or holding tool
- sealant for the oil pan and timing cover
- syringe or drain pan for draining oil and coolant
- jack and jack stands
Step by step
12 steps- Park the vehicle on a level surface and disconnect the negative battery terminal. Drain the engine oil and, if needed, the coolant (access to the timing cover may require removing the water pump or hoses). Remove the engine undercover.
- Remove the engine cover, the air intake duct, the intercooler pipes, and anything else that blocks access to the valve cover and the right side of the engine. Take photos of how the connectors and hoses are routed.
- Remove the right front wheel and the fender liner, the accessory drive belt, and, if needed, the engine mount, supporting the engine from below.
- Remove the ignition coils and the valve cover. Turn the crankshaft in its normal direction of rotation to align the TDC marks for cylinder 1 on the pulley with the marks on the camshafts. Lock the camshafts with the locking tool.
- Remove the crankshaft pulley (its bolt is often tightened to a high torque, so use a pulley holding tool and do not use an impact wrench without support), then remove the timing cover. Carefully clean the old sealant from the mating surfaces.
- Before removing the chain, mark the position of the chain links relative to the marks on the sprockets with paint. This will help during reassembly.
- Loosen and remove the hydraulic tensioner, the guide, and the tensioner shoe, then remove the chain. Inspect the sprockets, the phasers, and the drive components, and replace them if the teeth are worn or there is play.
- Install the new chain, aligning the chain and sprocket marks at the TDC position. Install the guide and the tensioner shoe and tighten their bolts to specification. Reset and install the new hydraulic tensioner, then remove the locking pin.
- Check the marks: turn the crankshaft two full revolutions in its normal direction of rotation and make sure the marks line up again. If they do not, disassemble and reposition the chain.
- Install a new crankshaft seal and apply sealant to the timing cover in a thin, even layer. Tighten its bolts in a crisscross pattern in several passes (typically 8-12 N·m (6-9 lb-ft) for M6 bolts; check the exact values in the specifications). Tighten the crankshaft pulley to the manufacturer's specification, including the additional angle turn if one is required.
- Install the valve cover with a new gasket, then the coils, belt, engine mount, and everything else you removed. Fill with fresh oil and install a new oil filter. If you drained the coolant, refill it and bleed the cooling system.
- Crank the engine with the starter without starting it, with the spark plugs removed or the fuel pump disabled, so that oil reaches the tensioner and the phasers. Then start the engine, let it warm up, check for leaks, and clear any fault codes. After 500-1,000 km, check the oil level and listen for any unusual noises.
Common mistakes and warnings
- The GW4G15K is an interference engine, so a timing error will cause the valves to hit the pistons and lead to expensive repairs
- If you do not have the special tool and experience with timing work, leave the replacement to a specialized repair shop
- Do not turn the crankshaft while the chain is removed, and do not crank the engine with the starter until you have verified that the timing marks are set correctly
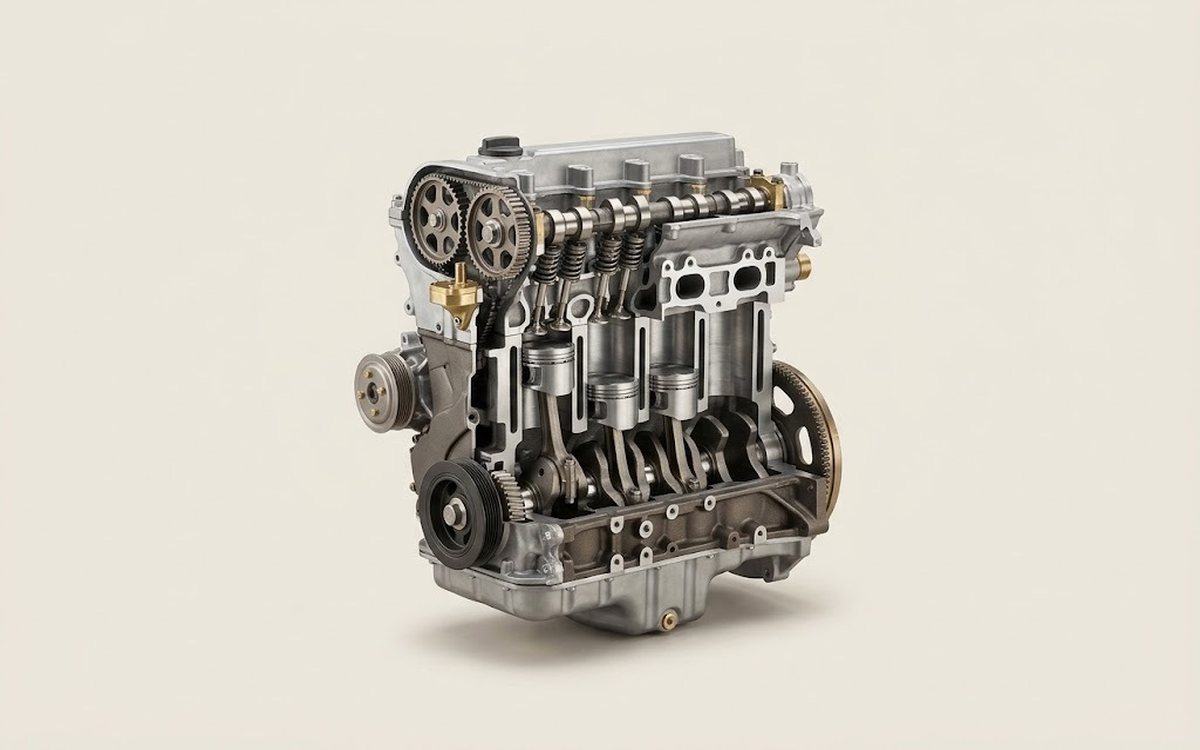 How it works · 3D
How a Car Engine Works
How the part you're working on actually works — in plain English, on a 3D model.
Open in 3D →