Autopapyrus · Honda StepWGN 1.5 i-VTEC L15B (2018)
https://autopapyrus.com/guides/honda/stepwgn/checking-the-level-and-changing-the-cvt-fluid/
https://autopapyrus.com/guides/honda/stepwgn/checking-the-level-and-changing-the-cvt-fluid/
Compiled automatically from service literature and owner experience. Specs are for the typical configuration — check them against your exact car before you start.
Honda StepWGN 1.5 i-VTEC L15B (2018): Checking the Level and Changing the CVT Fluid
The fifth-generation StepWGN with the 1.5 L15B engine has a CVT, not a conventional torque-converter automatic. It requires only special HCF-2 fluid. Do not fill it with ATF Z1 or DW-1. The change interval is roughly every 40,000-50,000 km or 3 years, and more often under severe use (city driving, towing, heavy traffic). The fluid is changed by the drain-and-refill method.
Parts
2| № | Part | Alternatives |
|---|---|---|
| 01 | Honda HCF-2 CVT fluid (synthetic)about 3.5-4 L (3.7-4.2 qt) for a partial change | Ravenol CVT HCF-2, Idemitsu, Liqui Moly |
| 02 | Drain plug sealing washer |
Tools
8- jack and jack stands or a lift
- wrench or hex bit for the drain plug
- torque wrench
- funnel with a flexible hose
- drain pan of 5 L (5.3 qt) or larger
- measuring container
- shop rags
- new drain plug sealing washer
Step by step
10 steps- Warm the car up to operating temperature by driving for 10-15 minutes. Park it on a level, flat surface or a lift, set the parking brake, and turn the engine off.
- Remove the lower engine undercover if it blocks access to the transmission. Locate the drain plug and the check or fill port on the CVT case.
- Place the drain pan and unscrew the drain plug. Let the fluid drain for 10-15 minutes. Check its color and smell: dark fluid with a burnt smell and metal shavings on the plug indicate wear, in which case the transmission needs to be diagnosed.
- Measure the volume of the drained fluid. You need this to refill the same amount.
- Clean the plug, fit a new sealing washer, and tighten the plug to about 40-50 N·m (30-37 lb-ft). Check the exact value against the manufacturer's specification.
- Pour fresh HCF-2 fluid in through the fill port in an amount equal to what you drained. Usually about 3.5-4 L (3.7-4.2 qt) drains out. This is only part of the total system capacity, so for a more complete change the procedure is repeated after a few hundred kilometers.
- Check the level. It depends on fluid temperature, so do it with a warmed-up CVT (usually 40-50 °C (104-122 °F) on a scan tool). Start the engine and, with the car stationary and the brake pedal pressed, shift the selector through all positions P-R-N-D, pausing a few seconds in each, then return it to P. Check the level with the dipstick, if your transmission has one, or at the check port: the fluid should be level with the lower edge of the port or within the dipstick marks. If the transmission gives no access to a dipstick or port, the level is checked on a lift with a diagnostic scan tool at the specified temperature.
- If the level is low, add HCF-2 fluid in small amounts until it is correct. Do not overfill: excess fluid causes foaming and jerking.
- Reinstall the check plug or dipstick and the undercover. Tighten the undercover fasteners to the usual torque for M6-M8 bolts (about 8-12 N·m (6-9 lb-ft)).
- Take a 10-15 minute test drive and inspect the transmission for leaks. Smooth driving with no jerking or slipping confirms the change went well.
Common mistakes and warnings
- Never use ATF or universal fluids: the Honda CVT is very sensitive to the fluid specification, and the wrong fluid quickly ruins the belt or chain and the conical pulleys
- Until the level has been checked, do not drive long distances with a low level
- If your car has a fluid life counter or CVT fault codes, a reset or adaptation with a scan tool may be required after the change
- If you have no experience working on a CVT, it is better to leave the job to a repair shop
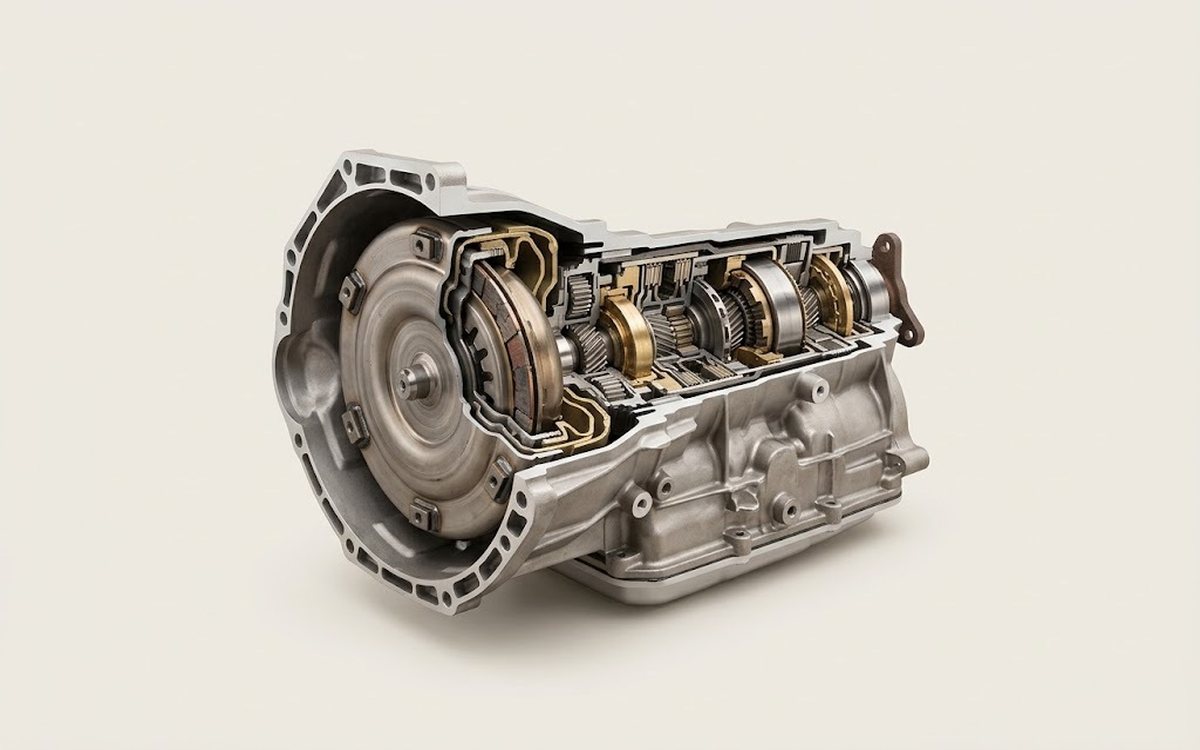 How it works · 3D
How an Automatic Transmission Works
How the part you're working on actually works — in plain English, on a 3D model.
Open in 3D →