Autopapyrus · Hyundai Santa Fe 2.4 GDI G4KJ (2020)
https://autopapyrus.com/guides/hyundai/santa-fe/cooling-system-leak-test/
https://autopapyrus.com/guides/hyundai/santa-fe/cooling-system-leak-test/
Compiled automatically from service literature and owner experience. Specs are for the typical configuration — check them against your exact car before you start.
Hyundai Santa Fe 2.4 GDI G4KJ (2020): Cooling System Leak Test
On the G4KJ, coolant leaks most often show up at the hose connections at the engine and radiator, at the coolant reservoir, and at the radiator and water pump. The check is done in two stages: first a visual inspection on a cold engine, then a pressure test at a pressure that does not exceed the value marked on the cap.
Parts
7| № | Part | Genuine part no. |
|---|---|---|
| 01 | Coolant reservoir capif faulty | 25440-3S000 |
| 02 | Cooling system hosesif faulty | |
| 03 | Cooling system clampsif faulty | |
| 04 | Coolant reservoirif faulty | 25430-2W000 |
| 05 | Radiatorif faulty | 25310-2B950 |
| 06 | Water pumpif faulty | 25100-2GTA0 |
| 07 | Hyundai/Kia ethylene glycol-based long-life coolant (premixed or concentrate)if faulty |
Part numbers are from the manufacturer's original catalogue. Check them against your VIN before ordering.
Tools
8- Manual cooling system pressure tester with an adapter for the coolant reservoir
- flashlight
- inspection mirror on a handle
- UV lamp and UV dye (optional)
- gloves
- drain pan
- clean rags
- jack with jack stands or a lift
 There's a full repair manual for this car
Every system, wiring diagrams and torque specs — not just this job. Haynes and 6 more.
See manuals →
Step by step
14 steps- Park the vehicle on level ground, shut off the engine and let it cool down completely. Do not open the reservoir cap on a hot engine: pressurized coolant can cause severe burns.
- Open the hood and check the coolant level in the reservoir. It should be between the MIN and MAX marks. Check the color of the coolant: a rusty tint, an oily film or flakes mean the problem is not just a leak.
- Inspect the reservoir, hoses and clamps. Look for traces of seepage, whitish or colored (matching the coolant color) dried residue, and wet spots. Pay particular attention to the hose connections at the radiator and at the engine, the heater hoses in the engine bay, and the seams of the reservoir.
- Raise the vehicle and remove the lower splash shield if it covers the radiator. Inspect the lower tank and core of the radiator, the water pump area, the lower hose and the drain plug. A water pump shows a leak through its weep hole, so look there for traces of coolant.
- Remove the reservoir cap and inspect the seal and the spring-loaded valve. Cracks, deformation or a stuck valve mean the cap must be replaced. If possible, test the cap on the pressure tester: it should open at the pressure marked on it.
- Top up the coolant to the normal level if it was low. Install the pressure tester with a suitable adapter on the reservoir neck.
- Pump up the pressure smoothly to the value marked on the reservoir cap (usually about 1.0-1.3 bar). Do not exceed it, or you may damage the radiator, hoses and reservoir.
- Hold the pressure for 10-15 minutes. A falling gauge needle indicates a leak, either internal or external. Inspect all the components from steps 3-4 while the system is under pressure. Seepage is easier to see with side lighting and a mirror.
- If nothing is visible outside but the pressure drops, there may be an internal leak: through the cylinder head gasket or into the oil system. Check the oil on the dipstick (milky emulsion, raised level), the exhaust (thick white smoke), and look for bubbles or coolant being pushed out in the reservoir with the engine running. A suspected internal leak is confirmed at a repair shop with an exhaust gas tester.
- For a hard-to-find leak, add UV dye to the system, warm up the engine and inspect the components with a UV lamp.
- Release the pressure, slowly disconnect the pressure tester, check the level and close the cap until it clicks.
- If you find a leak at a clamp, tighten it with moderate force (without stripping the screw). If a hose is cracked, delaminated or has lost its elasticity, replace it.
- Install the lower splash shield. Tighten the fasteners to the standard specification, approximately in the range of 8-12 N·m (6-9 lb-ft) (per the manufacturer's specification).
- Warm up the engine to operating temperature, turn the heater to maximum and make sure the cooling fan comes on. Shut off the engine, let it cool, and check the level and the dryness of the connections once more.
Common mistakes and warnings
- Work only on a cooled-down engine
- Coolant is toxic: keep it off your skin and out of drains and sewers, and dispose of it at a designated collection facility
- Do not exceed the test pressure marked on the cap
- If you find an internal leak (into the oil or the cylinders) or cannot locate the source of the leak, do not drive the vehicle
- Engine overheating deforms the cylinder head, so take it to a repair shop
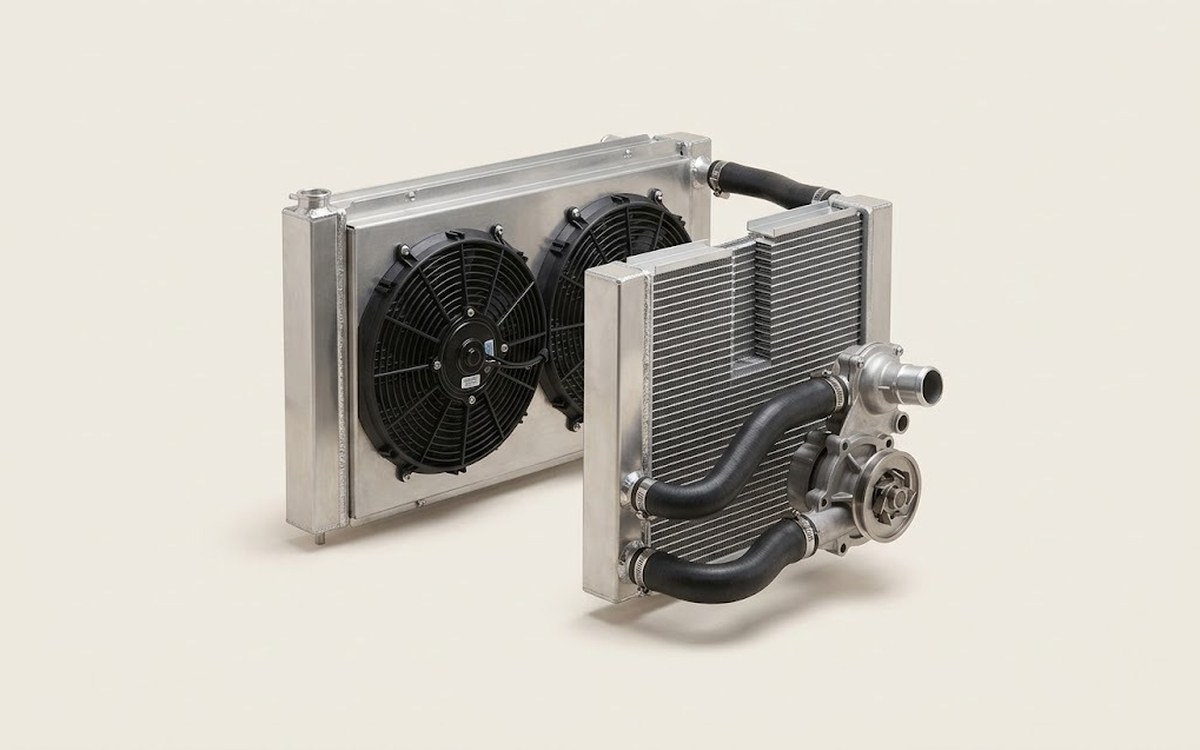 How it works · 3D
How the Engine Cooling System Works
How the part you're working on actually works — in plain English, on a 3D model.
Open in 3D →