Autopapyrus · Hyundai Santa Fe (4th generation, TM)
https://autopapyrus.com/guides/hyundai/santa-fe/rear-brake-disc-and-pad-replacement/
https://autopapyrus.com/guides/hyundai/santa-fe/rear-brake-disc-and-pad-replacement/
Compiled automatically from service literature and owner experience. Specs are for the typical configuration — check them against your exact car before you start.
Hyundai Santa Fe (4th generation, TM): Rear Brake Disc and Pad Replacement
On the Santa Fe TM, the rear caliper is combined with an electric parking brake (EPB). Because of this, you must put the caliper actuator into service mode before the job. Otherwise the piston will not retract and you may damage the mechanism. Rotors and pads are replaced as a set on both sides of the rear axle.
Parts
4| № | Part | Genuine part no. | Alternatives |
|---|---|---|---|
| 01 | Rear brake rotors (vented or solid)2 pcs | 58411-2P000 | Brembo, TRW, Textar, ATE |
| S5841-12P000 | |||
| 02 | Rear brake pad set for calipers with electromechanical parking brake | 58302-4ZA70 | Brembo, TRW, Textar, ATE |
| 58305-2WA00 | |||
| 03 | Pad retaining clipsif needed | ||
| 04 | Caliper guide pin repair kitif needed | 58164-3M000 | |
| 58221-4D500 | |||
| 58222-4D500 |
Part numbers are from the manufacturer's original catalogue. Check them against your VIN before ordering.
Tools
10- floor jack and jack stands
- lug wrench (21 mm socket)
- torque wrench
- 14 mm
- 17 mm and 19 mm sockets and wrenches
- diagnostic scan tool with electric parking brake (EPB) maintenance function
- C-clamp or brake caliper spreader tool
- wire brush
- brake cleaner
- copper or ceramic grease for the slides and silicone-based grease for the caliper guide pins
 There's a full repair manual for this car
Every system, wiring diagrams and torque specs — not just this job. Haynes and 6 more.
See manuals →
Step by step
19 steps- Park the vehicle on level ground, shift into P, and turn off the engine. Loosen the rear wheel lug nuts half a turn (21 mm socket).
- Put the EPB into service mode. On most vehicles with this type of brake, this is done with a scan tool (brake maintenance menu). Some versions have a manual procedure: turn the ignition off, then turn it on and pull and hold the EPB switch. Check the exact procedure for your version in the manufacturer's service manual. The mode is confirmed by the sound of the actuator and a message on the instrument cluster. Do not touch the piston until the mode is active.
- After the piston has retracted, disconnect the battery or put the vehicle in a state where the EPB cannot be accidentally activated. Do not press the parking brake switch during the work.
- Lift the rear axle with the jack, set up jack stands, and remove the wheels.
- Disconnect the electric actuator connector on the rear of the caliper, press the retaining tab, and carefully release the wiring connector from its mount.
- Remove the two caliper guide pin bolts (usually a 14 mm socket) and take off the caliper. Hang it from a wire or hook. Do not leave it hanging by the brake hose.
- Remove the pads from the bracket, then remove the retaining clips and springs. Note their positions, as they may differ on each side.
- Remove the two bolts that secure the caliper bracket to the steering knuckle (usually 17-19 mm, tightened firmly) and take off the bracket.
- Remove the old rotor. If it is stuck to the hub, apply penetrating oil and gently tap the hub section with a rubber mallet. Do not strike the friction surface. If there is a rotor retaining screw, remove it first.
- Clean the hub mounting surface of rust with a wire brush. Any dirt will cause rotor runout and vibration when braking.
- Install the new rotor. Before installing it, degrease the new rotor with brake cleaner: the factory protective coating must be removed from the friction surfaces.
- Clean the pad seats in the bracket and lubricate the caliper guide pins with the proper grease. Check the guide pin boots and replace any that are damaged.
- Install the caliper bracket and tighten its mounting bolts. The torque for the rear axle bracket bolts on these vehicles is usually 80-100 N·m (59-74 lb-ft). Check the exact value in the manufacturer's service manual.
- Install the new pads with the retaining clips. Apply anti-squeal shims and anti-noise grease only to the back of the pad. Do not get grease on the friction surface.
- Reinstall the caliper. Tighten the guide pin bolts to about 22-31 N·m (16-23 lb-ft) (the range is approximate, so check the service manual). Reconnect the electric actuator connector.
- Install the wheels and tighten the lug nuts in a crisscross pattern. Then lower the vehicle and fully tighten the lug nuts. The wheel torque is usually 90-110 N·m (66-81 lb-ft). The exact value is listed in the owner's manual.
- Take the EPB out of service mode with the scan tool (or by the manual procedure) so the actuator moves the pads to the rotor. Apply and release the parking brake 2-3 times and check that the EPB indicator on the instrument cluster goes off.
- Press the brake pedal several times until it feels firm, then check the brake fluid level in the reservoir.
- Take a test drive in a safe area. Make 8-10 gentle stops from 40-50 km/h to bed in the pads. Avoid hard braking for the first 200-300 km.
Common mistakes and warnings
- The brake system is critical to safety
- If you have no experience working on brakes and electric parking brakes, have the work done at a repair shop
- Do not compress the piston with a clamp or spreader tool until the EPB actuator is in service mode, or it will be damaged
- Replace rotors and pads at the same time on both wheels of the axle
- If the rotor has worn below the minimum thickness (marked on the rotor itself), replacement is mandatory
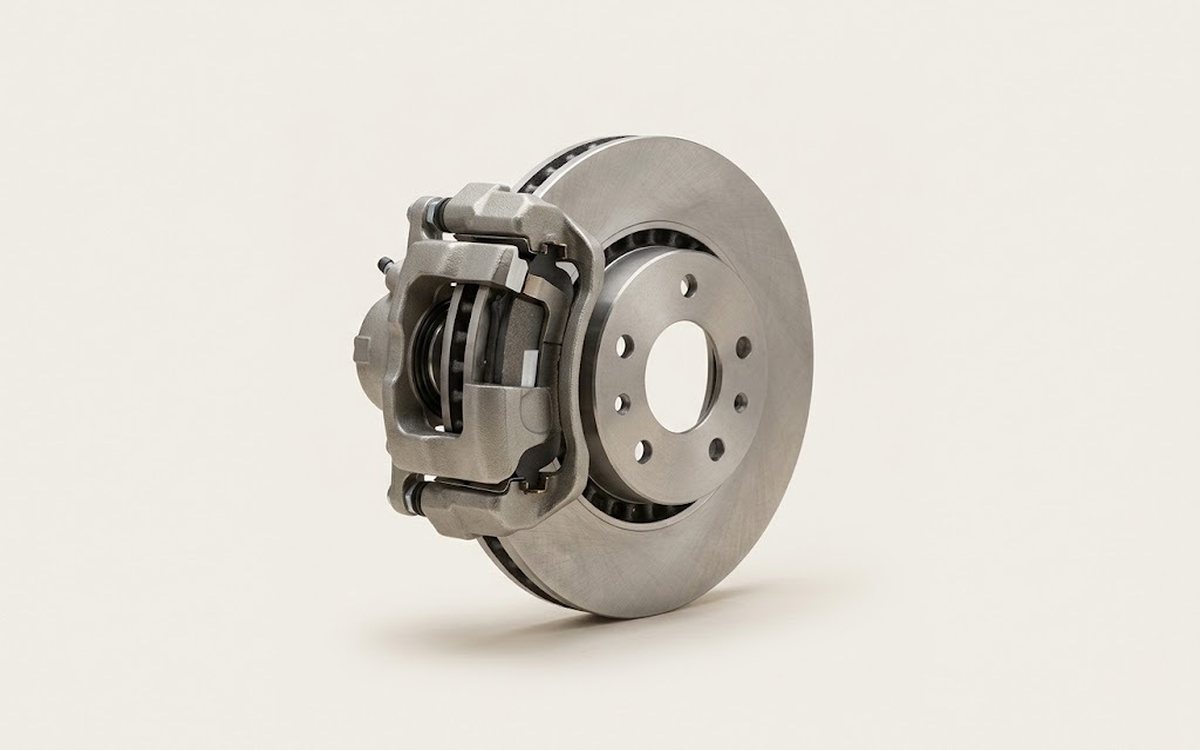 How it works · 3D
How Car Brakes Work
How the part you're working on actually works — in plain English, on a 3D model.
Open in 3D →