Autopapyrus · Audi A6 (C7)
https://autopapyrus.com/guides/audi/a6/front-brake-rotor-replacement/
https://autopapyrus.com/guides/audi/a6/front-brake-rotor-replacement/
Compiled automatically from service literature and owner experience. Specs are for the typical configuration — check them against your exact car before you start.
Audi A6 (C7): Front Brake Rotor Replacement
Front rotors are replaced as a pair together with the pads. The A6 C7 front caliper uses a conventional hydraulic piston. The electromechanical parking brake is only at the rear, so no service mode is needed on the front axle. The key points of the job are a clean hub mounting surface and correct tightening torques.
Parts
3| № | Part | Genuine part no. | Alternatives |
|---|---|---|---|
| 01 | Front ventilated brake rotors, axle set2 pcs | 8R0615301D | Brembo, ATE, TRW, Zimmermann, Textar |
| 02 | Front brake pads, setper axle | 4G0698151AA | Brembo, ATE, TRW, Zimmermann, Textar |
| 03 | Caliper bracket boltssingle-use, if specified |
Part numbers are from the manufacturer's original catalogue. Check them against your VIN before ordering.
Tools
10- jack and jack stands
- lug wrench
- torque wrench
- TORX and hex bit sockets (for caliper and bracket bolts)
- 16-18 mm sockets for wheel bolts
- pry bar
- wire brush
- copper grease for the guide pins
- brake cleaner
- wire or zip tie for hanging the caliper
 There's a full repair manual for this car
Every system, wiring diagrams and torque specs — not just this job. Haynes AutoFix (online) and 3 more.
See manuals →
Step by step
13 steps- Park the car on a level surface, in gear or P. Loosen the wheel bolts half a turn, raise the front of the car, set it on jack stands, and remove the wheels.
- Remove the two caliper guide bolts (usually hex or TORX, on the back side) and take the caliper off the bracket. Do not let it hang from the brake hose: hang it from the suspension spring with wire.
- If the pad has a wear sensor, carefully disconnect its connector and release the wiring from the clips. Remove the pads from the bracket.
- Remove the two bolts securing the caliper bracket to the steering knuckle (they are very tight, so use a long breaker bar) and take off the bracket.
- Remove the small rotor retaining screw (TORX or hex), if fitted. Remove the rotor. If it is stuck, tap the hub section with a rubber mallet or apply penetrating oil around the perimeter. You can wiggle the rotor carefully, but do not strike the friction surface.
- Use a wire brush and sandpaper to completely clean the hub mounting surface of rust and dirt. Any contamination causes rotor runout and brake vibration. Wipe it with a clean rag.
- Degrease the new rotors with brake cleaner (the protective coating must be removed from the friction surfaces). Place the rotor on the hub and secure it with the screw (low torque, about 4 N·m (3 lb-ft)).
- Install the caliper bracket. Tighten the bracket bolts with a torque wrench. The specified value is about 170-200 N·m (125-148 lb-ft). Do not skimp on these bolts; replace them with new ones if necessary.
- Clean the pad guides in the bracket. Apply high-temperature copper grease to the pad contact areas and the caliper guide pins (not to the friction surface of the pad). Install the new pads.
- Push the caliper piston back with a dedicated tool or a clamp, after first checking the brake fluid level in the reservoir (it will rise as you push the piston in; draw off the excess if needed). Install the caliper and tighten the guide bolts to about 30 N·m (22 lb-ft). Connect the wear sensor.
- Install the wheels and tighten the wheel bolts in a crisscross pattern with the car on the ground: 120 N·m (89 lb-ft).
- Press the brake pedal several times until it feels firm, then check the fluid level and make sure there are no leaks.
- Bedding-in: for the first 200-300 km, avoid hard braking. Perform 5-6 moderate stops from 80-100 km/h down to 30-40 km/h without coming to a complete stop, then let the brakes cool by driving without braking.
Common mistakes and warnings
- The brake system is critical to safety
- If you have no experience working on brakes or do not have a torque wrench, have the work done at a repair shop
- Always replace rotors in pairs on an axle and fit new pads
- Do not press the brake pedal while the caliper is removed, or the piston will come out of the cylinder
- If the car has different rotor diameters (for example, with a big brake package), select pads and rotors strictly for your specific version
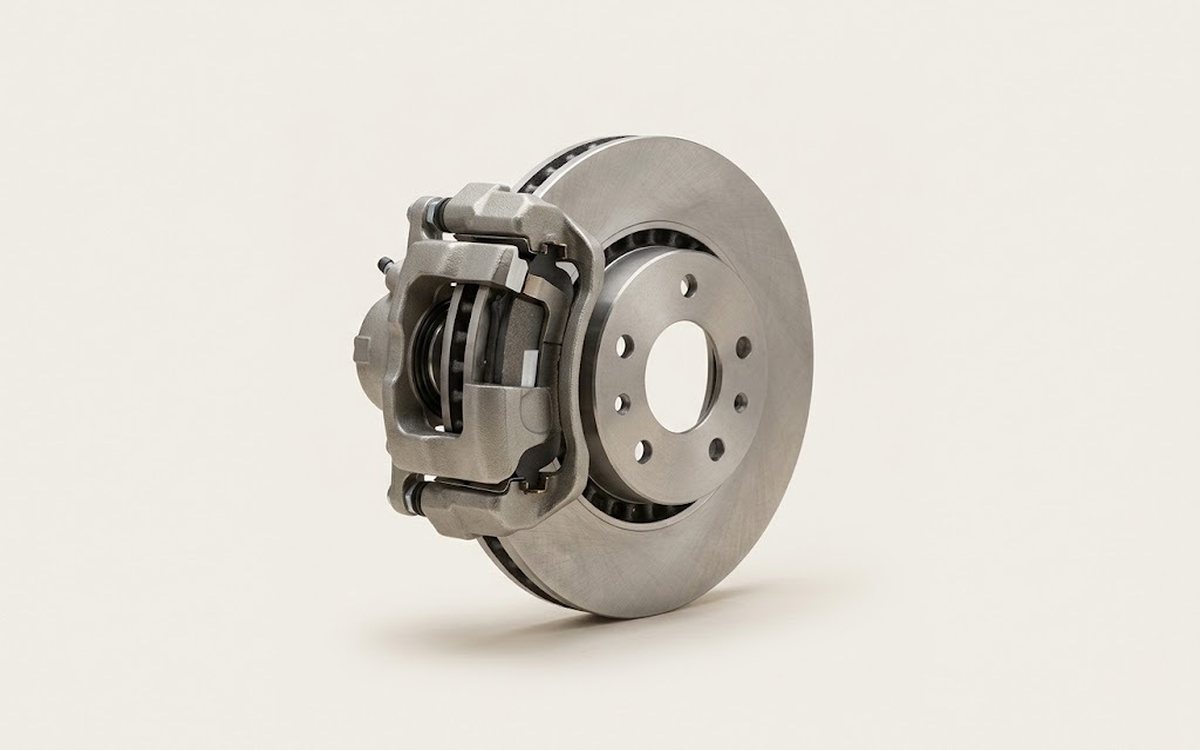 How it works · 3D
How Car Brakes Work
How the part you're working on actually works — in plain English, on a 3D model.
Open in 3D →