Autopapyrus · Audi A6 (C7)
https://autopapyrus.com/guides/audi/a6/checking-front-brake-pad-thickness/
https://autopapyrus.com/guides/audi/a6/checking-front-brake-pad-thickness/
Compiled automatically from service literature and owner experience. Specs are for the typical configuration — check them against your exact car before you start.
Audi A6 (C7): Checking Front Brake Pad Thickness
Check the pad thickness at each wheel separately: the inner pad wears faster than the outer one. The A6 C7 has an electronic wear indicator, but it triggers late, so don't rely only on the warning light in the instrument cluster.
Part
| № | Part | Genuine part no. | Alternatives |
|---|---|---|---|
| 01 | Front brake pads with wear sensor (set)if worn | 4G0698151AA | Brembo, TRW, Textar, ATE |
| 4G0615121B |
Part numbers are from the manufacturer's original catalogue. Check them against your VIN before ordering.
Tools
8- jack or lift
- jack stands
- lug wrench or socket for the wheel bolts
- torque wrench
- caliper or pad thickness gauge
- flashlight
- wire brush
- clean rag
 There's a full repair manual for this car
Every system, wiring diagrams and torque specs — not just this job. Haynes AutoFix (online) and 3 more.
See manuals →
Step by step
10 steps- Park the vehicle on level ground, apply the parking brake (electromechanical), and select P (or first gear). Let the brakes cool down.
- Loosen the wheel bolts half a turn, then raise the front axle and set the vehicle on jack stands. Remove the wheel.
- Inspect the caliper: look at the pads from above and through the caliper window. The outer and inner pads, the rotor and the guides should be visible.
- Measure the thickness of the friction material on each pad (without the steel backing plate). If you measure together with the plate, subtract the plate thickness, which you can measure on an unworn area or at the edge.
- Evaluate the result: more than 5 mm of friction material is normal. At 3-4 mm, the pads should be replaced soon. Less than 2-3 mm means immediate replacement, and if the wear indicator has triggered, drive only to the repair shop. The exact wear limit is specified by the manufacturer of the particular pads.
- Compare the pads left to right and inner to outer. A difference of more than 2-3 mm points to seized guide pins or a seized caliper piston.
- Check the condition of the rotor: the depth of the lip at the edge, scoring, cracks, and heat discoloration. Check the guide pin boots and the wear sensor wire for damage.
- Check the brake fluid by the level in the reservoir: it drops as the pads wear, but it must not be below the MIN mark.
- Install the wheel, tighten the bolts in a crisscross pattern, lower the vehicle, and tighten the wheel bolts to 120 N·m (89 lb-ft).
- Press the brake pedal several times until it feels firm, and make sure the pedal is hard.
Common mistakes and warnings
- The brake system is a safety-critical component
- If you lack experience, have a repair shop check and replace the pads
- Do not let the pads wear down to metal: this quickly destroys the rotors and reduces braking performance
- Replace pads only as a complete set per axle
- The electromechanical parking brake is on the rear axle: work on the rear pads requires putting it into service mode, while this is not needed on the front axle
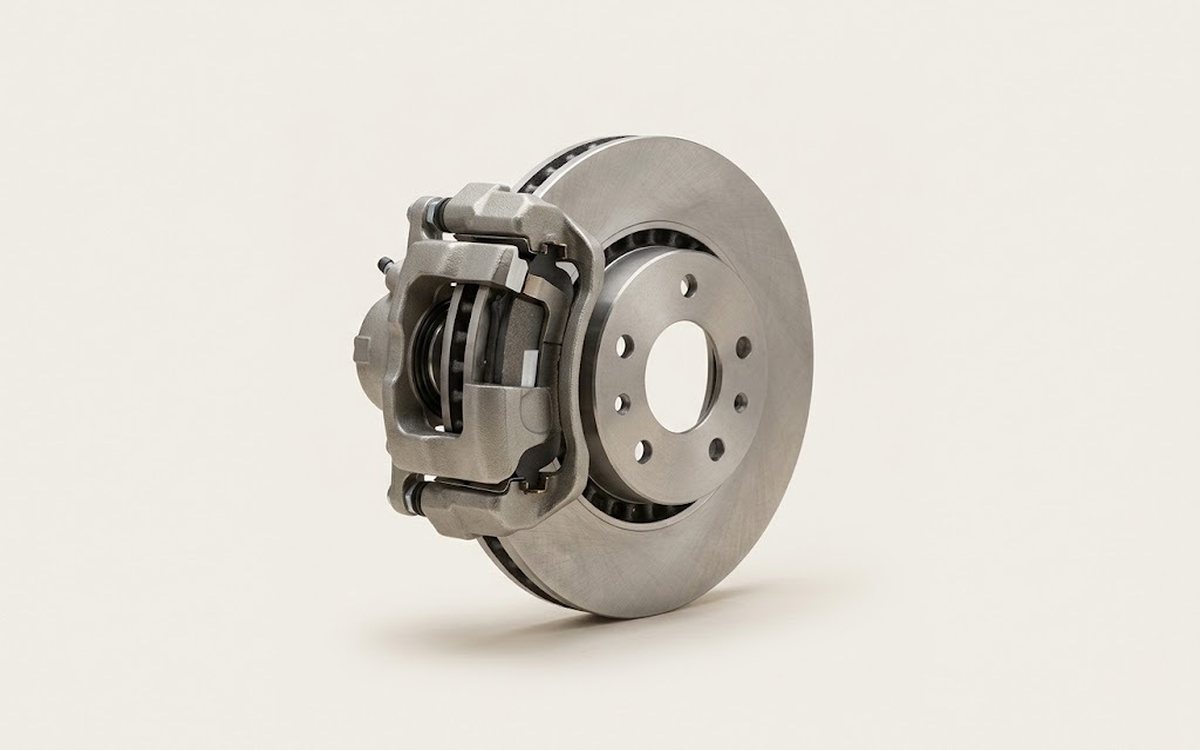 How it works · 3D
How Car Brakes Work
How the part you're working on actually works — in plain English, on a 3D model.
Open in 3D →