Autopapyrus · Hyundai Terracan 3.5 V6 G6CU (2005)
https://autopapyrus.com/guides/hyundai/terracan/timing-belt-replacement/
https://autopapyrus.com/guides/hyundai/terracan/timing-belt-replacement/
Compiled automatically from service literature and owner experience. Specs are for the typical configuration — check them against your exact car before you start.
Hyundai Terracan 3.5 V6 G6CU (2005): Timing Belt Replacement
The G6CU is a V6 with a toothed timing belt and a hydraulic automatic tensioner. The belt drives the camshafts of both cylinder heads. Replace it by mileage and age (interval and service life per the manufacturer's schedule), and when you replace it, it makes sense to install new pulleys, the tensioner and the water pump at the same time. A broken belt on this engine leads to expensive repairs, so set the marks and the tension carefully.
Key figures
- Idler pulley bolt tightening torqueon the torque wrench in step 850-60 N·m (37-44 lb-ft)
- Tensioner pulley center bolt tightening torquestep 11, after the tension is set43-55 N·m (32-41 lb-ft)
- Force used to press the pulley against the beltstep 11, before tightening the center bolt5 N·m (3.7 lb-ft)
- Tensioner rod protrusion after two revolutionscheck that the tension is correct, step 123.3-4.5 mm
Check these values against the manufacturer’s specification for your vehicle before you start.
Parts
4| № | Part | Genuine part no. | Alternatives |
|---|---|---|---|
| 01 | Timing belt kit for G6CU 3.5 V6 (toothed belt, hydraulic tensioner, tensioner pulley, idler pulley) | 24312-39800 | AlternativesGatesContitechDaycoBasco |
| 24410-39001 | |||
| 24810-39810 | |||
| 24810-35530 | |||
| 02 | Water pumpreplace at the same time | 25100-39802 | AlternativesGatesContitechDaycoBasco |
| 03 | Coolantfor topping off | ||
| 04 | Accessory drive beltsif worn | 25212-39800 | AlternativesGatesContitechDaycoBasco |
Part numbers are from the manufacturer's original catalogue. Check them against your VIN before ordering.
Tools
9- Socket set and ratchet
- torque wrench
- socket for the tensioner pulley
- vise with soft jaws
- locking pin (rod) for the hydraulic tensioner
- floor jack
- jack stands
- crankshaft pulley holding tool
- marker
 There's a full repair manual for this car
Every system, wiring diagrams and torque specs — not just this job. Haynes AutoFix (online).
See manuals →
Step by step
14 steps- Disconnect the negative battery terminal. The vehicle must be cold. Drain some of the coolant if you are replacing the water pump.
- For access, remove the lower splash shield, the air ducts and hoses that get in the way of the front of the engine, and the fan shroud if necessary. Remove the accessory drive belts. Loosen the mounting hardware of the alternator and of the support bracket if it blocks access to the covers.
- Place a jack under the oil pan (with a wooden block in between) and, if the engine mount or bracket is in the way, disconnect it. Do not remove the mount until the engine is supported.
- Disconnect the connectors and remove the upper timing belt cover, then the lower one. Remove the crankshaft pulley, locking the shaft against rotation (do not lock the shaft by wedging a screwdriver against the ring gear teeth).
- Turning the crankshaft in its normal direction of rotation (clockwise), align the marks: the No. 1 cylinder piston at TDC on the compression stroke, the marks on the camshaft sprockets lined up with the marks on the head covers, and the mark on the crankshaft sprocket in its correct position. Take a photo of the mark positions.
- Loosen and remove the hydraulic tensioner (it is mounted on the oil pump housing) and the tensioner pulley. If the belt will be reused (not recommended), mark the direction of rotation. Remove the belt.
- Inspect the sprockets and pulleys. Replace the belt if its back is hard and glazed, or if it has cracks or worn or chipped teeth. Replace any pulley that spins with play or makes noise. Along with the belt, replace both pulleys, the tensioner and the water pump.
- Install the idler pulley (bolt 50-60 N·m (37-44 lb-ft)), then the tensioner arm with its washer (35-55 N·m (26-41 lb-ft)). Install the crankshaft sprocket without damaging the crankshaft position sensor plate. Set the camshaft sprockets to their marks.
- Prepare the new hydraulic tensioner: clamp it in a vise with soft jaws, strictly vertical, and slowly compress the rod until the hole in the rod lines up with the hole in the body. Insert the locking pin and leave it in place. Install the tensioner on the oil pump housing.
- With the marks aligned and the No. 1 cylinder at TDC, fit the belt strictly in this order: crankshaft sprocket, idler pulley, left head exhaust camshaft sprocket, right head intake camshaft sprocket, right head exhaust camshaft sprocket, tensioner pulley. Keep your hands out of the belt's path. Double-check the marks.
- Set the tension: turn the crankshaft 1/4 turn counterclockwise, then clockwise back to TDC of the No. 1 cylinder. Loosen the center bolt of the tensioner pulley, use a socket and torque wrench to apply 5 N·m (3.7 lb-ft) to the pulley, and tighten the center bolt (43-55 N·m (32-41 lb-ft)) without letting the pulley turn. Pull out the tensioner locking pin.
- Check the result: turn the crankshaft 2 revolutions clockwise to TDC of the No. 1 cylinder and wait about 5 minutes. The tensioner rod protrusion should be 3.3-4.5 mm, and the marks on the sprockets should line up again. If not, repeat the installation.
- Install the timing belt covers, crankshaft pulley, engine mount, accessory drive belts and the other removed components in reverse order. Use the manufacturer's specified torque for the pulley, covers and mounts (don't guess, as it depends on bolt diameter).
- Top off the coolant, bleed the air from the cooling system, reconnect the battery, warm up the engine, and check for leaks and unusual noises. After a short distance, check the coolant level.
Common mistakes and warnings
- The timing marks and the tensioning sequence are critical: being off by even one tooth hurts engine performance, and a mistake can cause the valves and pistons to collide
- Do not turn the crankshaft against its normal direction of rotation, except for the 1/4 turn in step 11
- Check the torque for the crankshaft pulley, covers and sprockets against the manufacturer's specifications
- If you lack experience, it is better to leave the job to a repair shop
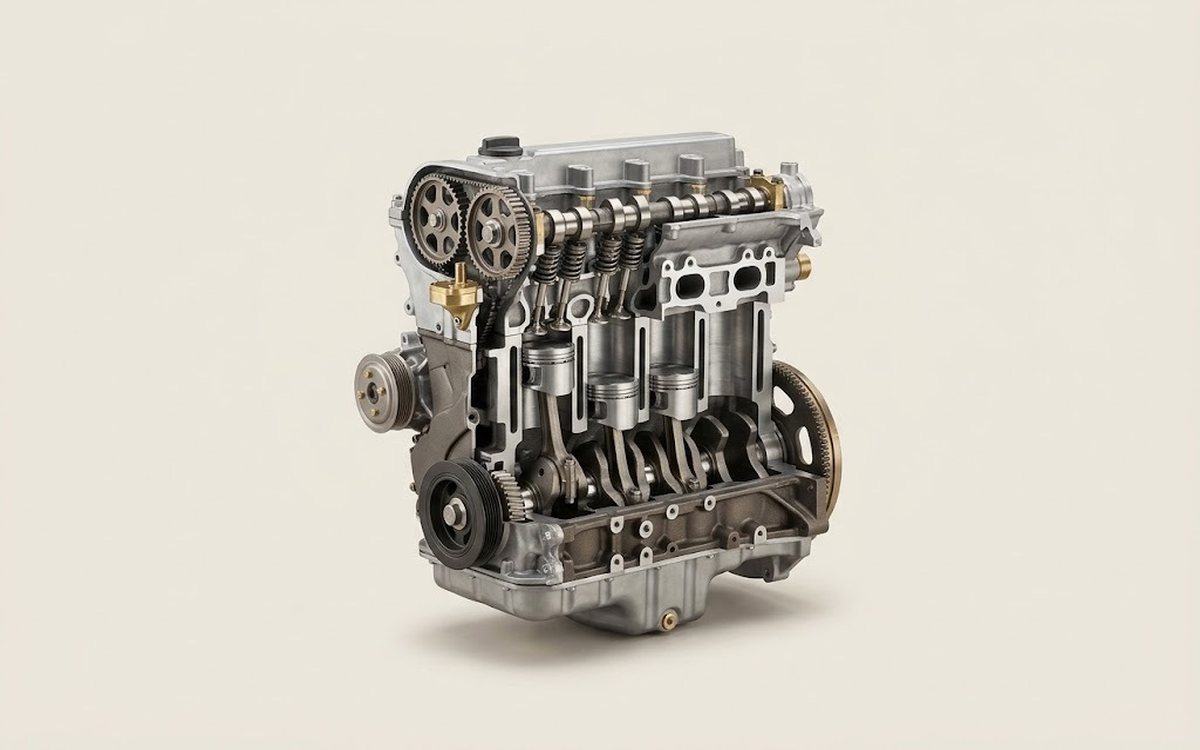 How it works · 3D
How a Car Engine Works
How the part you're working on actually works — in plain English, on a 3D model.
Open in 3D →