Autopapyrus · Jaguar F-Pace 2.0 Ingenium 250 hp (2018)
https://autopapyrus.com/guides/jaguar/f-pace/thermostat-replacement/
https://autopapyrus.com/guides/jaguar/f-pace/thermostat-replacement/
Compiled automatically from service literature and owner experience. Specs are for the typical configuration — check them against your exact car before you start.
Jaguar F-Pace 2.0 Ingenium 250 hp (2018): Thermostat Replacement
On the 2.0 Ingenium, the thermostat sits in a plastic housing on the engine cooling system and is replaced together with the housing and seal. Do the work only on a completely cold engine. The exact step-by-step procedure for this variant is not well documented in public sources, so the general order is given below, and the tightening torques are given as ranges.
Parts
3| № | Part |
|---|---|
| 01 | Thermostat, 2.0 Ingenium (gasoline, AJ200), complete with housing and seal |
| 02 | Jaguar/Land Rover coolant (long-life OAT)for topping off or full replacement |
| 03 | Spring hose clampsnew, if needed |
Tools
9- Socket set and ratchet
- Torx bits
- flat-blade screwdriver for hose clamps
- spring clamp pliers
- torque wrench (small, 5-25 N·m (3.7-18 lb-ft))
- coolant drain pan of at least 8 L (8.5 qt)
- funnel
- gloves
- shop rags
 There's a full repair manual for this car
Every system, wiring diagrams and torque specs — not just this job. Haynes AutoFix (online).
See manuals →
Step by step
10 steps- Let the engine cool completely (at least 2-3 hours). Park the car on level ground, apply the parking brake, and disconnect the negative battery terminal.
- Remove the upper engine cover and, if necessary, the intake duct and hoses that block access to the thermostat housing. Take photos of the connector and hose locations.
- Remove the lower engine undertray. Place a drain pan under the car and drain the coolant through the lower radiator hose or the drain point. Drain enough that the level falls below the thermostat housing. Do not pour coolant on the ground. Dispose of it properly.
- Disconnect the thermostat electrical connector (on these engines it is electronically controlled and heated) and the temperature sensor connectors on the housing.
- Loosen the clamps and remove the hoses connected to the thermostat housing. Mark the hoses so you do not mix them up during reassembly.
- Remove the housing mounting bolts and take off the housing with the thermostat. Wipe the mating surface clean without scratching it. Check the hoses and clamps for cracks and loss of elasticity, and replace them if in doubt.
- Install the new thermostat assembly with a new seal. The seal must seat in the groove without twisting. Tighten the bolts evenly, in a diagonal pattern. The torque for the small M6 bolts of the plastic housing is usually in the range of 8-12 N·m (6-9 lb-ft). Do not overtighten, as the plastic housing cracks easily.
- Reconnect the connectors, install the hoses and tighten the clamps, then reinstall the intake components and the cover.
- Fill with coolant to the MAX mark on the expansion tank. Leave the tank cap off, start the engine, and set the heater to maximum. Warm the engine up until the thermostat opens (the upper radiator hose becomes hot) and top off the coolant as the air is purged.
- Close the tank cap and take a test drive. After the engine has cooled completely, check the level and make sure there are no leaks around the housing. Connect a diagnostic tool and check that there are no cooling system fault codes.
Common mistakes and warnings
- Do not open the expansion tank or remove hoses on a hot engine: you risk burns from steam and hot coolant
- An air pocket in the system causes overheating, so bleed the air thoroughly
- If you have doubts about the thermostat connector or the cooling control electronics, or if a fault code appears after replacement, take the car to a repair shop with a Jaguar scan tool
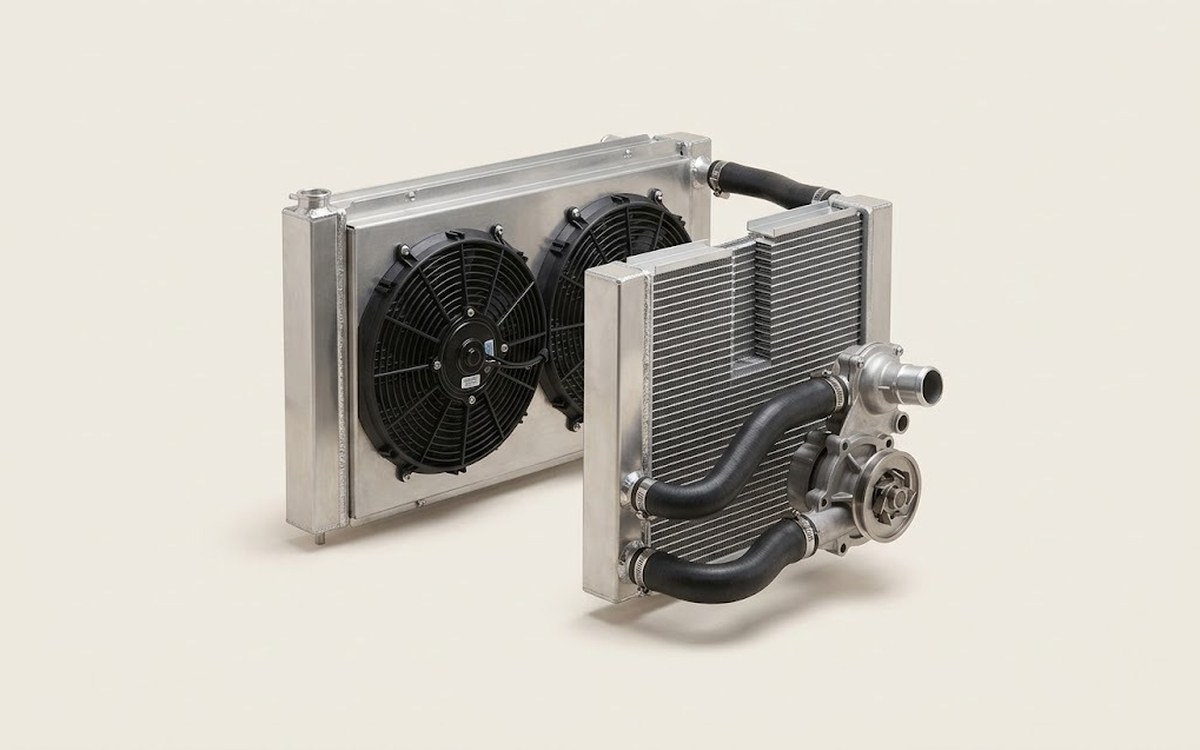 How it works · 3D
How the Engine Cooling System Works
How the part you're working on actually works — in plain English, on a 3D model.
Open in 3D →