Autopapyrus · Lada 2107 (1st generation)
https://autopapyrus.com/guides/lada/2107/rear-brake-pressure-regulator-replacement/
https://autopapyrus.com/guides/lada/2107/rear-brake-pressure-regulator-replacement/
Compiled automatically from service literature and owner experience. Specs are for the typical configuration — check them against your exact car before you start.
Lada 2107 (1st generation): Rear Brake Pressure Regulator Replacement
The pressure regulator (commonly called the "kolduн" or "magic valve") is mounted under the car near the rear axle. It is bolted to the body and operated by a lever with a spring connected to the axle beam. It limits pressure in the rear brake circuits during braking and helps prevent the rear axle from locking up too early and skidding. After replacement, you must bleed the brakes and check the position of the actuating lever.
Parts
3| № | Part | Alternatives |
|---|---|---|
| 01 | Rear brake pressure regulator for, complete (with actuating lever and spring) | VAZ, Lada-Image, SAAZ |
| 02 | DOT 4 brake fluidfor topping up and bleeding | |
| 03 | Regulator actuating lever bushing set (plastic or rubber)if worn |
Tools
9- inspection pit or vehicle ramps
- 10-11 mm flare nut (line) wrenches for the brake lines
- 13 mm open-end wrench or socket
- screwdriver
- container for brake fluid
- hose and container for bleeding
- 8 mm wrench for the bleeder screws
- shop rags
- WD-40 or similar penetrating oil
Step by step
12 steps- Position the car over a pit or on ramps, apply the parking brake, and chock the front wheels. The car must be unloaded: empty trunk, and the fuel tank should not be overfilled.
- Locate the regulator on the underbody, to the right of the rear axle. It has three brake lines (one inlet from the master cylinder and two outlets to the rear wheels) and a lever with a spring running to the axle beam.
- Generously apply penetrating oil to the line nuts and mounting hardware, and wait 10-15 minutes. Work carefully with flare nut or line wrenches so you don't round off the nuts.
- Memorize or photograph the position of the actuating lever and spring so you can reassemble them the same way. Disconnect the lever spring and remove the lever from its bracket on the axle beam.
- Place a container underneath, unscrew the three line nuts, and quickly pull the lines off the regulator. Plug the line ends with clean caps or plugs to keep fluid from leaking out and dirt from getting in. To limit fluid loss, seal the reservoir by placing a piece of plastic film under the reservoir cap.
- Remove the two bolts holding the regulator to the body (13 mm socket) and take the regulator off.
- Install the new regulator and tighten the two mounting bolts. The exact torque is not specified in publicly available sources; for M8 bolts, use 15-25 N·m (11-18 lb-ft) as a guideline. Do not overtighten, to avoid stripping the threads in the body.
- Reconnect the lines to their original positions: the inlet line to the inlet port, and the other two to the outlets going to the wheels. Tighten the line nuts moderately and smoothly, without jerking (guideline 14-18 N·m (10-13 lb-ft)), so you don't crush the flare.
- Install the actuating lever and spring in their original position. Set the lever to the dimension given in the VAZ-2107 specification with the car unloaded, since this determines when the regulator engages. If the setting is too soft, the rear wheels will lock up; if it is too stiff, the rear brakes will be weak.
- Top up the reservoir with DOT 4 brake fluid to the MAX mark and bleed the brakes in this order: right rear, left rear, right front, left front. Repeat the procedure until fluid comes out of the bleeder screws with no air bubbles. Keep an eye on the reservoir level.
- Check all the line connections on the regulator for leaks with the pedal pressed (have a helper press the pedal and hold it for 20-30 seconds). There must be no seepage.
- Take a test drive in a safe, open area: the car should brake evenly, without rear wheel lockup and without pulling to one side. If the pedal feels soft, repeat the bleeding.
Common mistakes and warnings
- The brake system is critical to your safety
- If you have no experience working with brake lines and bleeding brakes, have the replacement done by a repair shop
- Do not drive the car until you have confirmed that the connections are leak-free and the lever is adjusted correctly
- Brake fluid damages paint; if it gets on the body, rinse it off with water immediately
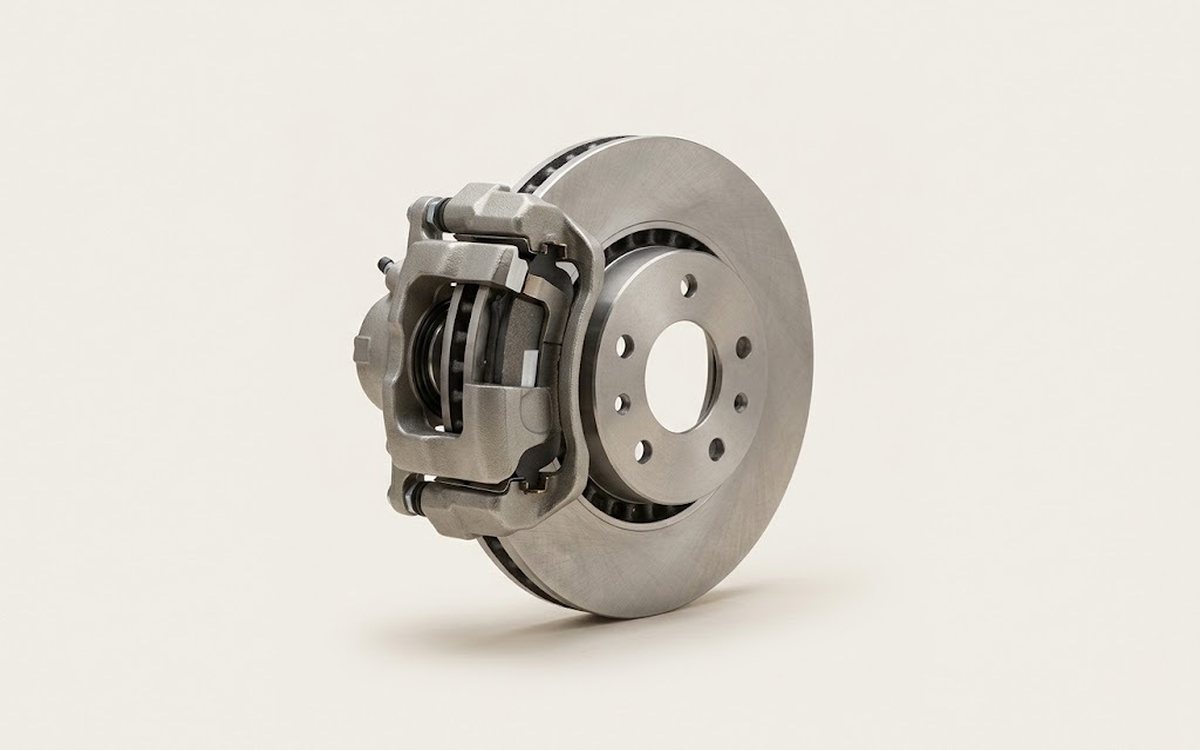 How it works · 3D
How Car Brakes Work
How the part you're working on actually works — in plain English, on a 3D model.
Open in 3D →