Autopapyrus · Mercedes-Benz E-Class W124 2.2 (M111.960, 1994)
https://autopapyrus.com/guides/mercedes-benz/e-class/timing-chain-guides-and-tensioner-replacement/
https://autopapyrus.com/guides/mercedes-benz/e-class/timing-chain-guides-and-tensioner-replacement/
Compiled automatically from service literature and owner experience. Specs are for the typical configuration — check them against your exact car before you start.
Mercedes-Benz E-Class W124 2.2 (M111.960, 1994): Timing Chain, Guides and Tensioner Replacement
The timing chain on the M111 stretches, and the plastic slide rails and damper age and crack. If the chain breaks or jumps a tooth, the valves hit the pistons. You can do this job without removing the front engine cover, but then you can't replace the slide rails. If they are worn, you will have to remove the cover.
Key figures
- Camshaft locking pin diameterinserted into the end bearing supports and the shaft flanges to keep them from turning (step 3)6 mm
- Allowable chain stretch by angle at the pulleymore means the chain needs replacing (step 4)up to 20 degrees
Check these values against the manufacturer’s specification for your vehicle before you start.
Parts
8| № | Part | Alternatives |
|---|---|---|
| 01 | M111 engine timing chain (split with master link or closed-loop) | AlternativesiwisSWAGfebi |
| 02 | Hydraulic chain tensioner with spring and pin | AlternativesiwisSWAGfebi |
| 03 | Upper chain damper | AlternativesiwisSWAGfebi |
| 04 | Slide rails (long guides) | AlternativesiwisSWAGfebi |
| 05 | Valve cover gasket | |
| 06 | Spark plug well seals (rubber rings) | |
| 07 | Camshaft sprocket bolts (single-use) | |
| 08 | Engine oil |
Tools
8- Socket and wrench set
- torque wrench
- two 6 mm pins or bolts for locking the camshafts
- spark plug socket
- chain rivet tool (if the chain is a split type)
- oil drain pan
- rags
- sealant for the cover (as specified by the manual)
 There's a full repair manual for this car
Every system, wiring diagrams and torque specs — not just this job. Haynes and 9 more.
See manuals →
Step by step
14 steps- Disconnect the negative battery terminal. Remove the duct from the air filter to the throttle body, and disconnect any connectors and hoses that get in the way of the valve cover. If you like, remove the radiator: it makes the work noticeably easier.
- Remove the spark plugs so the crankshaft is easier to turn. Remove the valve cover. Loosen the fasteners in a crisscross pattern.
- Insert two 6 mm pins into the end camshaft bearing supports from the rear so that they go into the holes in the camshaft flanges. This locks the shafts in the position set by the marks. Turn the crankshaft only clockwise and carefully: if it binds, the pistons have met the valves. In that case, stop and find the cam that has opened the valve.
- Check the chain stretch. Lock the shafts with the pins, then turn the crankshaft clockwise until it stops and check the angle on the pulley mark. An angle of up to 20 degrees is considered acceptable. If it is larger, the chain needs replacing. 35 degrees is the figure most often cited as a clear sign of wear.
- Remove the side cover of the cylinder head to get to the sprockets and the upper damper. There are two rubber rings under the cover, so buy them in advance.
- Remove the upper damper: it is held by two bolts.
- Remove the chain tensioner. It is located on the left. Before doing so, make sure the shafts are still locked with the pins.
- Choose a chain removal method. Method A, split chain: plug the well with a rag, grind off the rivet head on one link, separate the chain and tie its ends so they don't fall into the oil pan. Loosely attach the new chain to the old one and pull it through while turning the crankshaft. Then close the new chain with the rivet or master link. Method B: remove the camshaft bearing supports, fit the new chain over the sprockets and put the shafts back in place. This method takes longer but doesn't require splitting the chain.
- If you are replacing the slide rails, remove the front engine cover. This noticeably increases the amount of work, so decide based on the condition of the rails: if they are intact, with no cracks or deep grooves, you can leave them.
- Install the new damper, the new spring and pin for the tensioner, and the new hydraulic tensioner. Install the camshaft sprockets with new bolts: the old bolts are single-use. Look up the tightening torques for the sprockets, tensioner, damper and camshaft bearing supports in the manufacturer's manual: there are no verified values for this engine.
- Make sure the 6 mm pins are still in place and the marks line up. Only then cock the tensioner and screw it in.
- Remove the pins. Turn the crankshaft clockwise two full revolutions and check the marks and the angle again. For the mark tolerance, see the manual.
- Install the cylinder head side cover with new rubber rings. Fit a new valve cover gasket and new spark plug well seals. Tighten the cover in a crisscross pattern, to the torque in the manual.
- Install the spark plugs, the ducts and the radiator (if removed), and reconnect the battery. Change the oil and filter. Start the engine and listen: smooth running with no rattling means everything is assembled correctly.
Common mistakes and warnings
- If the chain jumped or the valves hit the pistons, check the compression and the condition of the valves before starting the engine
- Do not turn the crankshaft with the tensioner removed unless the pins are in the camshafts
- Tightening torques are not given in this guide because they must be taken from the manual for the M111.960
- If you have no experience with timing work, it is better to leave the job to a repair shop: being off by one tooth leads to an expensive engine repair
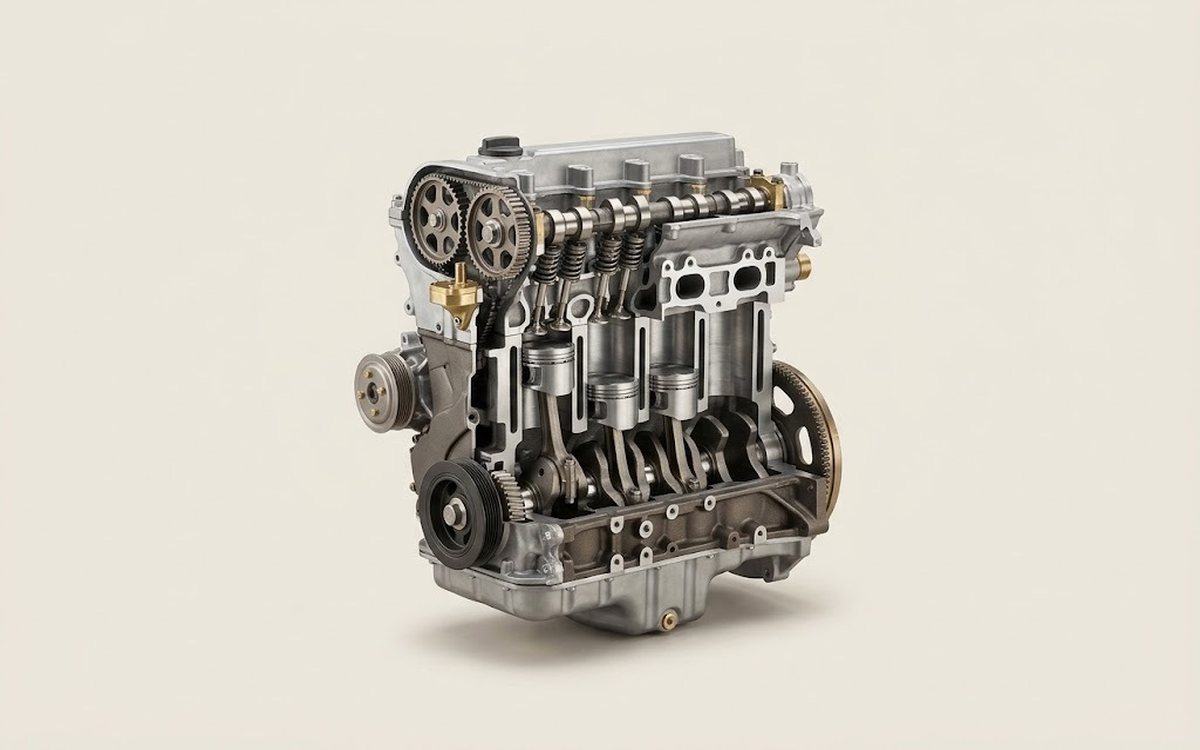 How it works · 3D
How a Car Engine Works
How the part you're working on actually works — in plain English, on a 3D model.
Open in 3D →