Autopapyrus · Mercedes-Benz E-Class W124
https://autopapyrus.com/guides/mercedes-benz/e-class/front-shock-absorber-and-spring-replacement/
https://autopapyrus.com/guides/mercedes-benz/e-class/front-shock-absorber-and-spring-replacement/
Compiled automatically from service literature and owner experience. Specs are for the typical configuration — check them against your exact car before you start.
Mercedes-Benz E-Class W124: Front Shock Absorber and Spring Replacement
On the W124, the front shock absorber is mounted separately from the spring. It bolts to the control arm at the bottom, and its rod passes through a mount in the body at the top. To replace it, you need to compress the spring with spring compressors. This is the most dangerous part of the job, because a compressed spring stores a lot of energy. Replace shock absorbers and springs in pairs, on both sides of the axle.
Key figures
- Wrench for the lower shock absorber bolt nut19 mm, for step 5; a different size may damage the threads
- Wrench for the shock absorber rod nut22 mm, for step 6; hold the rod with the 8 mm hex key, or it will turn
- Wrench for the stabilizer bar link nut10 mm, for step 3; needed if the link is in the way of removing the shock absorber
- Pumping the new shock absorber3-5 times, before installation, step 9
Check these values against the manufacturer’s specification for your vehicle before you start.
Diagram: where the strut rod nut is and how to loosen it
Tap to enlarge
- 1Strut rod nut: loosened from above with a 22 wrench
- 28 mm hex key goes into the rod from above and stops it turning
- 322 wrench on the rod nut: turns the nut while the rod is held with the hex key
- 4Strut mount in the body: the rod passes through it; replace it if worn
- 5Neighbouring rubber cap: a landmark, not part of this job
Parts
6| № | Part | Alternatives |
|---|---|---|
| 01 | Front gas-charged shock absorber2 pcs (pair) | AlternativesBilsteinSachsBoge |
| 02 | Front coil spring2 pcs (pair) | |
| 03 | Strut mount with bearing | AlternativesLemförder |
| 04 | Shock absorber dust boot | |
| 05 | Shock absorber bump stop | |
| 06 | Lock nuts and self-locking nuts |
Tools
8- Coil spring compressors (a front suspension pair)
- jack and jack stands
- sockets and wrenches in 10
- 19 and 22 mm
- 8 mm hex key (to hold the strut rod)
- torque wrench
- pry bar
- penetrating oil
 There's a full repair manual for this car
Every system, wiring diagrams and torque specs — not just this job. Haynes and 9 more.
See manuals →
Step by step
16 steps- Park the car on level ground, set the parking brake and loosen the wheel bolts. Raise the front of the car and set it on jack stands. Remove the wheel.
- Place a jack or stand under the lower control arm so it does not drop when you disconnect the shock absorber. Apply penetrating oil to the rod threads and the lower bolt.
- If the stabilizer bar link is in the way, remove the nut on its bolt with a 10 mm wrench and move the link aside.
- Install the spring compressors on the spring evenly, on two opposite sides. Compress the spring until it no longer presses against its seats. Tighten the compressors alternately, without letting them go crooked.
- Remove the nut on the lower shock absorber bolt with a 19 mm wrench and pull out the bolt.
- From the top, under the hood, hold the rod with the 8 mm hex key and remove the rod nut with a 22 mm wrench. Do not let the rod turn.
- Remove the compressed spring together with the compressors, then remove the shock absorber.
- Remove the dust boot and bump stop from the shock absorber. Inspect them: cracks and tears mean they need replacing. Check the rod mount and the upper and lower spring pads. Replace any worn parts.
- Before installing, pump the new shock absorber by hand 3-5 times in a vertical position, so the rod moves out smoothly.
- Fit the bump stop and dust boot onto the new shock absorber. Do not wrap the rod with tape, because it can damage the seal.
- Insert the shock absorber, passing the rod through the hole in the body mount. Align the lower eye with the hole in the control arm.
- Install the spring with the compressors still on it. The bottom coil should sit in its seat, and the top coil in the mount. Check that the spring sits straight and the coil ends are in their grooves.
- Tighten the rod nut while holding the rod with the 8 mm hex key. Install the lower shock absorber bolt. Exact torque values for this model are not available in public sources, so tighten with a torque wrench to the Mercedes-Benz specification for the W124.
- Smoothly and alternately release the compressors and remove them. Make sure the spring has seated correctly.
- Reinstall the stabilizer bar link and tighten the nut to specification. Install the wheel, lower the car and tighten the wheel bolts in a crisscross pattern to specification.
- Repeat on the other side. Bounce the body, and recheck the tightness of all nuts after a short drive. After the replacement, have the wheel alignment checked and adjusted.
Common mistakes and warnings
- A compressed spring is dangerous: if a compressor slips, the spring can cause serious injury
- Use compressors in good condition that grip at least two to three coils on both sides
- Do not stand in the plane of the spring
- If you lack experience, leave the job to a repair shop
- The suspension is a safety system
- Replace shock absorbers and springs in pairs
- The color code and the number on the bottom coil must match between the left and right springs, and the markings on the shock absorbers must match as well
- Check approximate torques and dimensions against the manufacturer's specifications
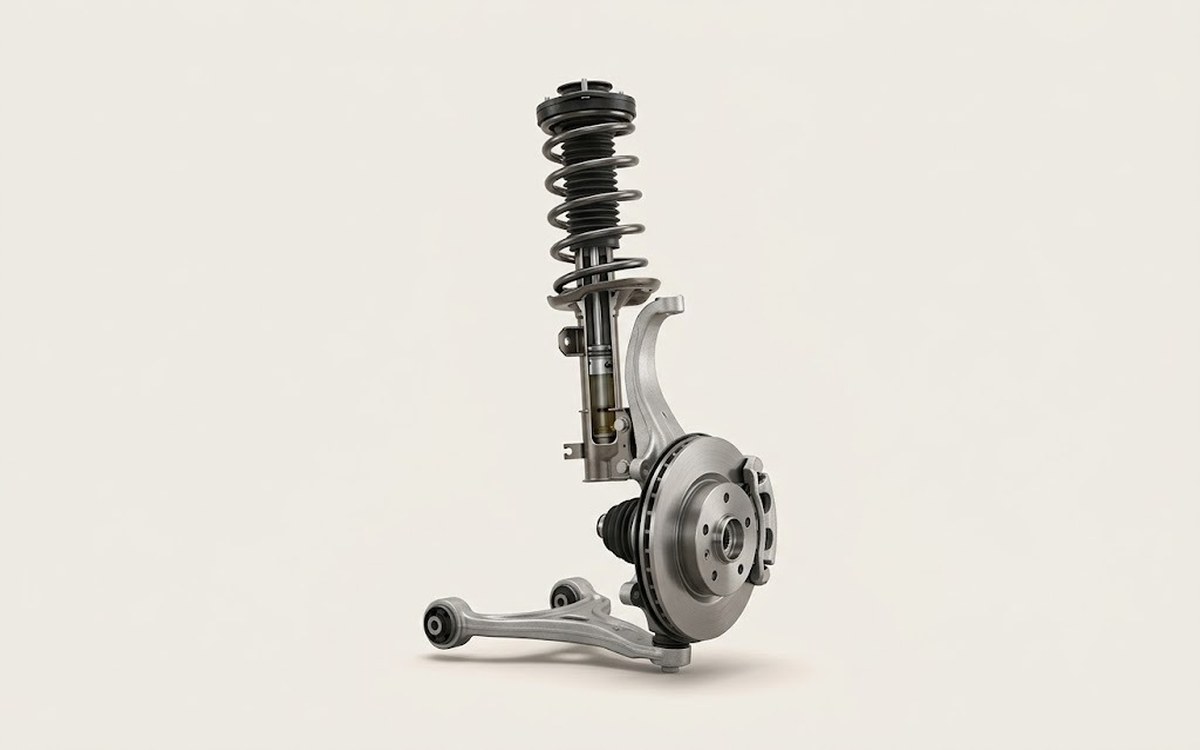 How it works · 3D
How Car Suspension Works
How the part you're working on actually works — in plain English, on a 3D model.
Open in 3D →