Autopapyrus · Mercedes-Benz E-Class 2.2 (M111) (1994)
https://autopapyrus.com/guides/mercedes-benz/e-class/upper-timing-chain-guide-replacement/
https://autopapyrus.com/guides/mercedes-benz/e-class/upper-timing-chain-guide-replacement/
Compiled automatically from service literature and owner experience. Specs are for the typical configuration — check them against your exact car before you start.
Mercedes-Benz E-Class 2.2 (M111) (1994): Upper Timing Chain Guide Replacement
The upper chain guide on the M111 is a plastic rail on a metal base that dampens chain vibration in the cylinder head. The plastic wears out, and when it breaks apart, fragments get into the oil, and the chain starts to rattle and stretch. To get access you need to remove the valve cover, so the job comes down to carefully setting the timing marks and reassembling without shifting the timing. The exact procedure for this engine is not documented in publicly available service materials. What follows is a general sequence, so check torque specs against the manufacturer's manual.
Diagram: where the upper timing chain guide is and how it is mounted
Tap to enlarge
- 1Upper chain guide: curved bar with a plastic shoe on a metal base, lying on the chain run between the sprockets. This is the part to replace.
- 2Two guide bolts: remove them and take the guide out of the head; tighten the new bolts with a torque wrench.
- 3Camshaft sprockets: do not remove unless necessary, hold the camshaft from turning, check the marks against the engine marks.
- 4Camshaft with lobes: its marks must line up with the head marks; do not turn it while the tensioner is removed.
- 5Timing chain: check for stretch and mark its position relative to the sprockets.
- 6Spark plug wells: a landmark in the middle of the head, under the valve cover.
Parts
5| № | Part |
|---|---|
| 01 | Upper timing chain guide (rail), engine |
| 02 | Timing chain guide mounting bolts (new) |
| 03 | Valve cover gasket and seal set |
| 04 | Timing chainif the chain is worn, best replaced as a set with the tensioner |
| 05 | Timing chain tensionerif the chain is worn, best replaced as a set with the chain |
Tools
9- Socket set and ratchet
- torque wrench
- hex key and TORX bit set
- camshaft locking tool or alignment pins for the timing marks
- soft drift for removing gaskets
- flat-surface sealant
- oil drain pan
- clean rags
- marker or paint for marking
 There's a full repair manual for this car
Every system, wiring diagrams and torque specs — not just this job. Haynes and 9 more.
See manuals →
Step by step
15 steps- Disconnect the negative battery terminal. Let the engine cool down. Prepare a clean work area: no dirt should get into the cylinder head.
- Remove the air intake duct and air ducts, and disconnect the connectors and crankcase ventilation hoses that are in the way of the valve cover. Take photos of everything you disconnect or label it.
- Remove the ignition coils or spark plug wires from the spark plugs and set them aside. Remove the valve cover fasteners in a circular pattern, then remove the cover and the old gasket.
- Turn the crankshaft by the pulley bolt in the normal direction of rotation to top dead center (TDC) of cylinder 1. Align the marks on the pulley and the cover, and the marks on the camshafts should line up with the marks on the cylinder head. Use a marker to make additional marks on the chain and sprockets next to the engine marks.
- Inspect the chain and the guide. If the plastic has crumbled, check for fragments in the oil passages and on the bottom of the cylinder head under the cover, and collect everything you can reach. Assess the chain stretch: if the chain has a lot of slack when checked by hand, that is a reason to replace the chain and tensioner along with the guide.
- Relieve the chain tensioner pressure: unscrew the tensioner (oil will run out of it) or lock it as directed in the instructions for your specific part. Do not turn the crankshaft or camshafts while the tensioner is removed and the chain is loose: you can throw off the timing and the valves can hit the pistons.
- Remove the mounting bolts of the upper guide (usually two) and carefully lift it out of the cylinder head. If a sprocket or camshaft is in the way, hold the camshaft against turning and do not remove the sprocket unless necessary. If the chain has to come off, mark its position relative to the sprockets.
- Compare the new guide with the old one: the shape, length and bolt holes must match. Lubricate the sliding surface with clean engine oil.
- Install the new guide and tighten the bolts with a torque wrench. Use the torque specified by the manufacturer (as a guideline, bolts like these take a low torque of roughly 8-12 N·m (6-9 lb-ft), but check the exact value in the manual). It is best to degrease the threads, and use threadlocker if needed.
- Install the chain tensioner with a new seal. Tighten to the manufacturer's specification.
- Check that the marks on the chain, sprockets and TDC match what you had before. Turn the crankshaft by hand two full turns in the normal direction of rotation and check the marks again.
- Clean the mating surfaces of the cylinder head and valve cover of old sealant and oil. Install a new gasket, apply sealant to the half-circle joints as shown on the new gasket, and fit the cover.
- Tighten the valve cover bolts evenly in a circular pattern, in two passes, to a low torque (per the manufacturer's specification). Do not overtighten: the plastic or aluminum cover will warp and leak.
- Reconnect the coils, wires, hoses, connectors, the air intake duct and the battery terminal. Start the engine, let it run, and check for unusual chain noise and oil leaks. A light tensioner noise is possible for the first few seconds after startup, and it should go away as oil pressure builds.
- If there were fragments of the old guide in the oil, change the oil and oil filter right after the job.
Common mistakes and warnings
- Never turn the engine over with the chain tensioner loosened or removed: the chain can jump, the timing will be off, and the valves may contact the pistons
- If you are unsure about the exact positioning of the marks, it is better to go to a repair shop than to risk the engine
- Tighten bolts, especially the camshaft sprocket bolts, only with a torque wrench to the manufacturer's specification
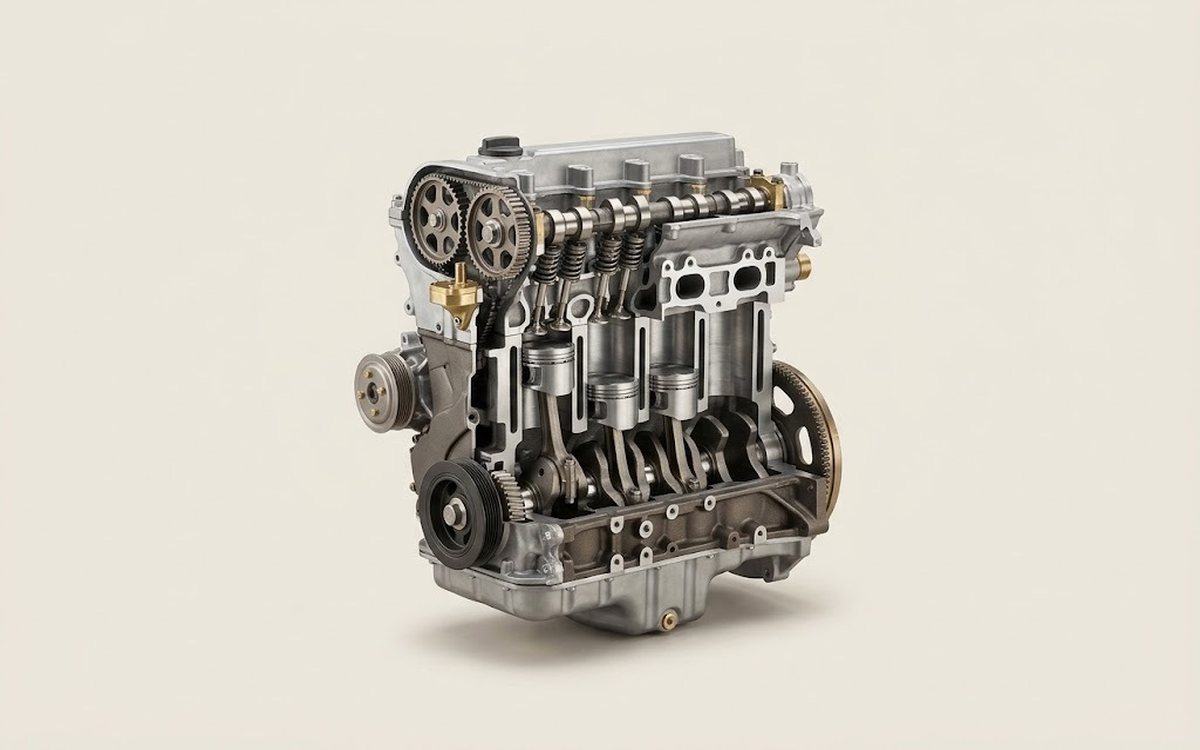 How it works · 3D
How a Car Engine Works
How the part you're working on actually works — in plain English, on a 3D model.
Open in 3D →